We hope you enjoy this multi-part blog series on the restoration of a 1921 Parker BHE 12 gauge shotgun. Do you have questions about the process of gun restoration? Feel free to ask in the comments section below, or drop us a line.
Day 10: Stock Refinishing

Day 10, Step 1
1) After a final sanding, the pores will be filled, the wood is stained, and then the finishes are applied.
Day 10, Step 2
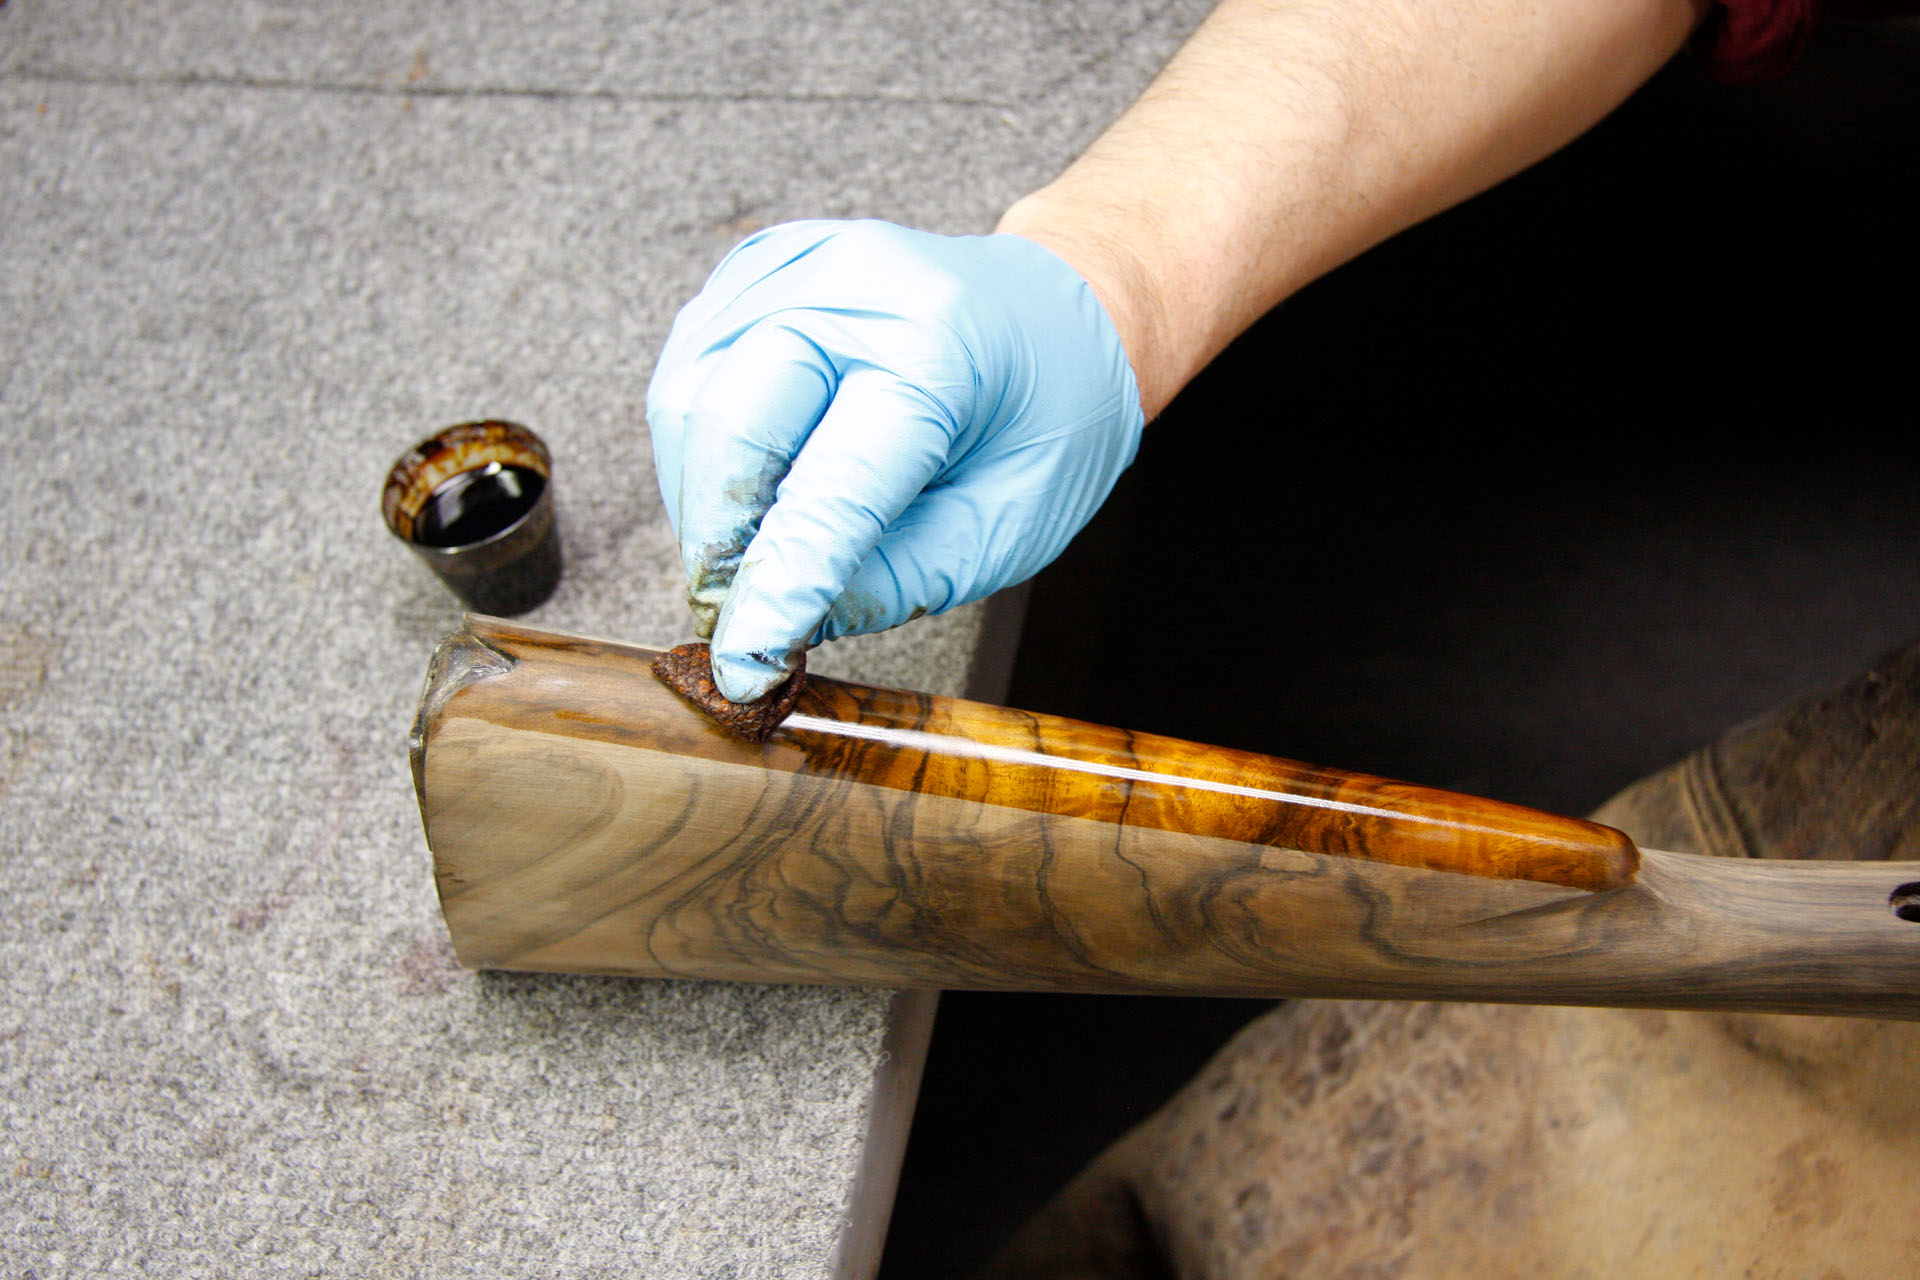
2) Using its proprietary stain mixture, the woodworker evenly applies this over the stock to ensure a uniform finish.

Day 10, Step 3
3) Stain is applied several times until the correct color is achieved.
Day 10, Step 4
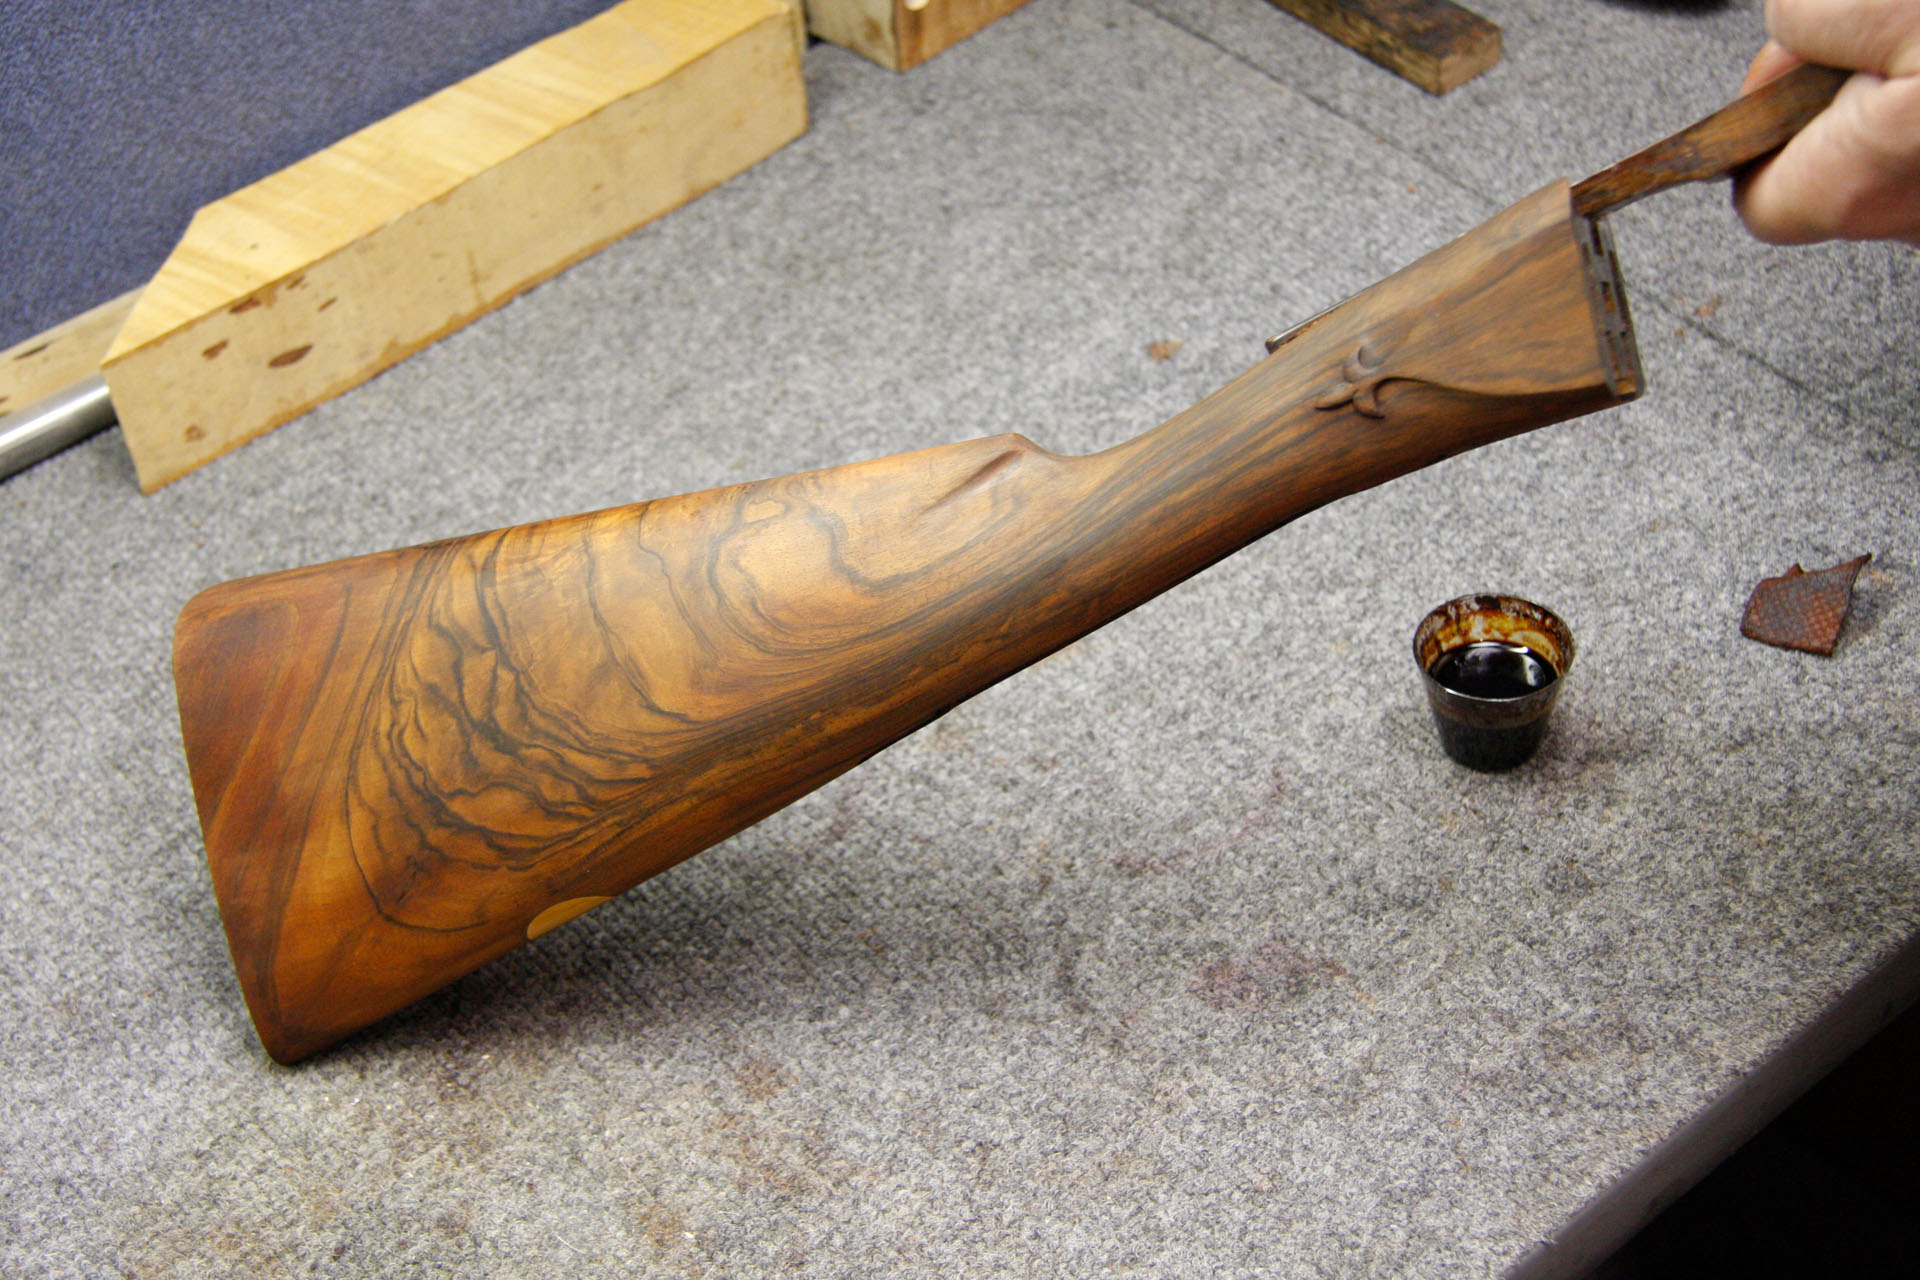
4) Here the stain has dried, and the color is just right.
Day 10, Step 5
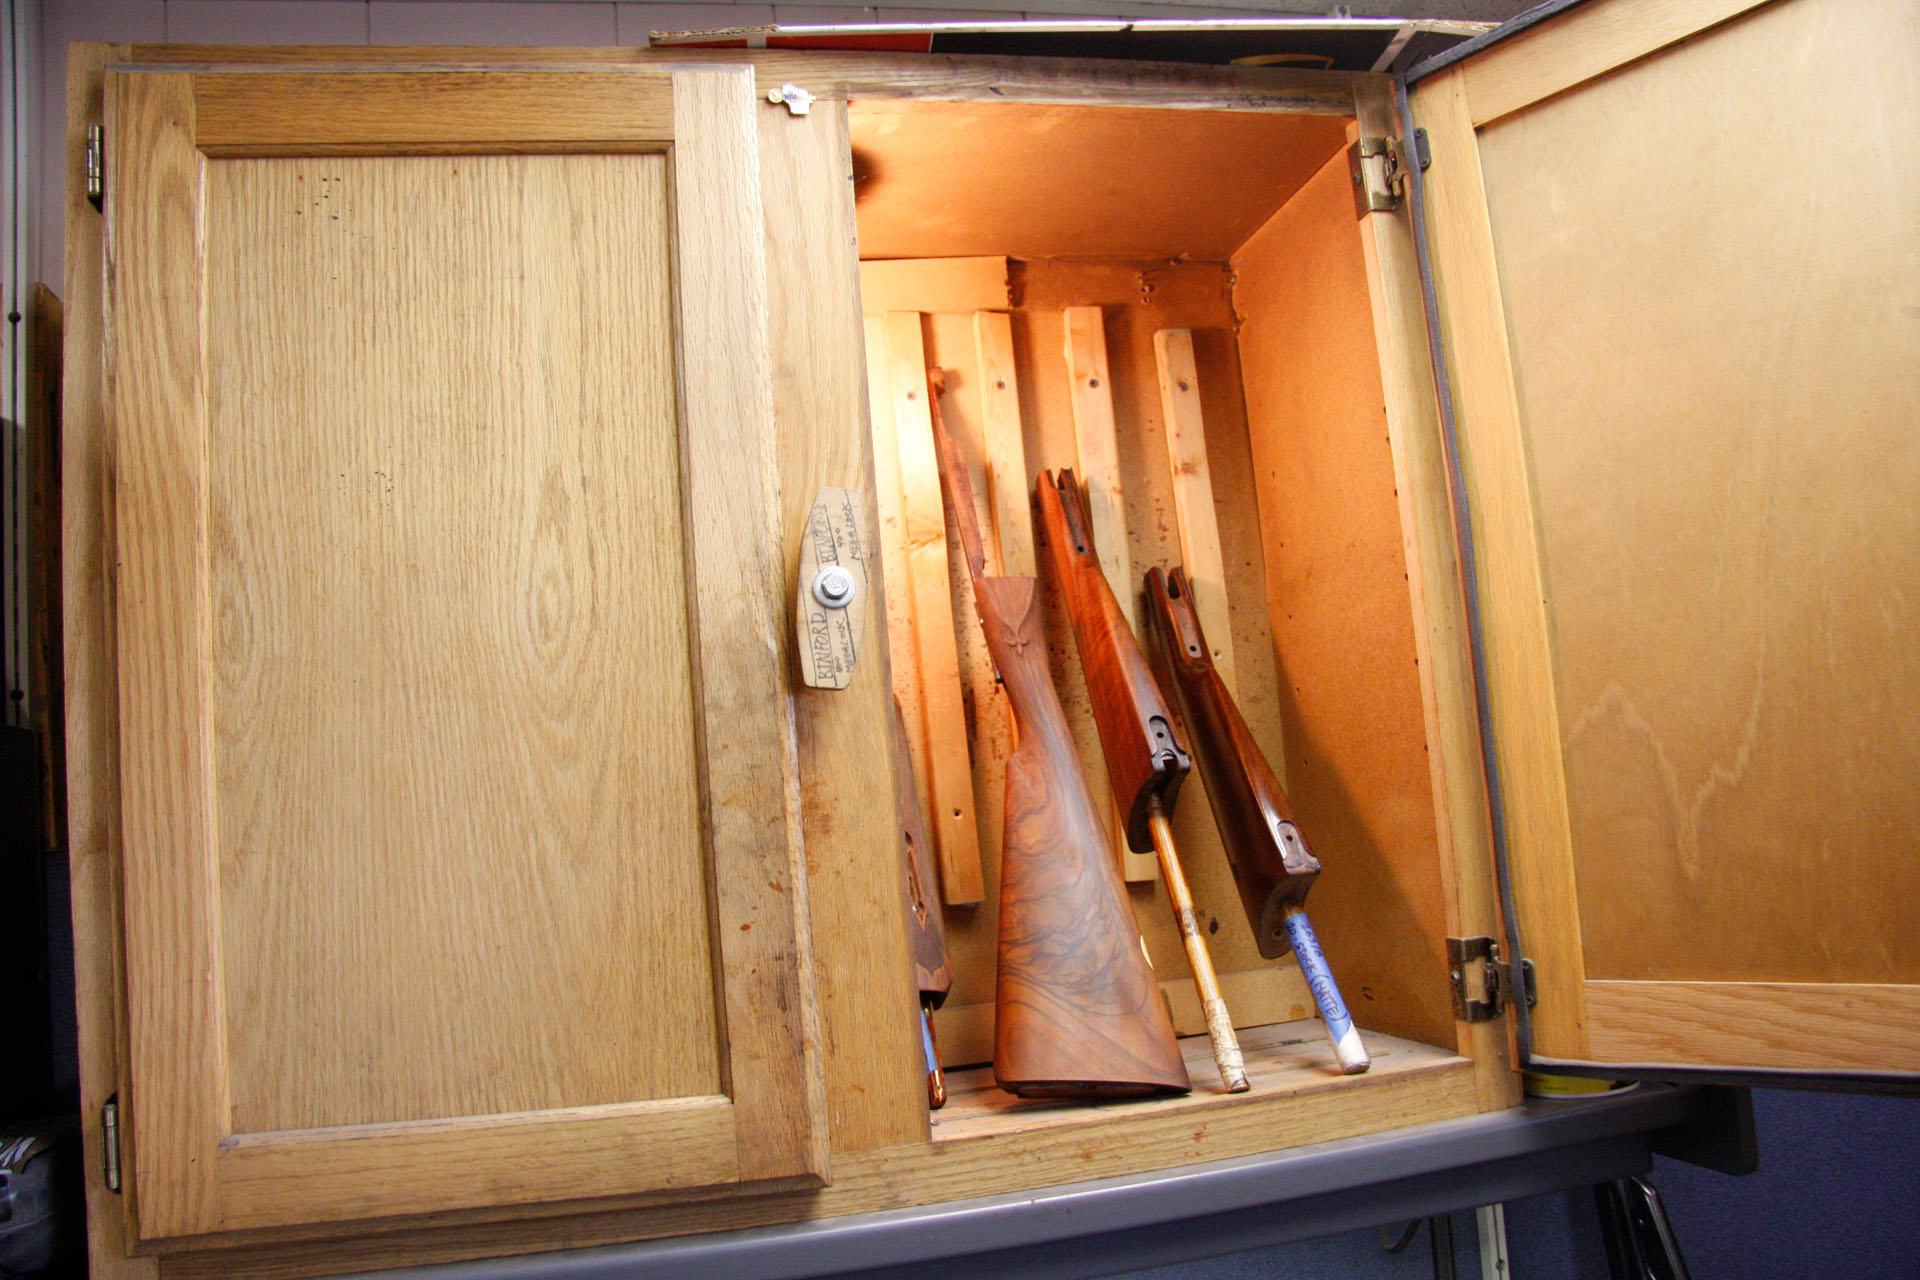
5) The stock is placed in a dust-free heating cabinet to help keep the stock clean while the stain fully dries.
Day 10, Step 6
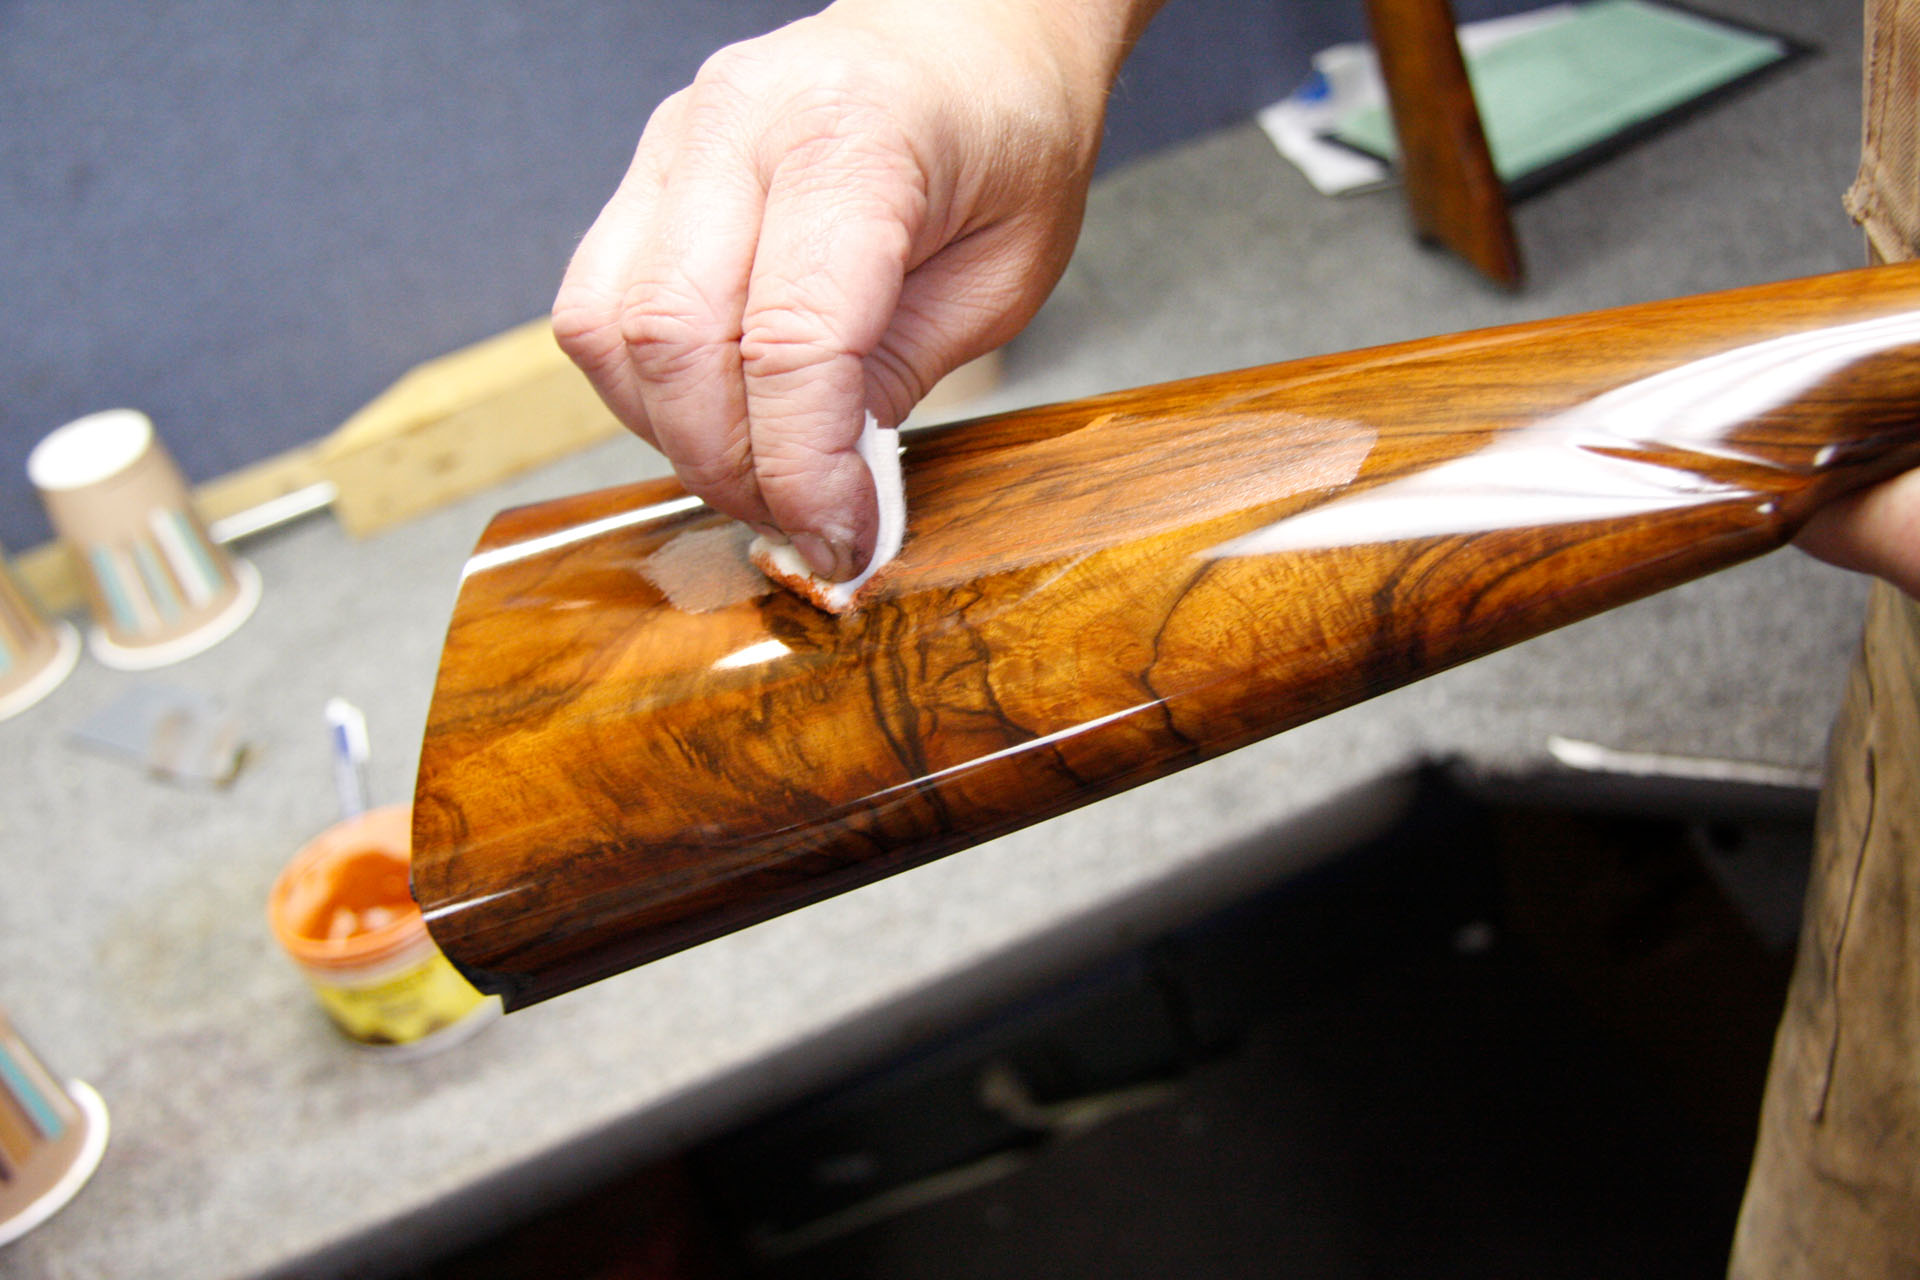
6) The first application of oil finish is then applied.

Day 10, Step 7
7) Using a hand-rubbed method, several coats are applied.
Day 10, Step 8
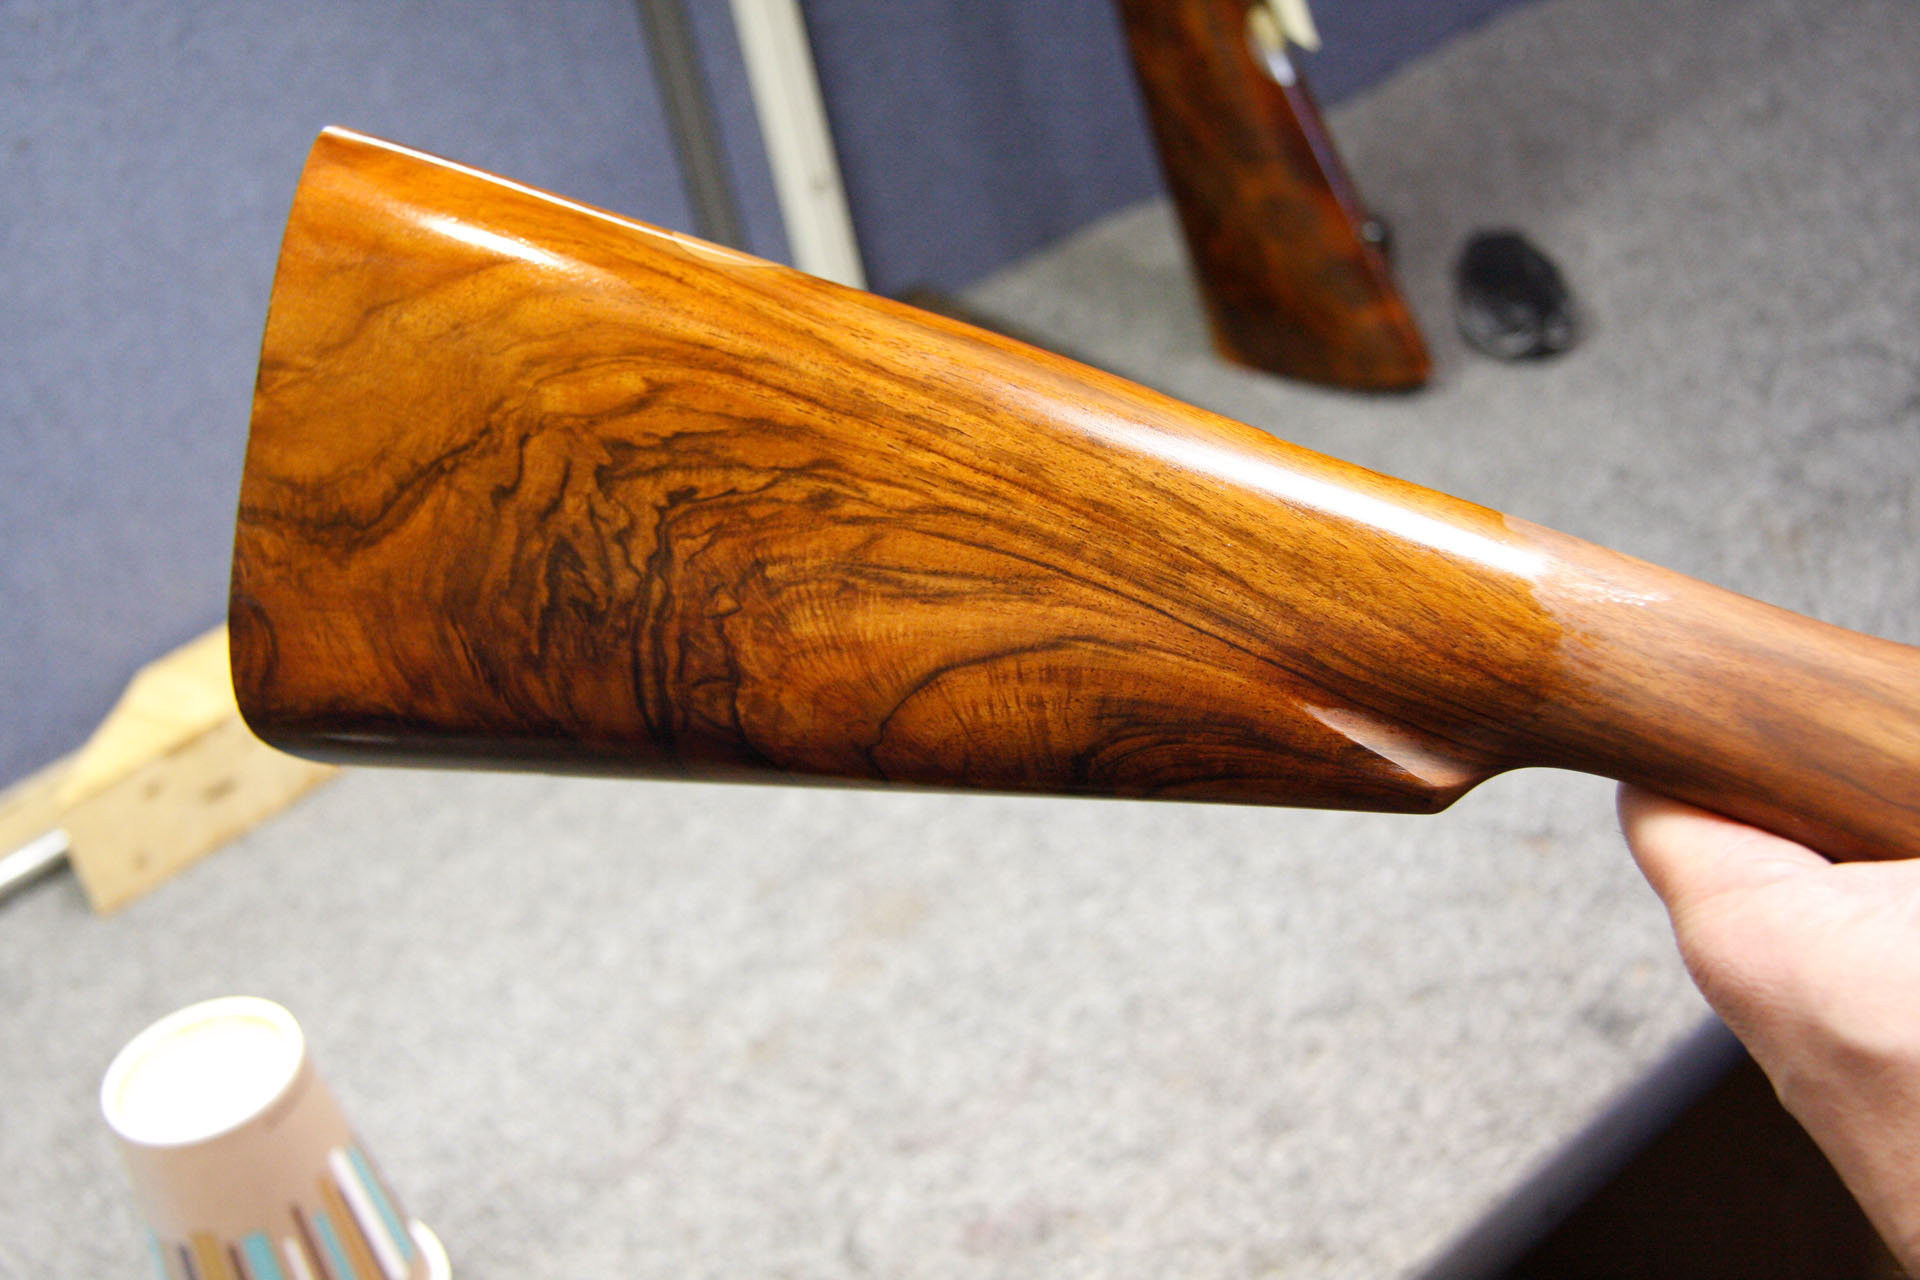
8) Finally, a rubbing-compound finish completes the process by eliminating any dust particles that might have set in.

Day 10, Step 9
9) Beautiful!
Day 11: Checkering the Buttstock
Day 11, Step 1
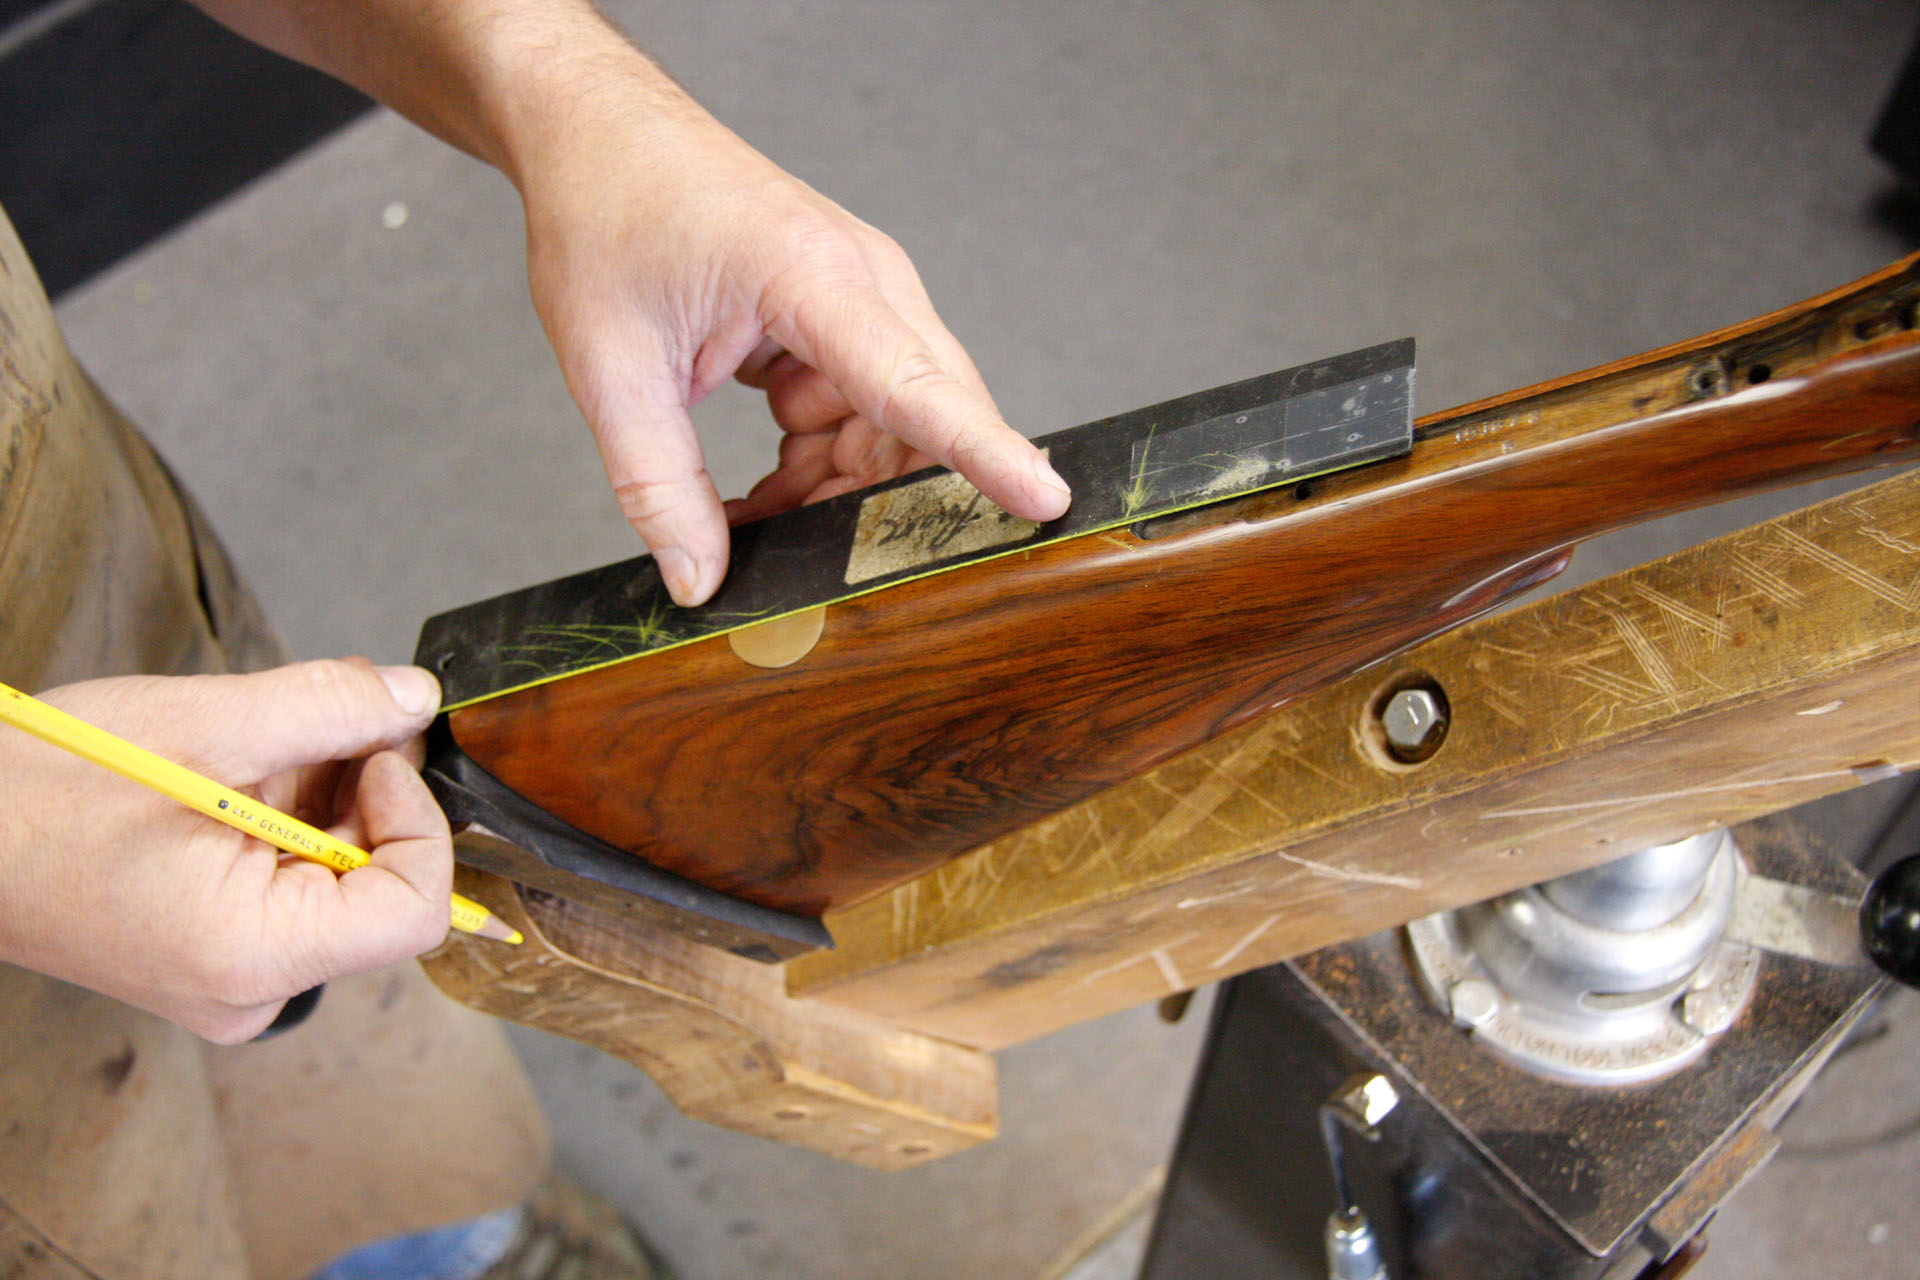
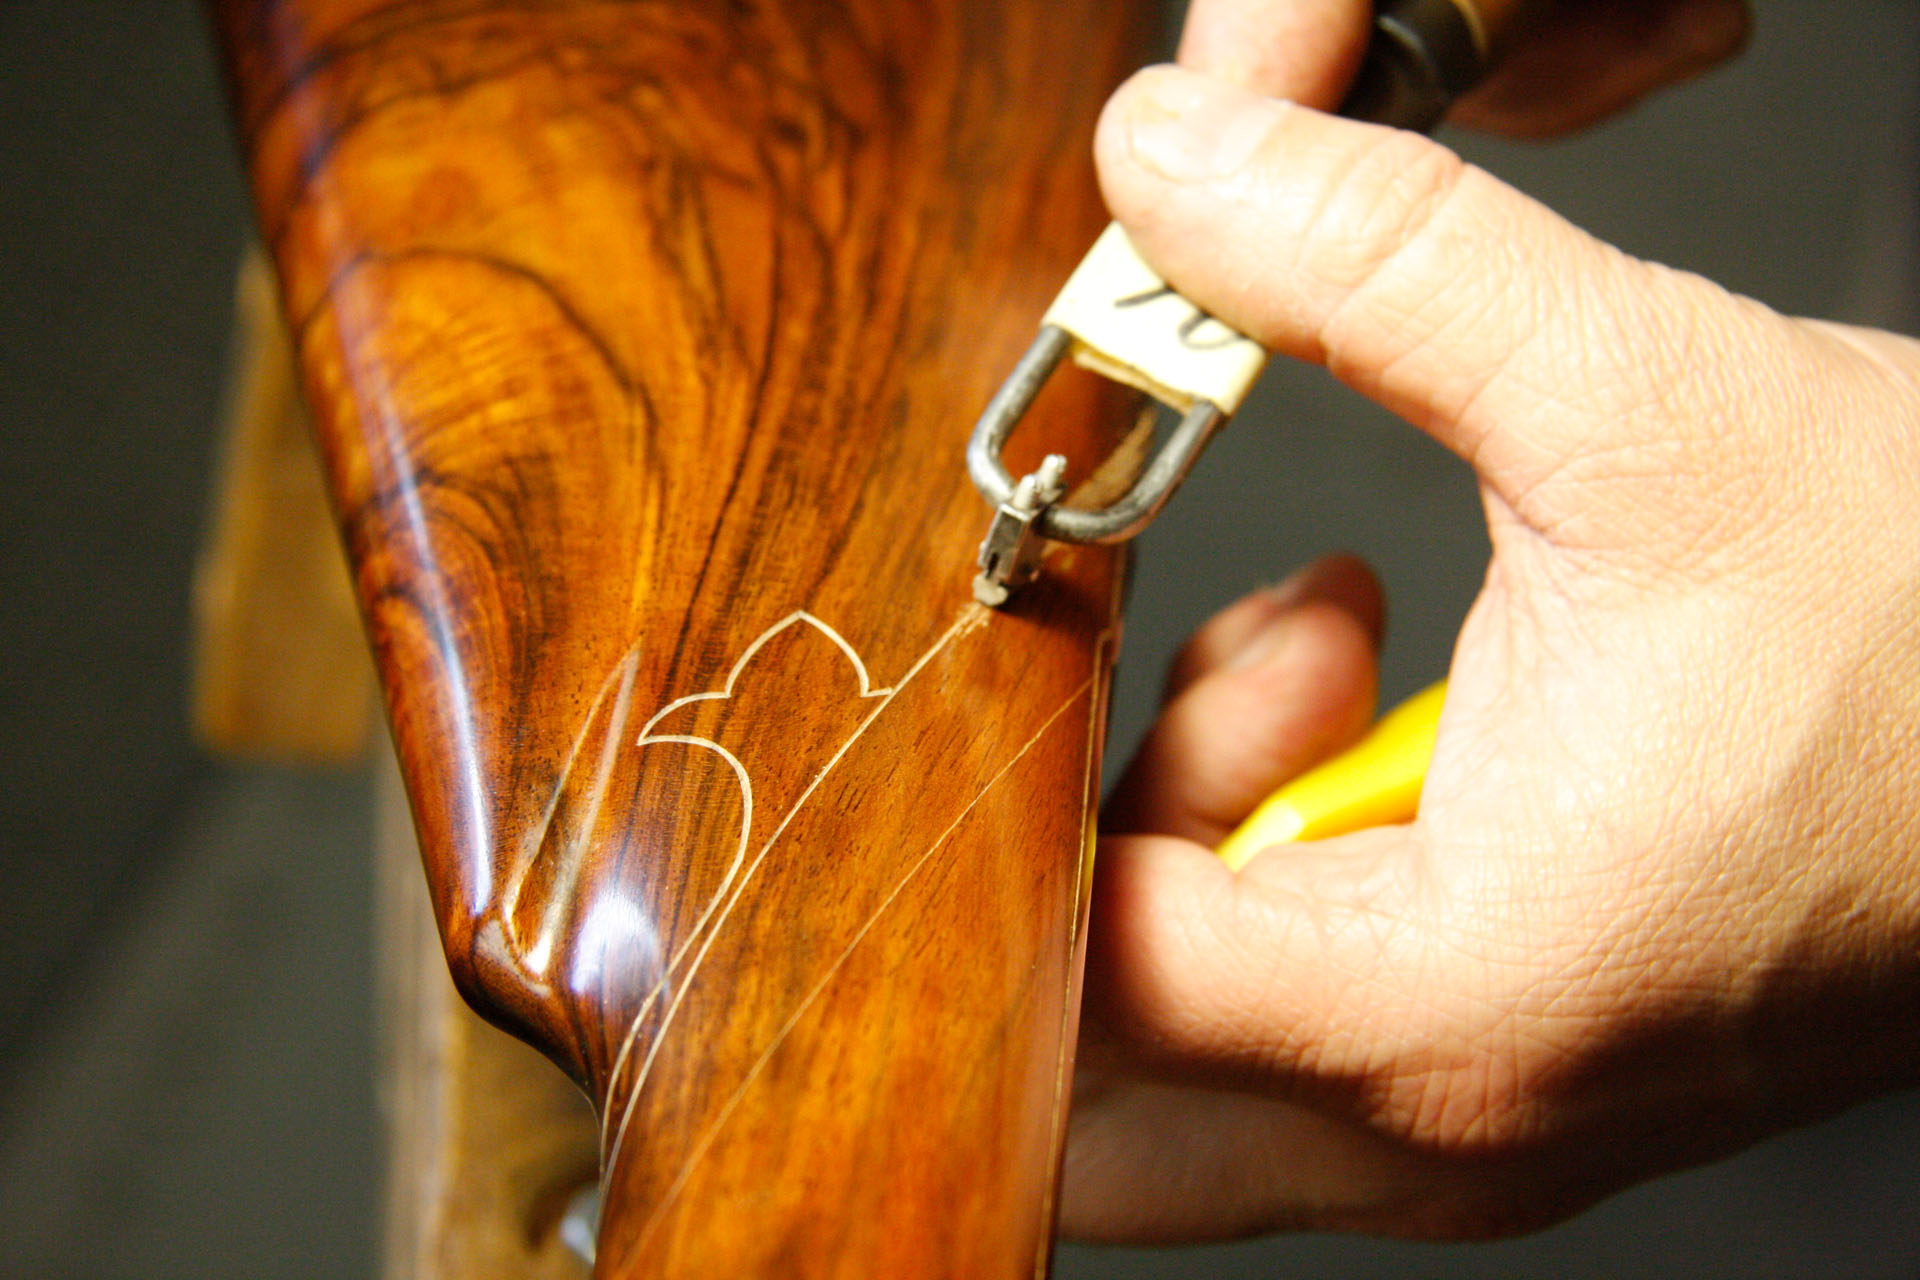
1) First, the pattern has to be laid out, and here the center lines are marked.
Day 11, Step 2
2) The master lines for the checkering are then sketched.

Day 11, Step 3
3) The original Parker buttstock is also used to lay out the design.
Day 11, Step 4
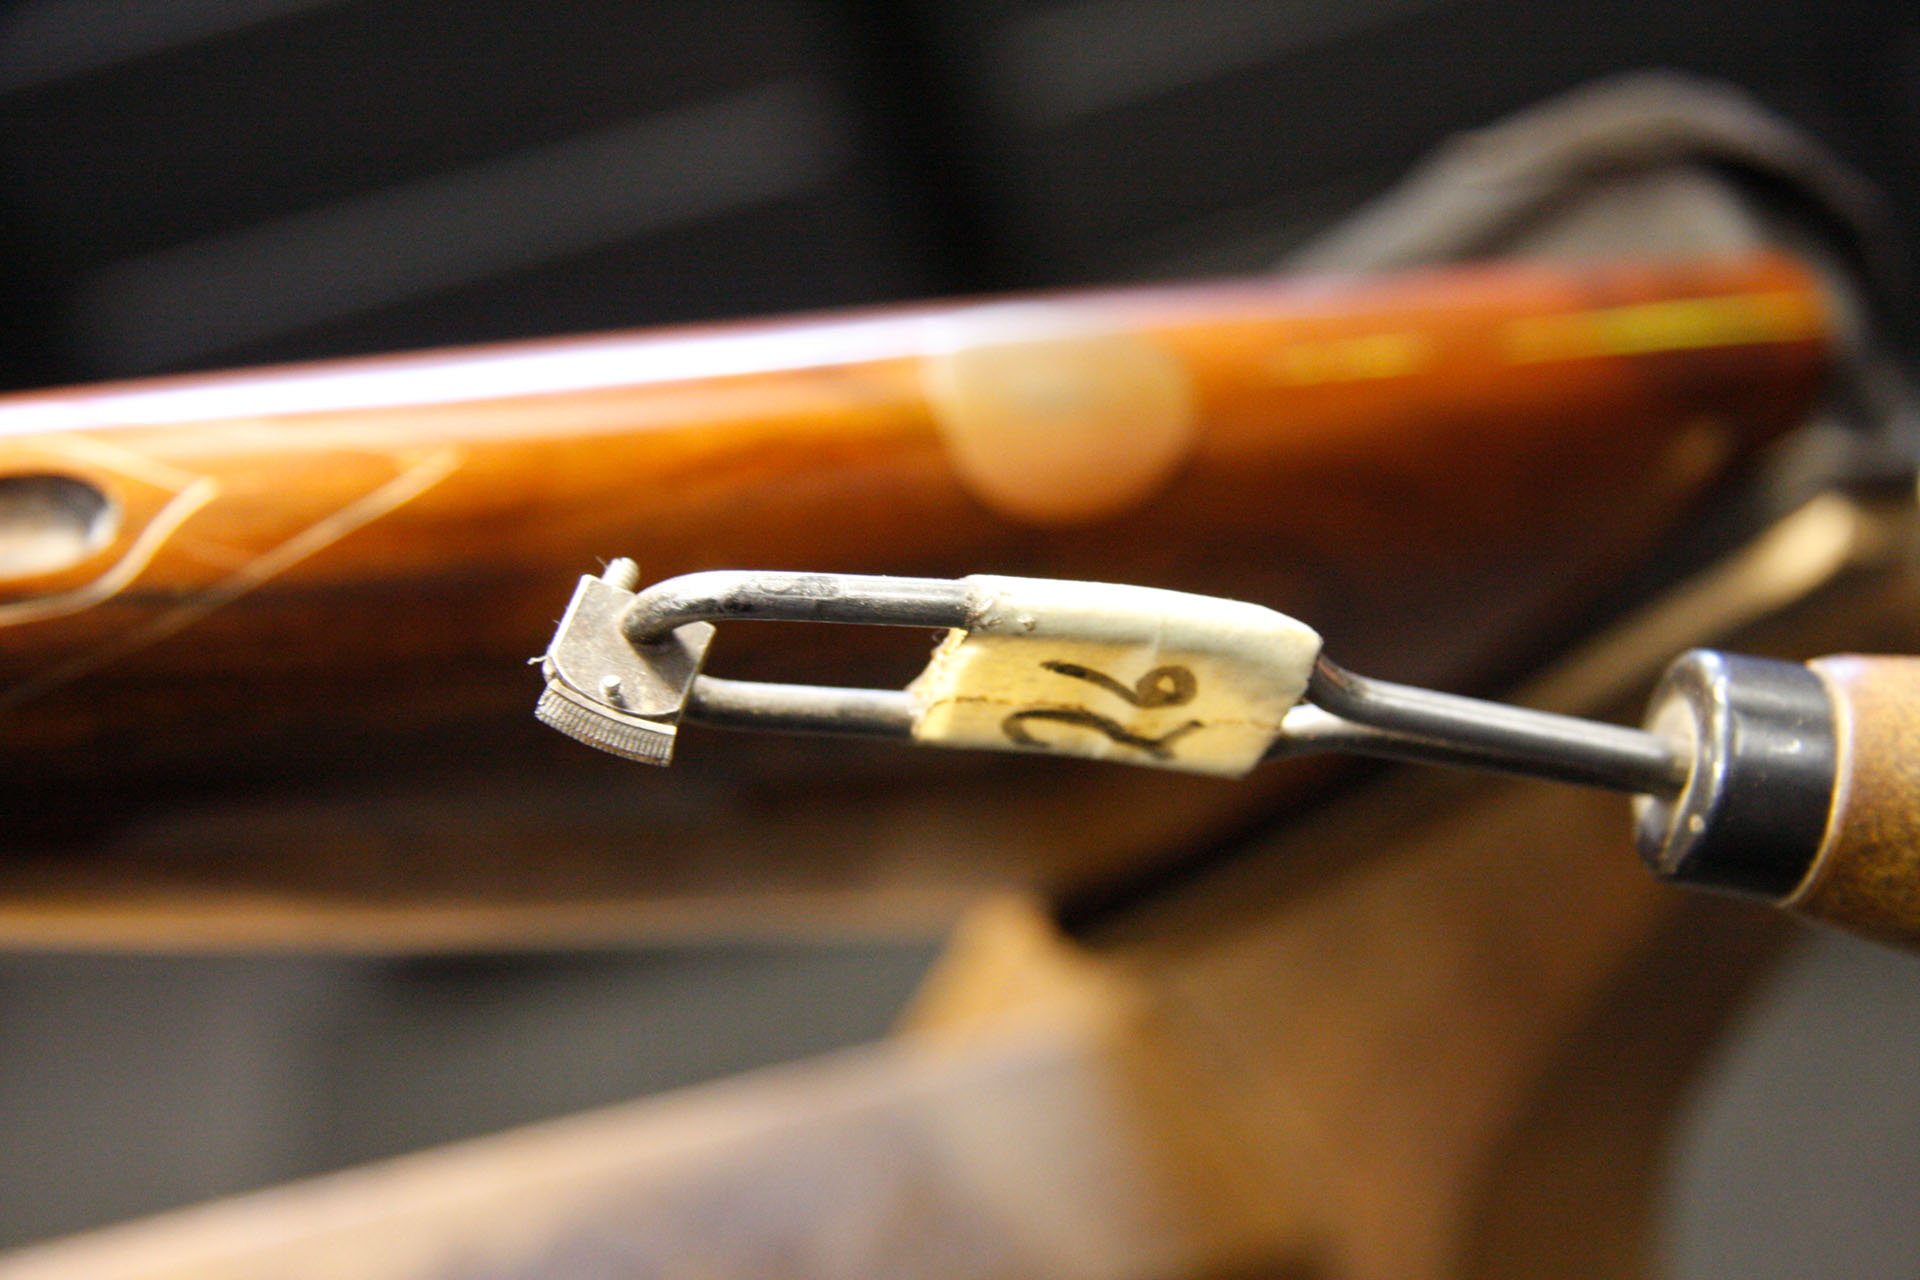
4) Here is a single-line cutter, which is one of only a few tools used during the process.
Day 11, Step 5
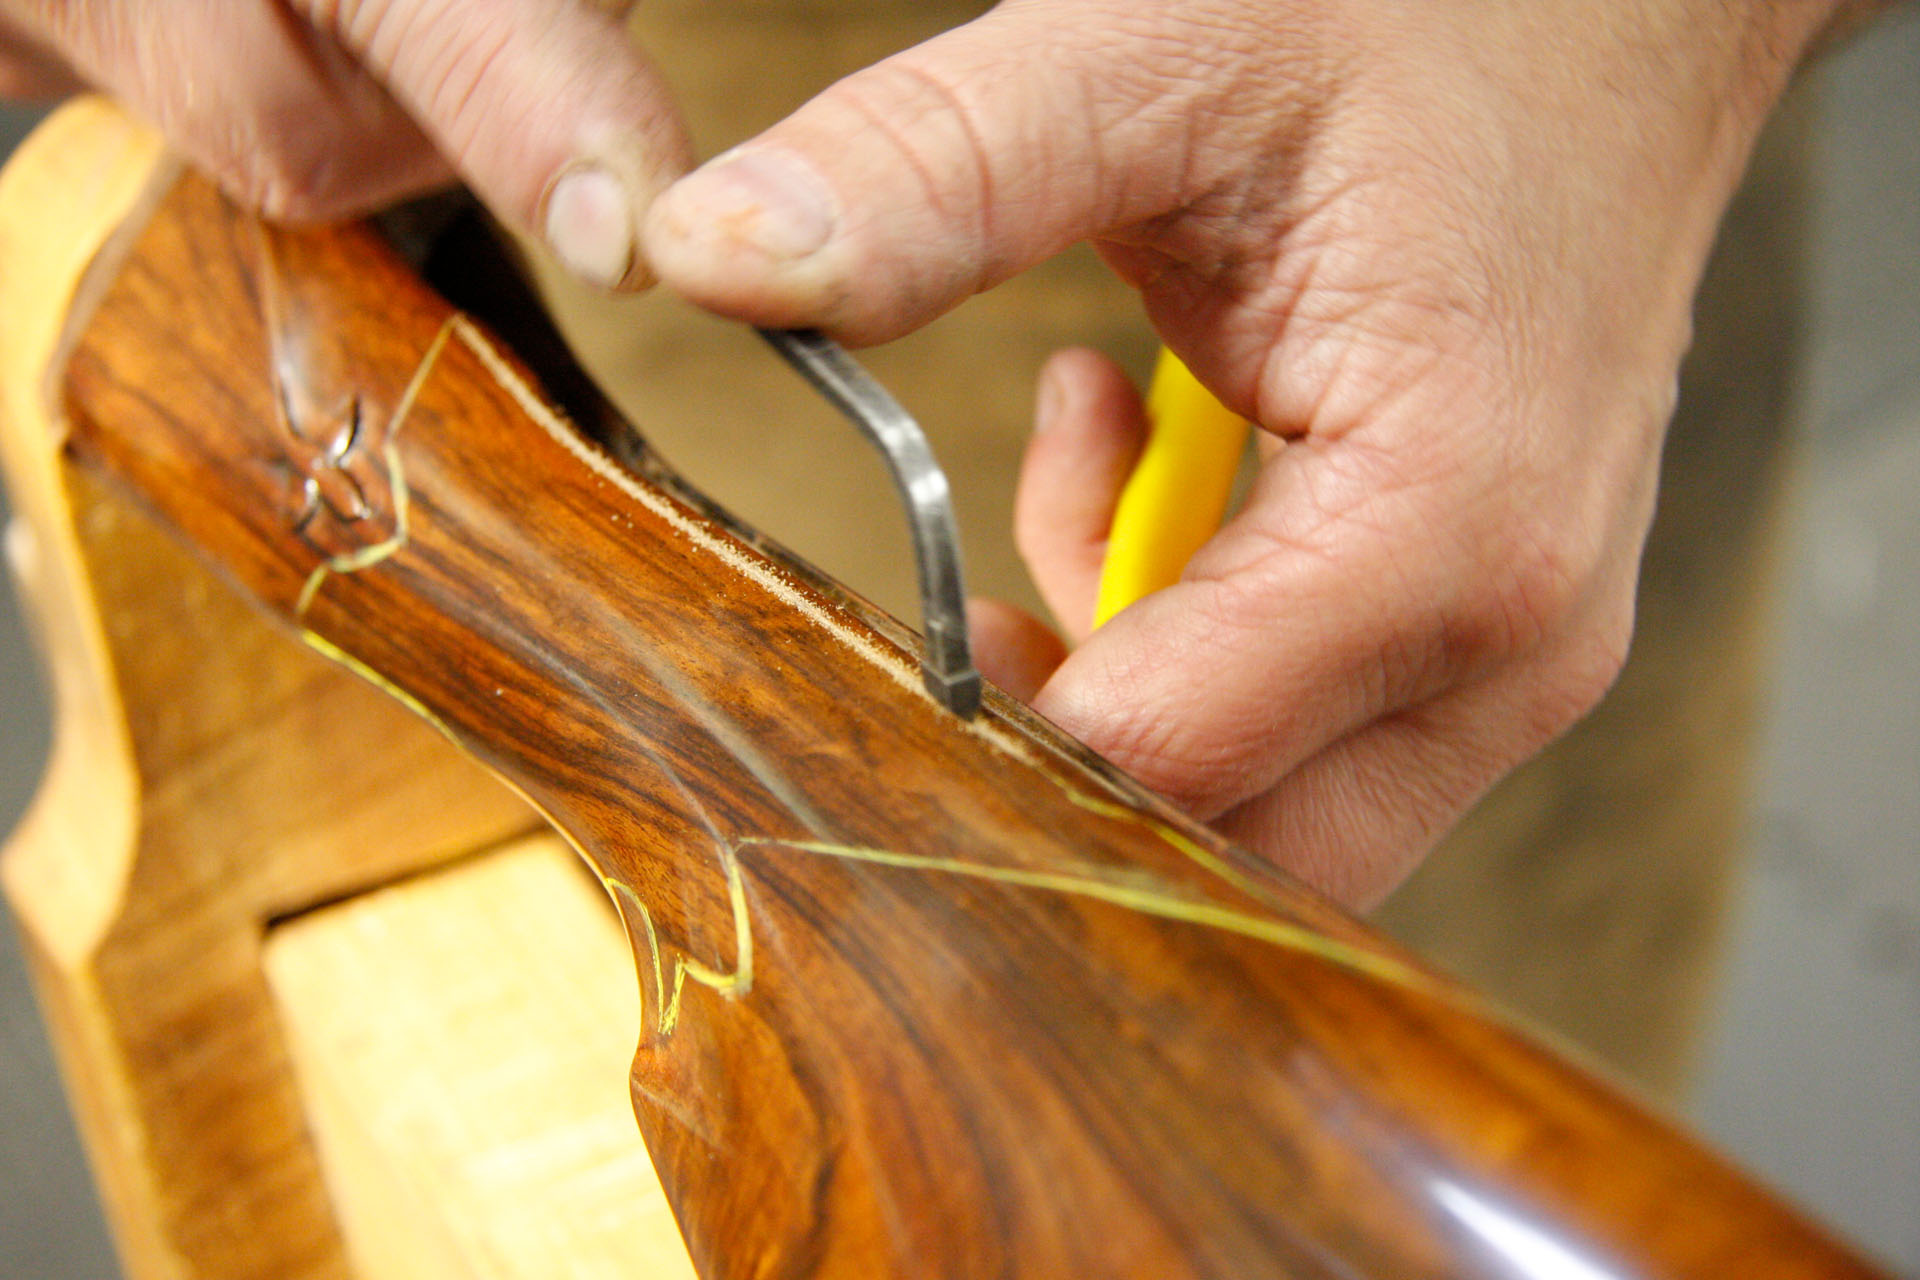
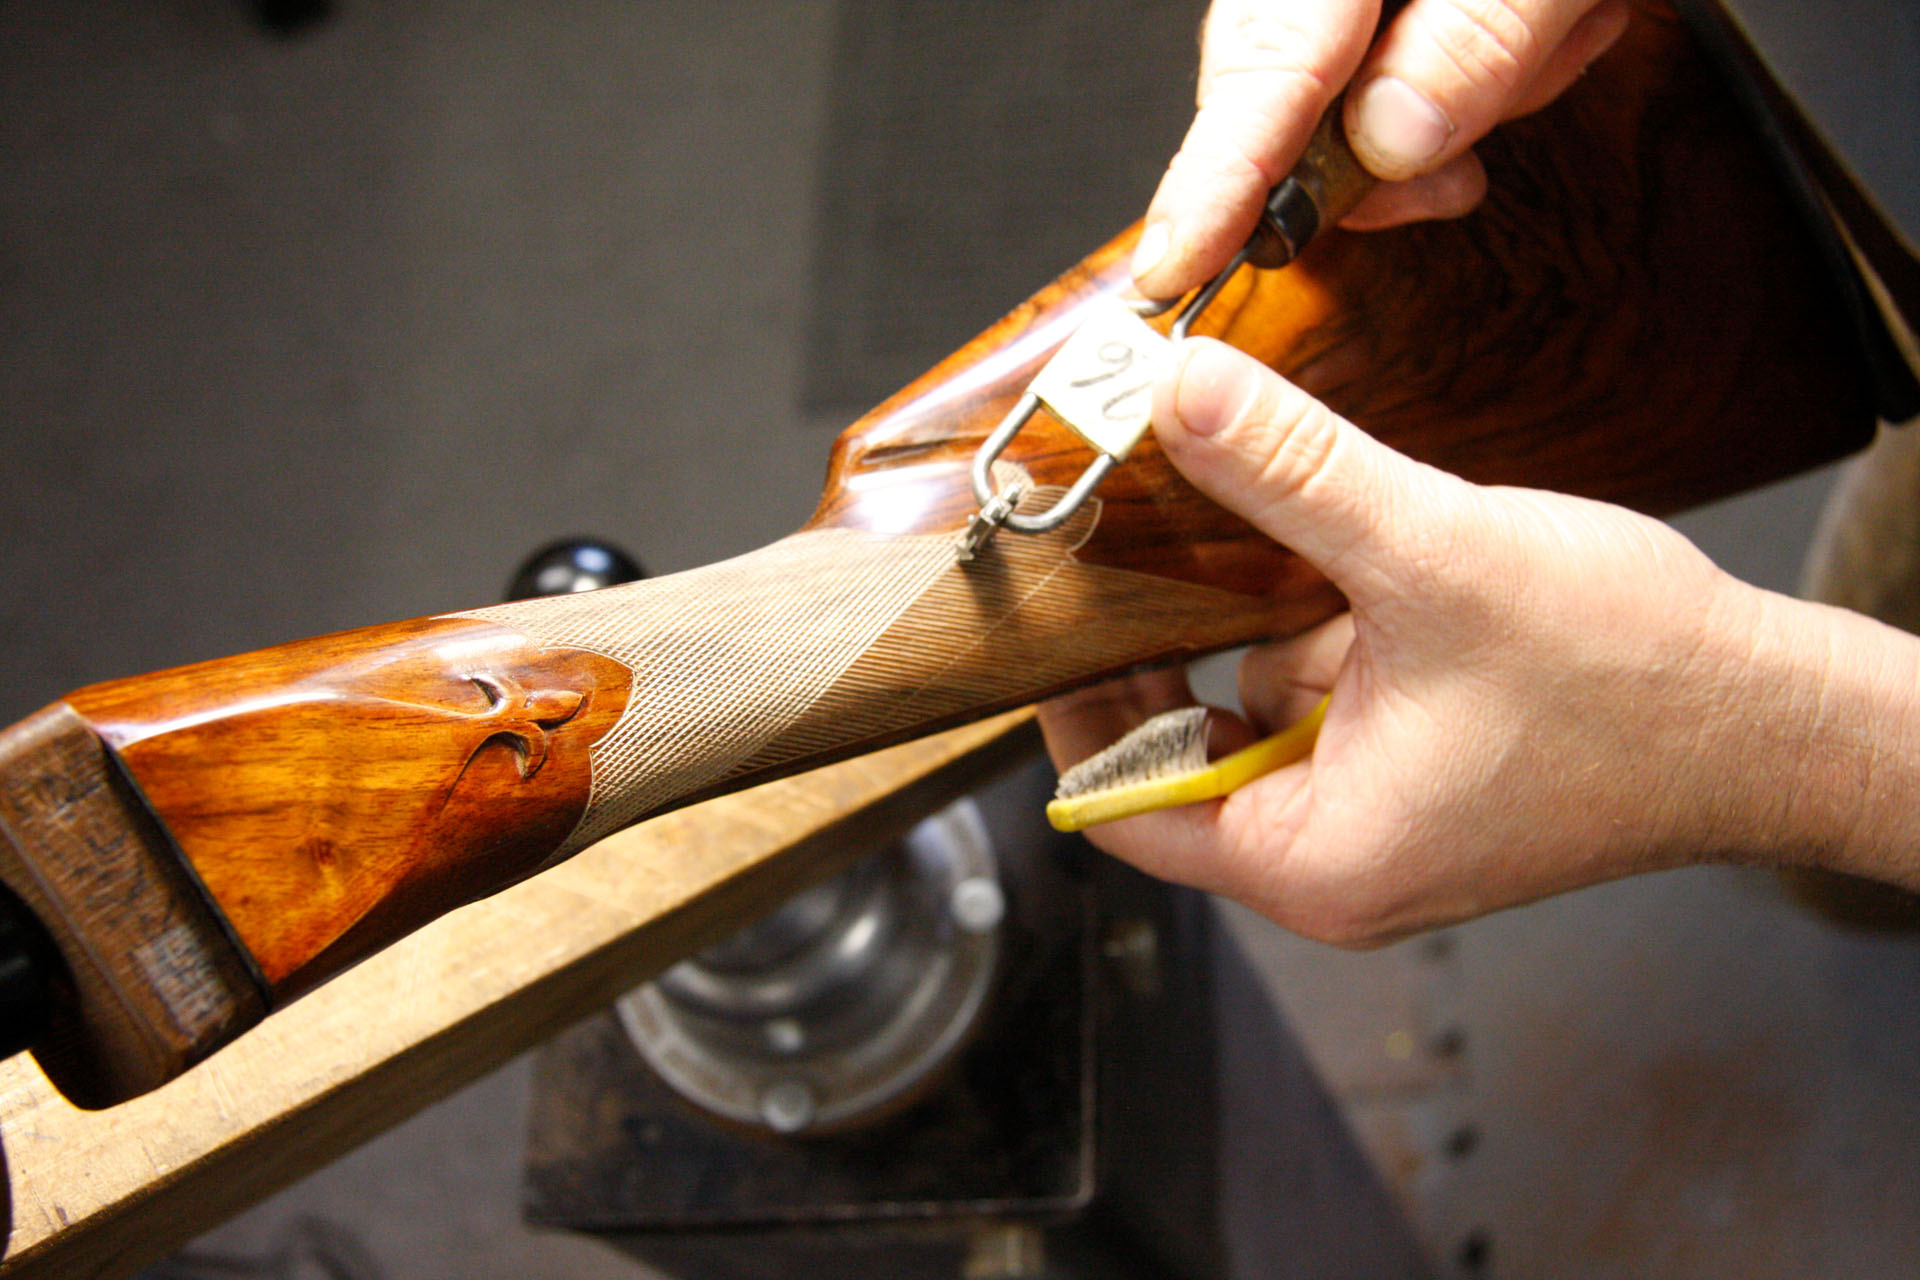
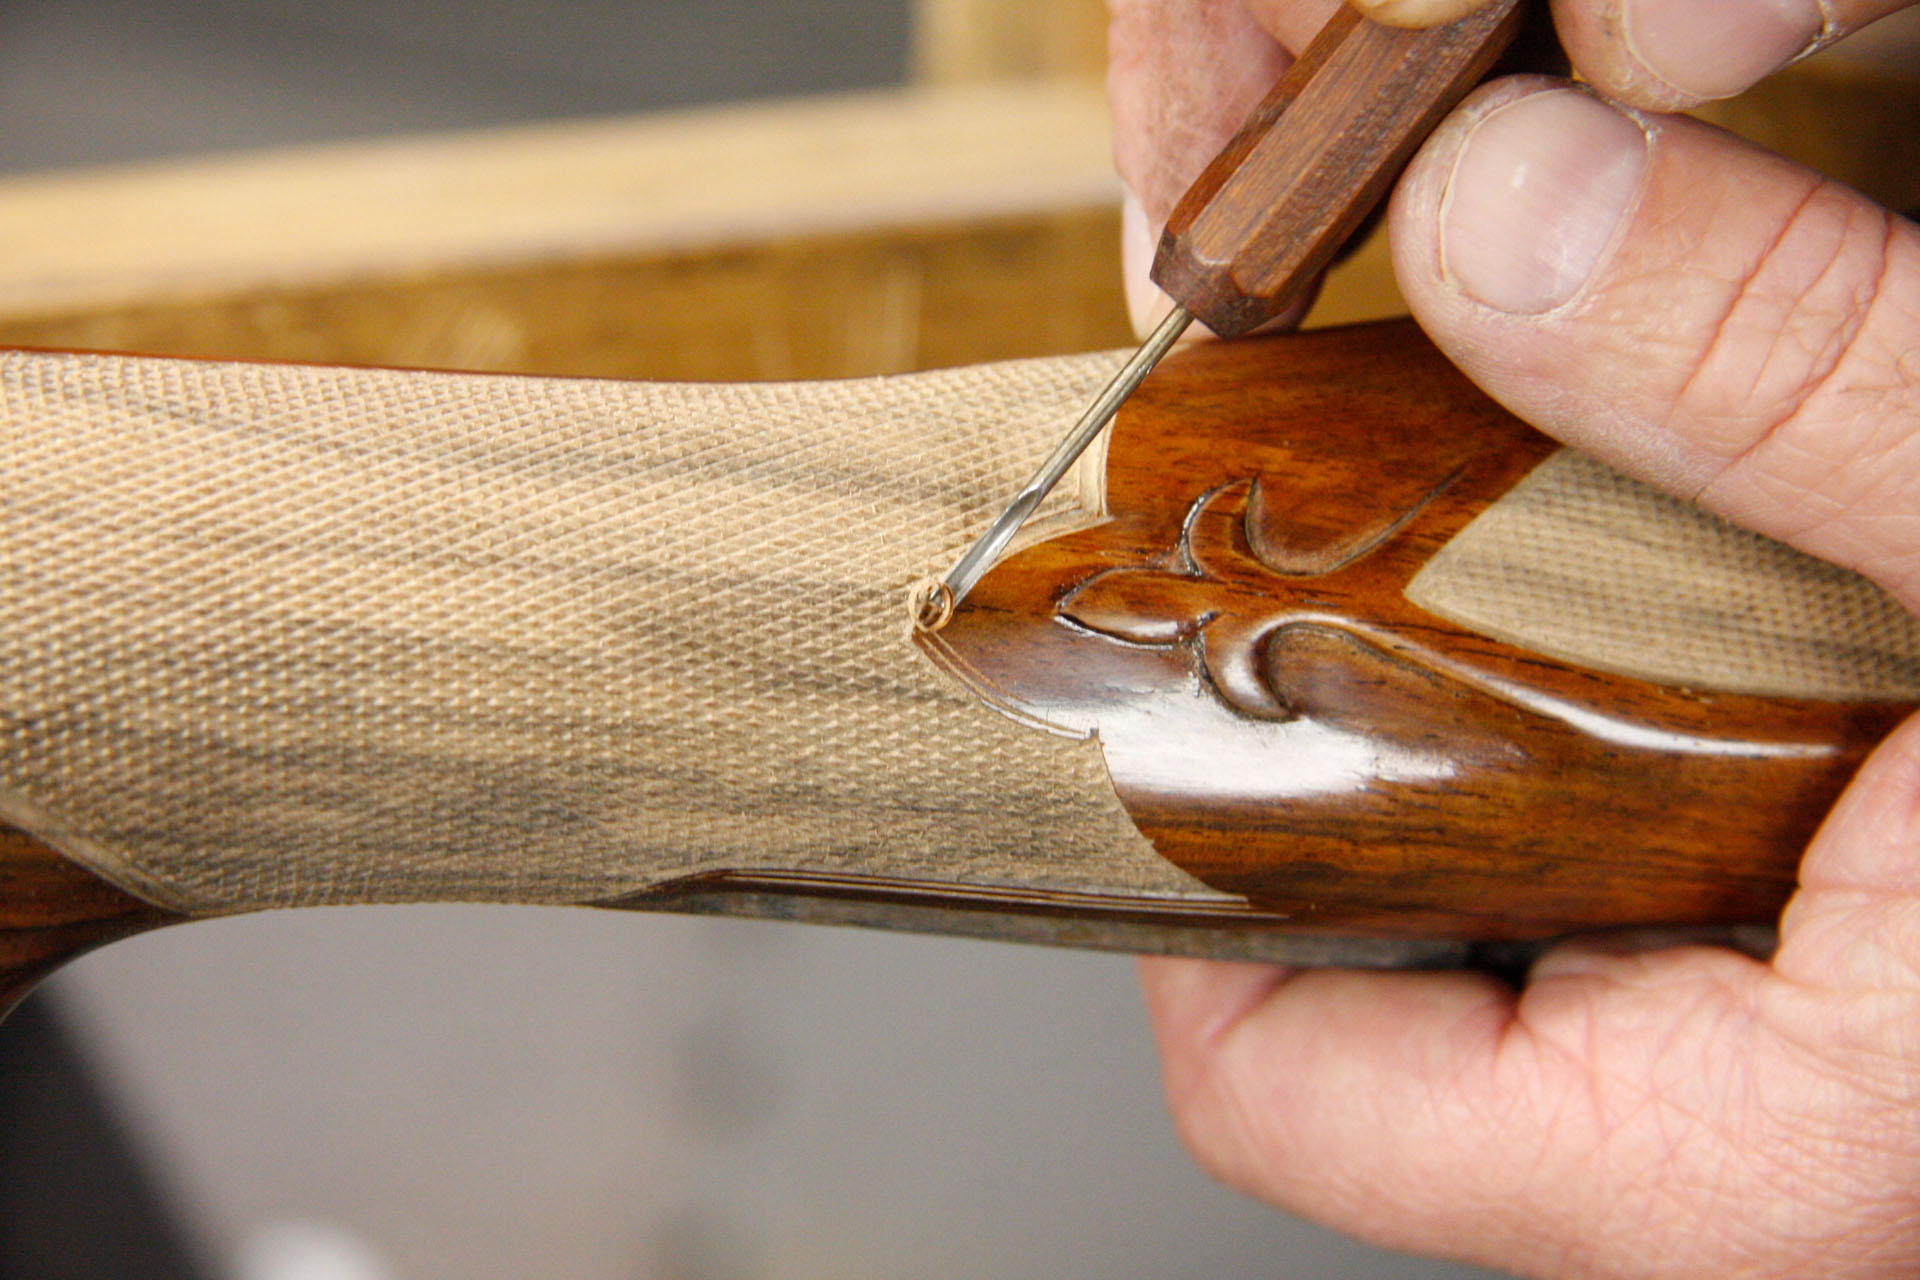
5) First, the cutter is used to cut the border along the trigger guard.
Day 11, Step 6
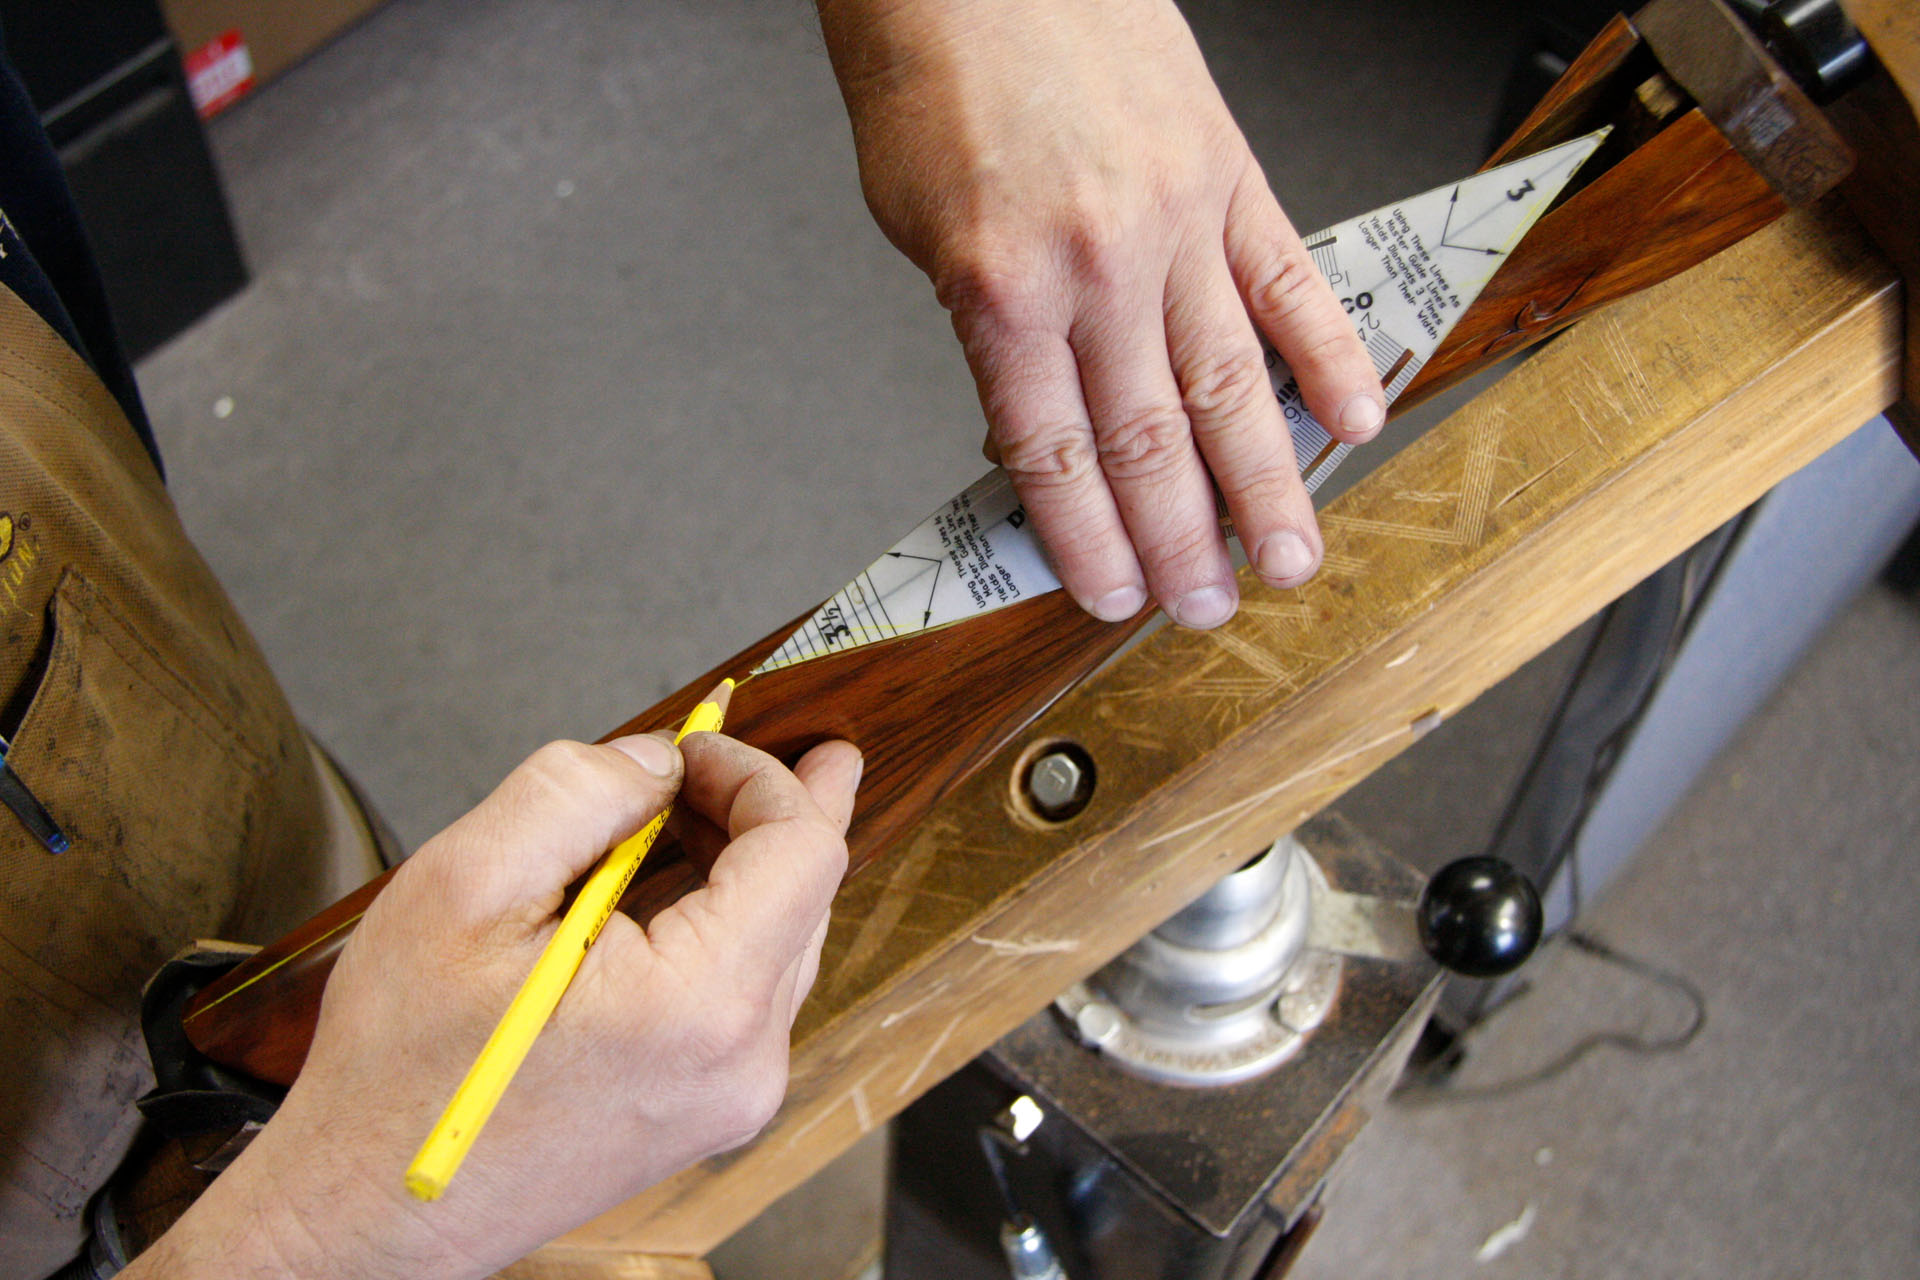
6) Once the border is done, he begins to cut the lines in one direction.
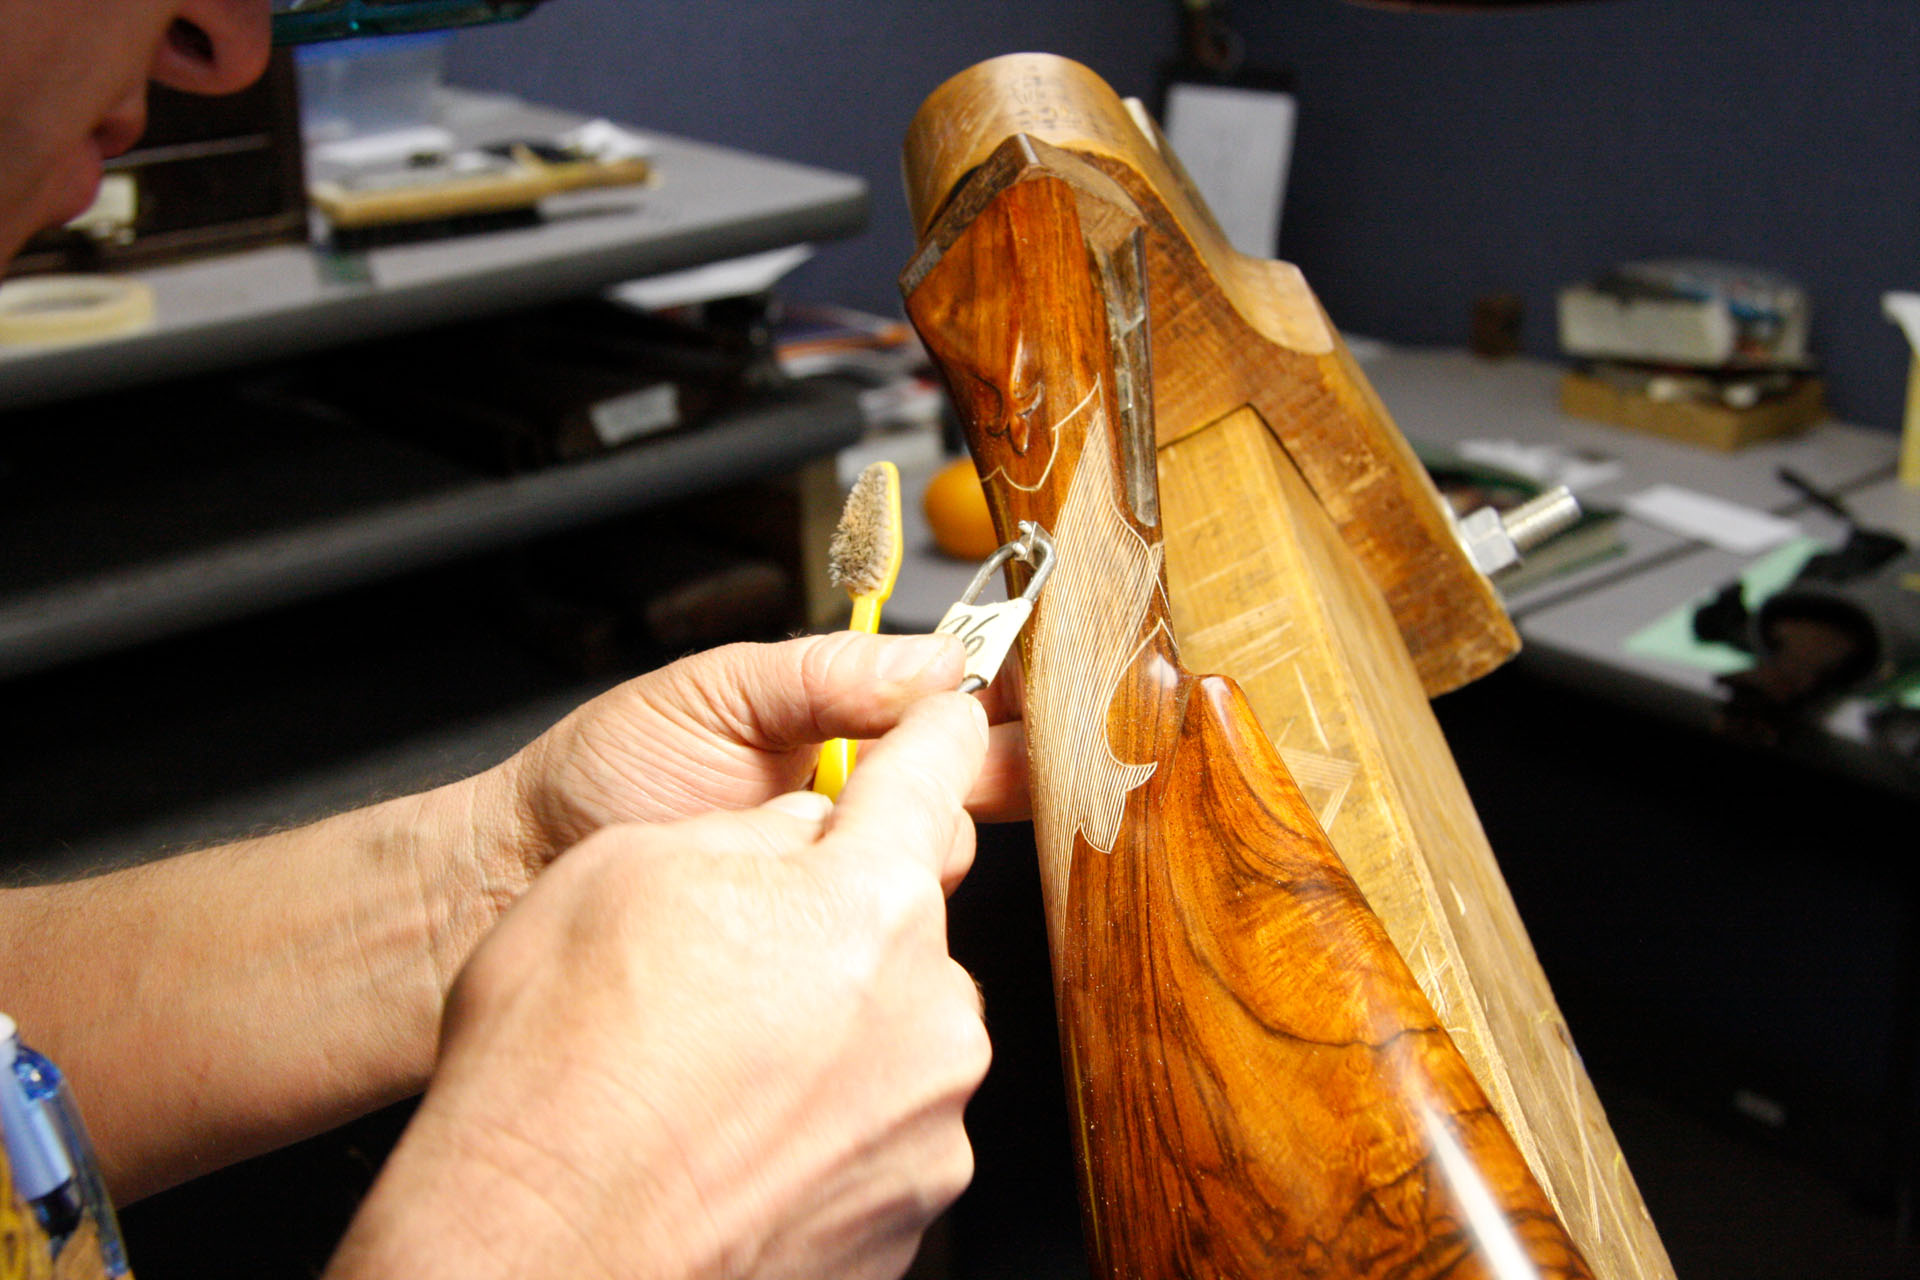
Day 11, Step 7
7) This particular pattern has 26 lines per inch.
Day 11, Step 8
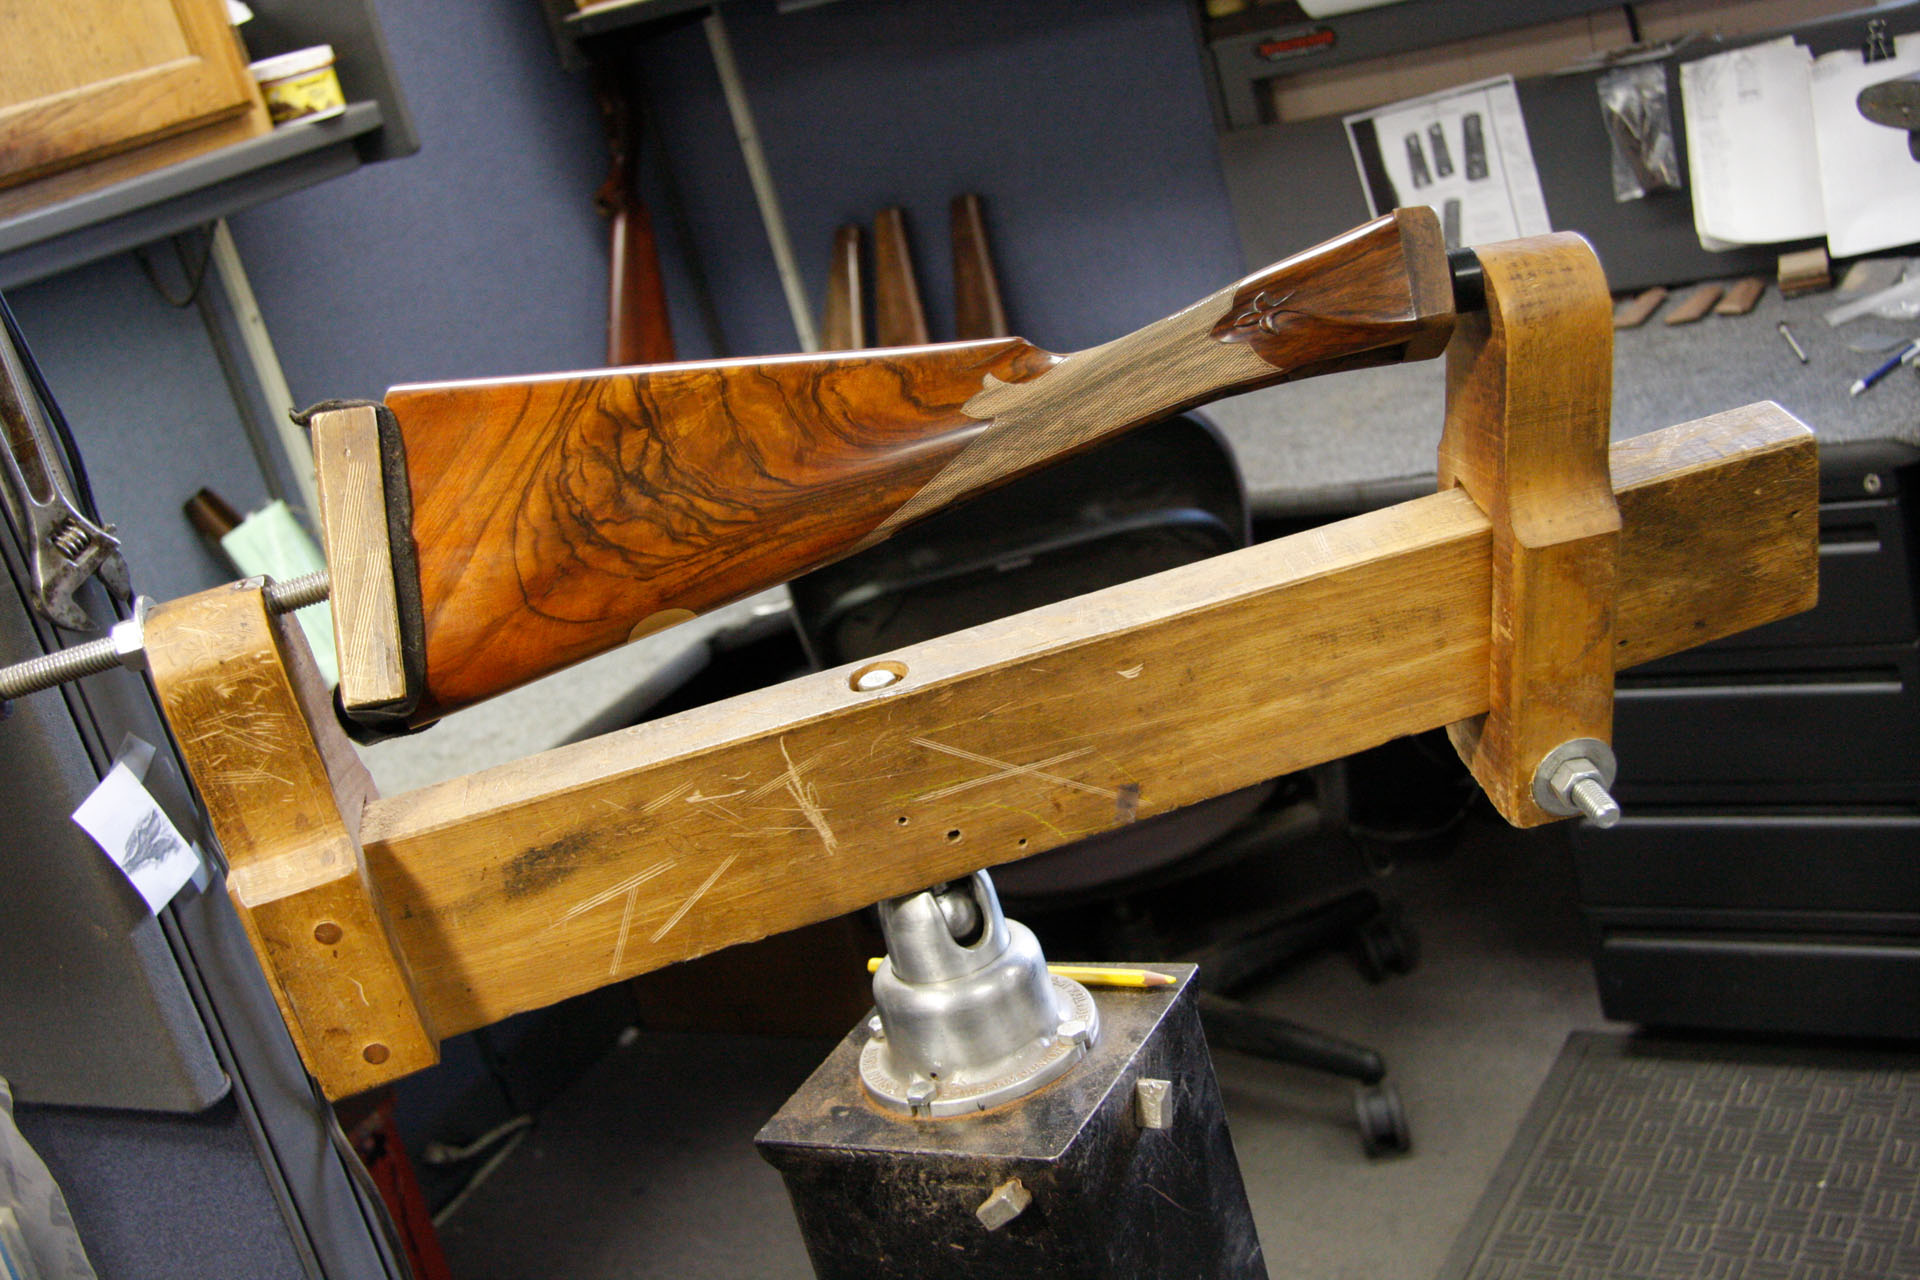
8) The lines have all been cut in one direction.
Day 11, Step 9
9) Now the lines are cut in the opposite direction.
Day 11, Step 10
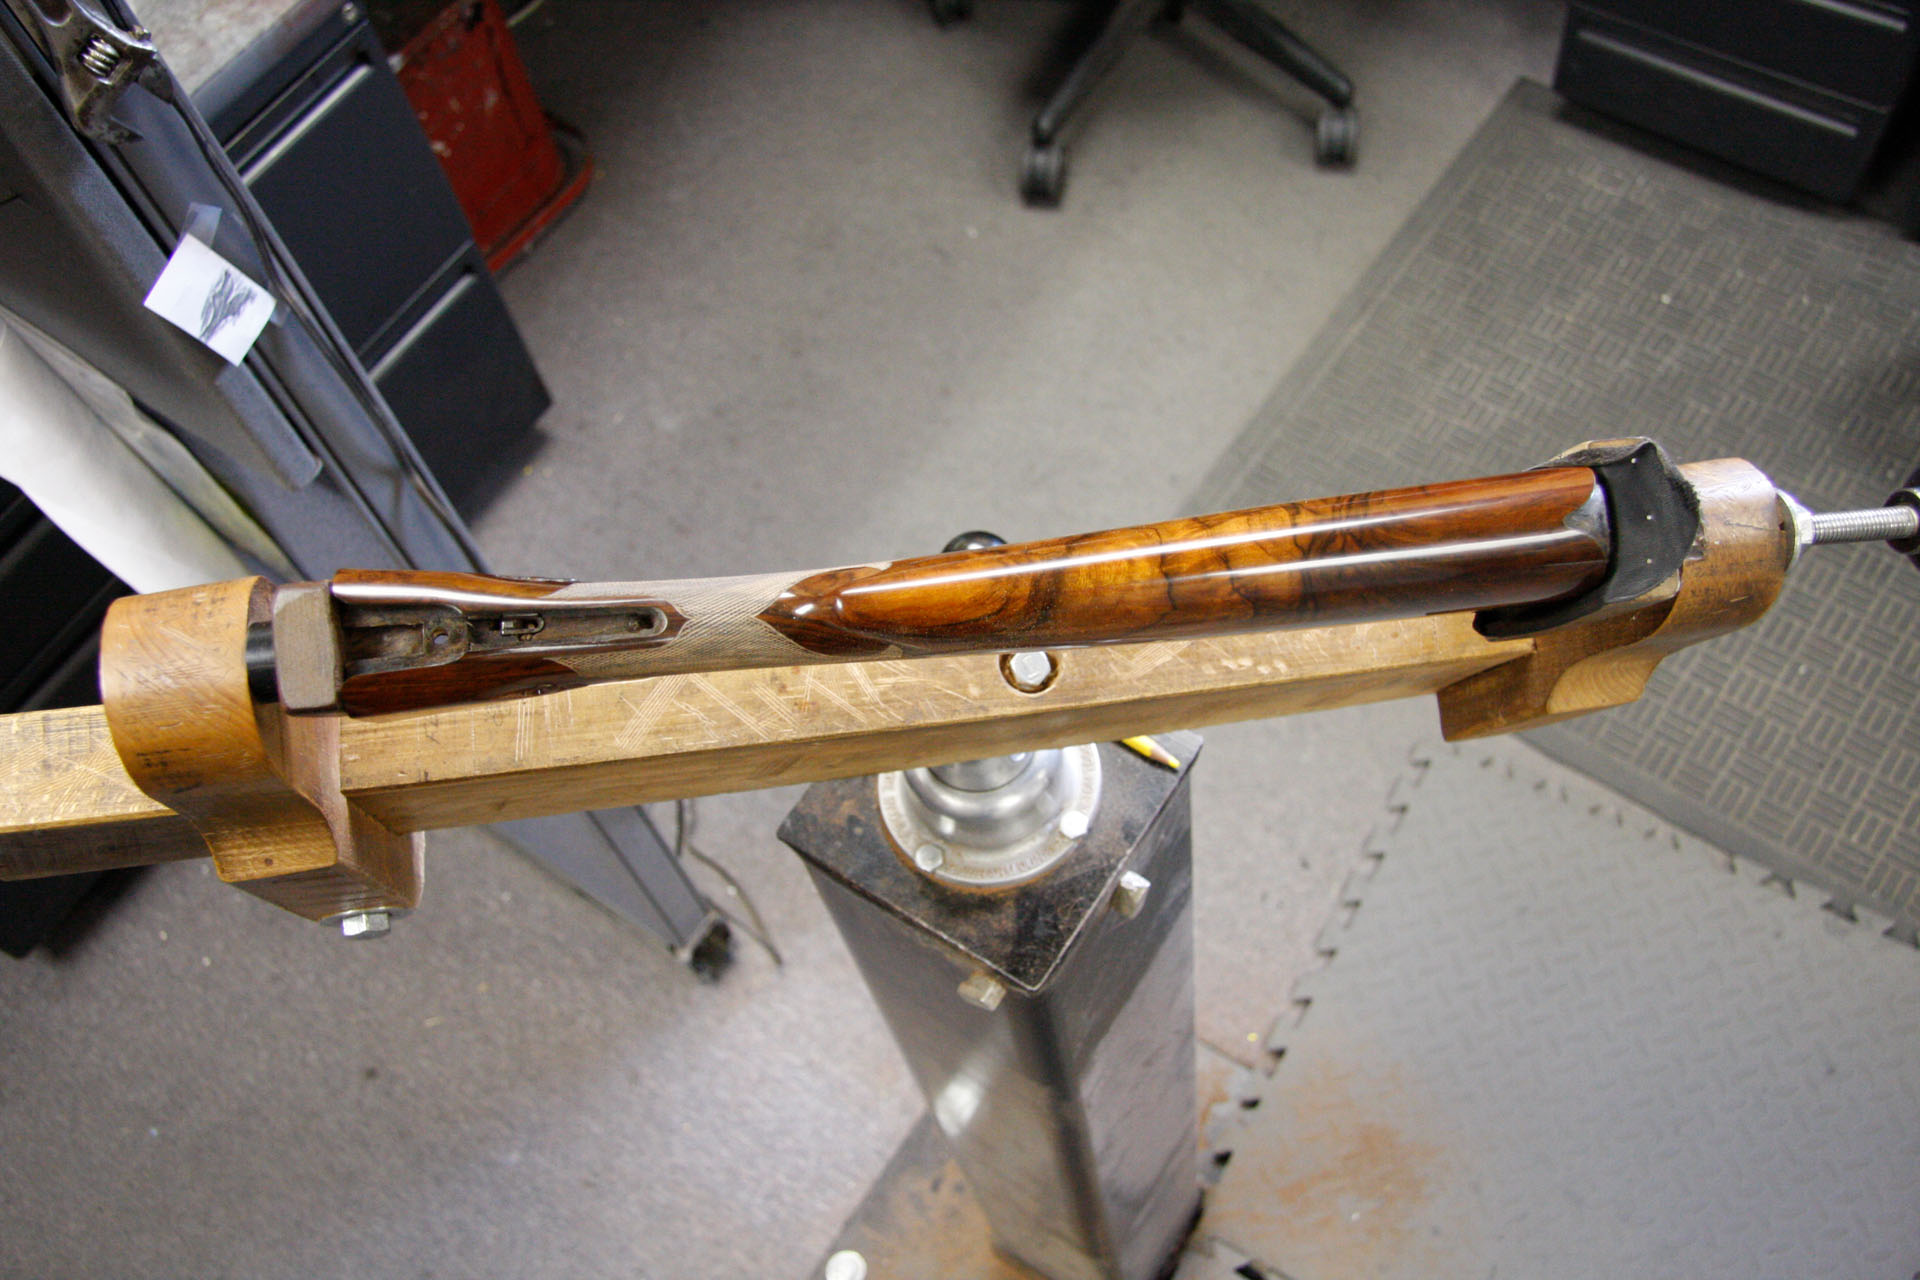
10) Here is a top view of the stock. You can see that the pattern is wrapped around the top and also goes underneath.
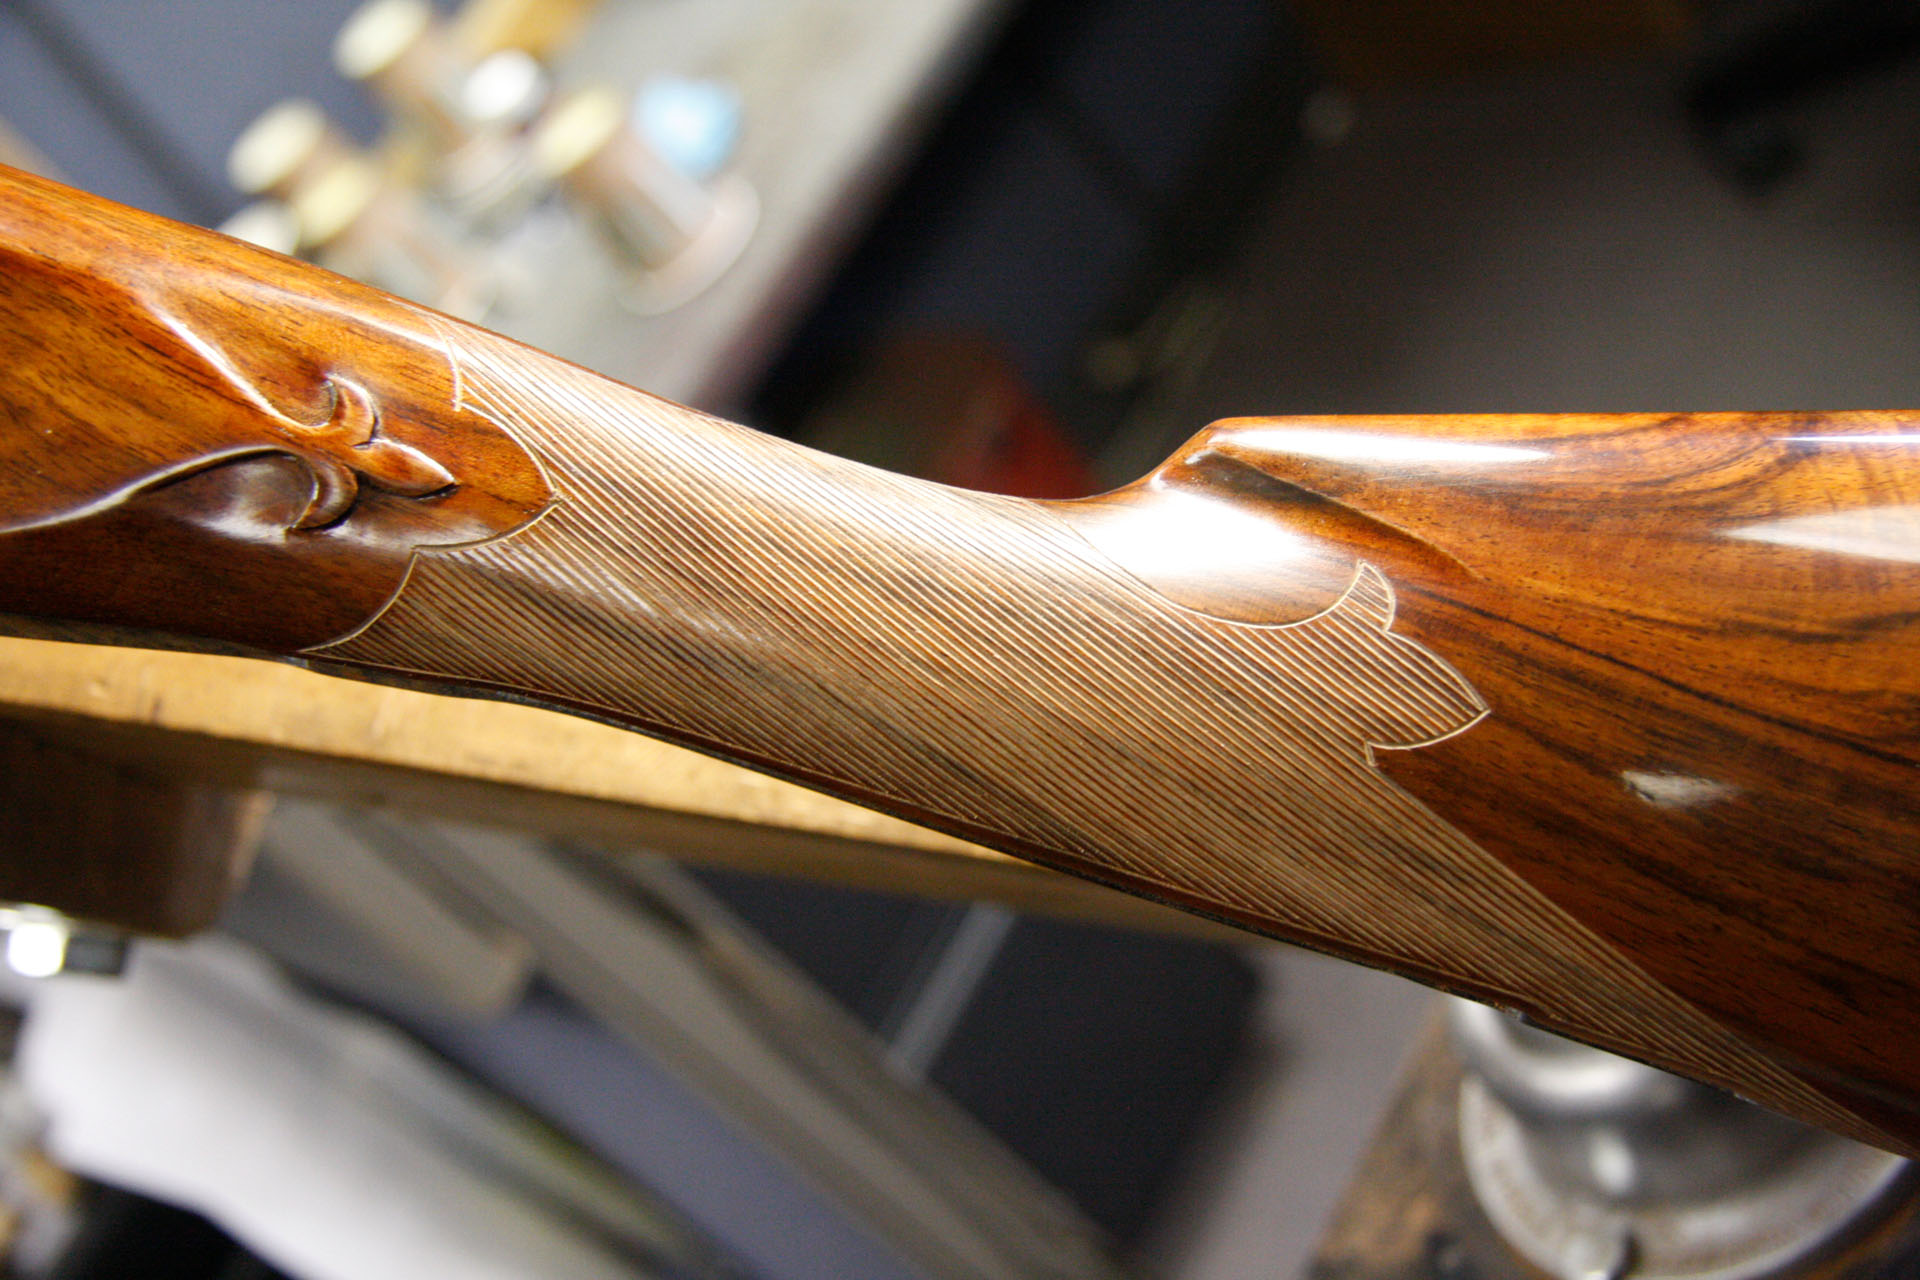
Day 11, Step 11
11) The main part of the checkering is complete. Next, the side panels will be checkered and a mullered border added.
Day 12: More Checkering
Day 12, Step 1
1) First, the side panels are outlined.

Day 12, Step 2
2) The wood is removed for the recessed side panel.
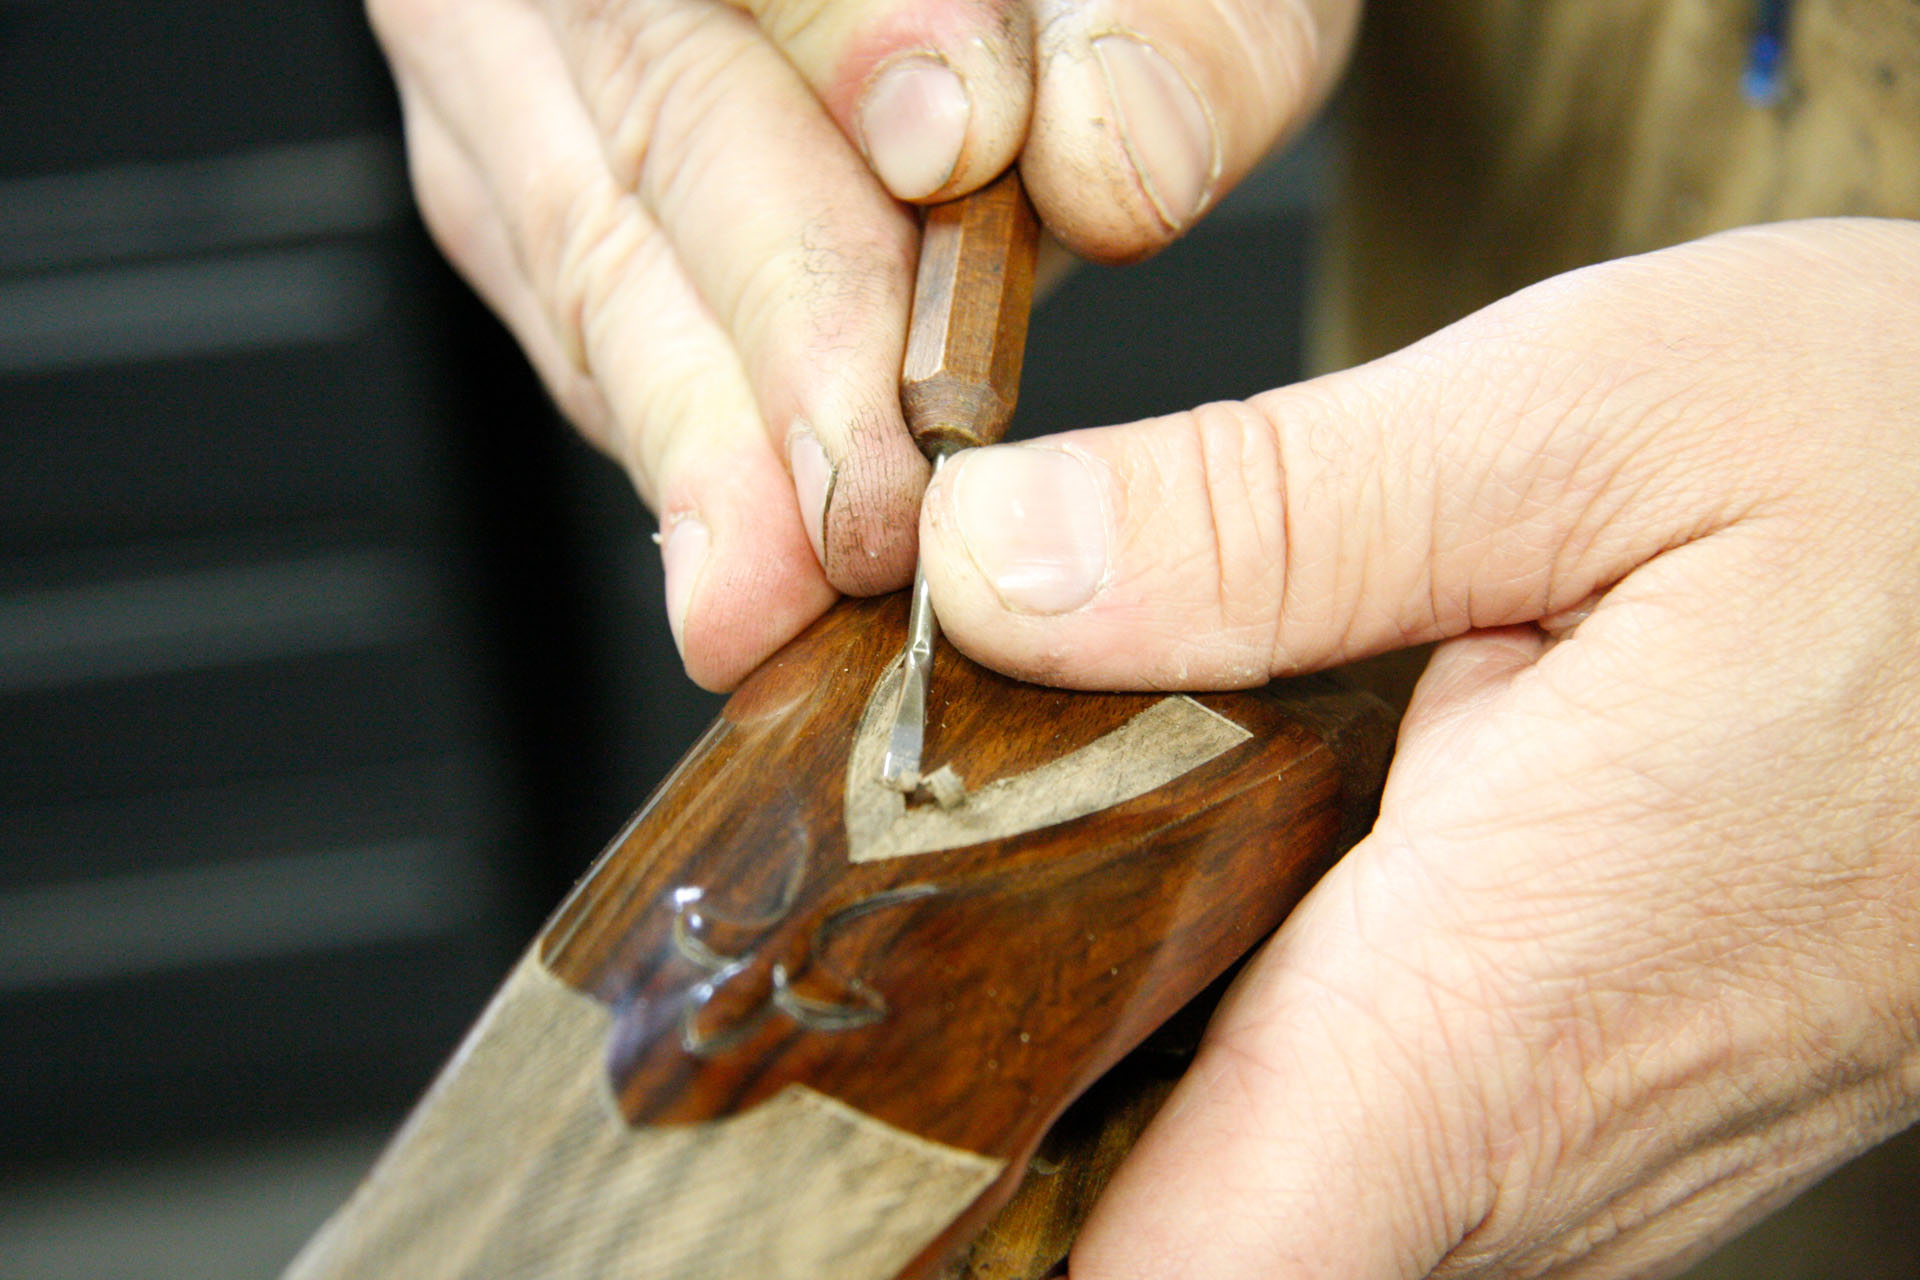
Day 12, Step 3
3) A small hand chisel is used to carefully extract the area that will be checkered.
Day 12, Step 4
4) Checkering the side panel.
Day 12, Step 5
5) The finished side panel.
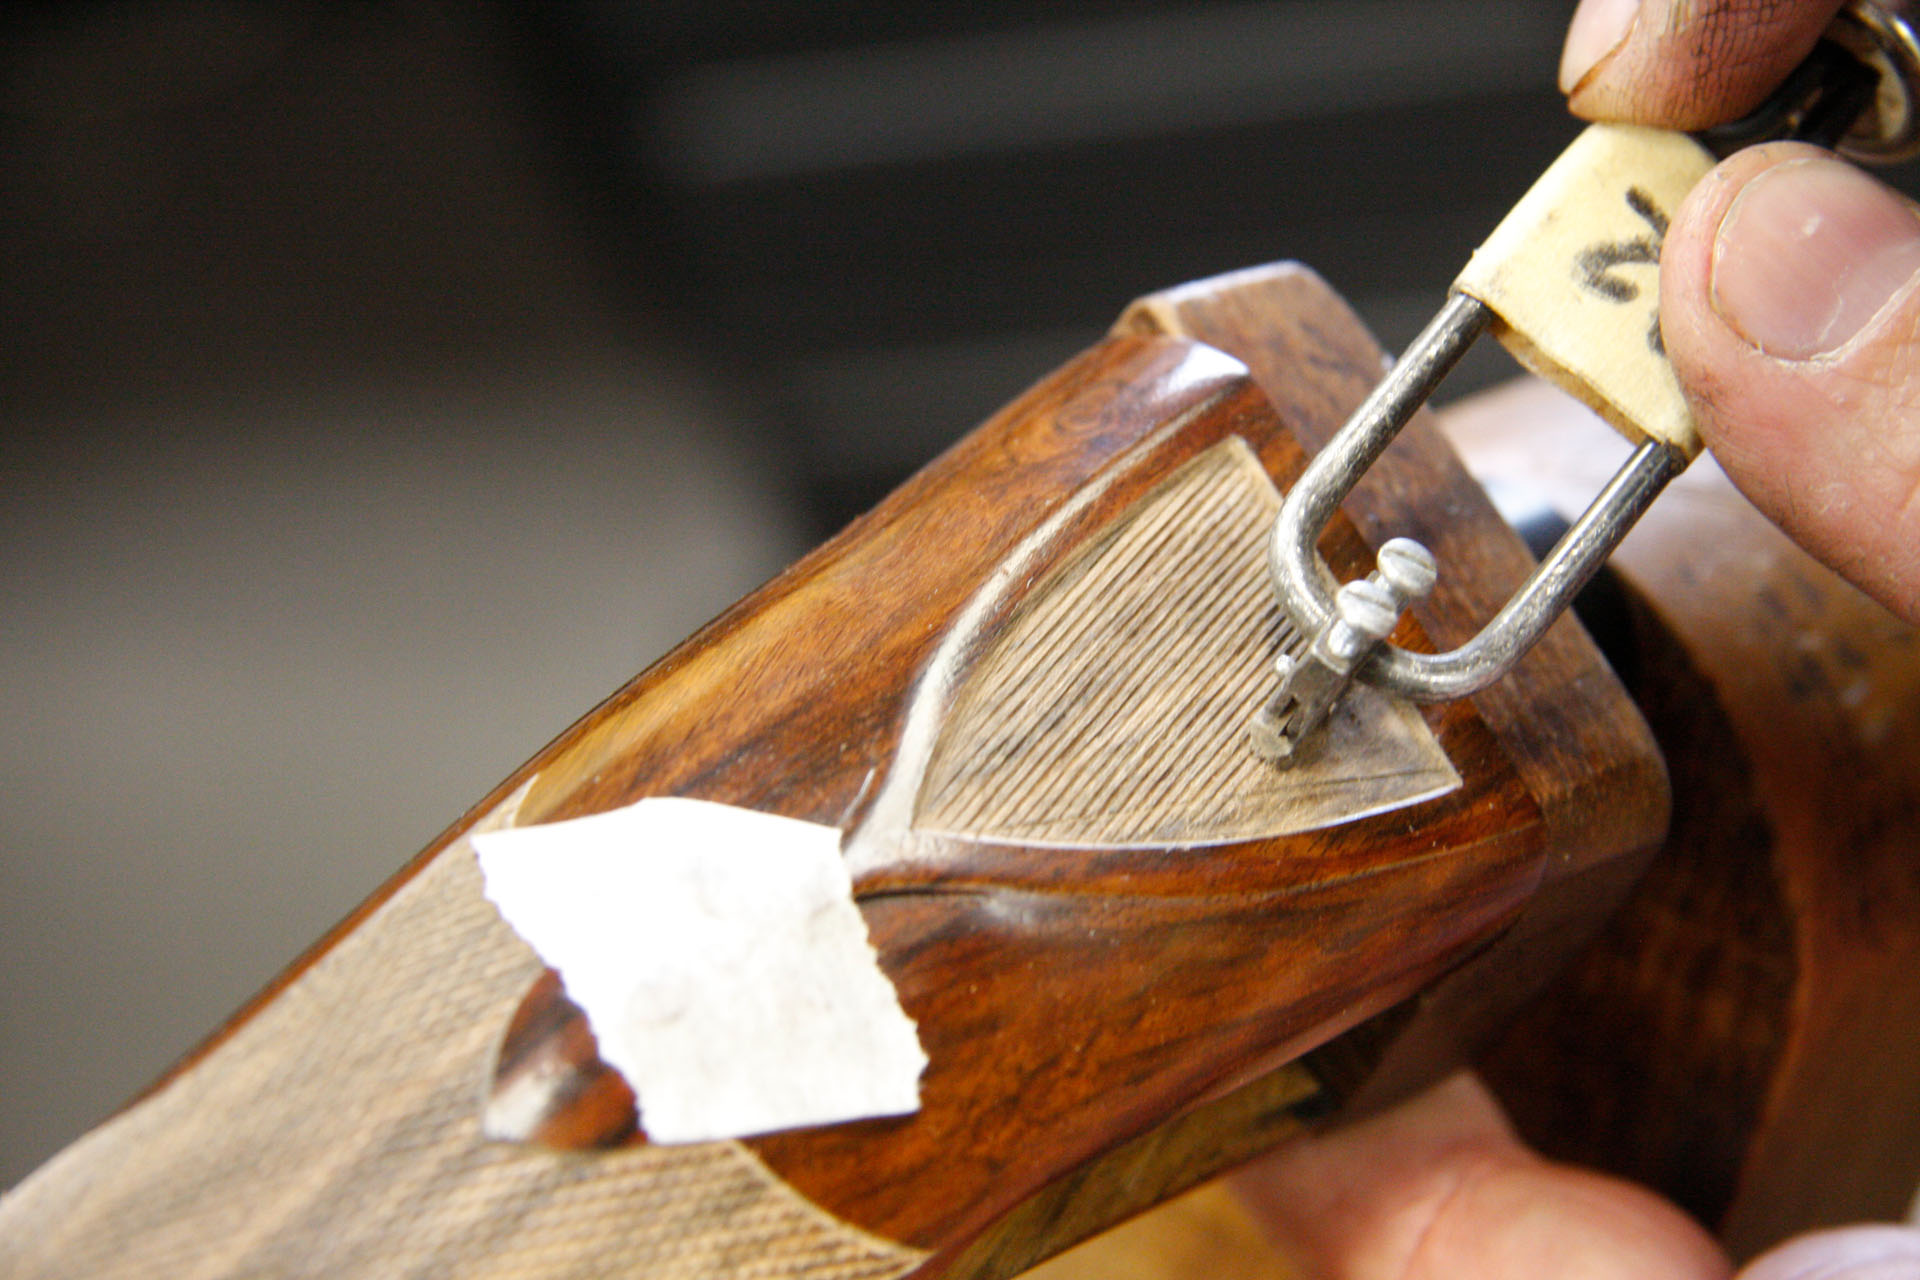
Day 12, Step 6
6) Using a checkering-spacing tool, the mullered borders are laid out.
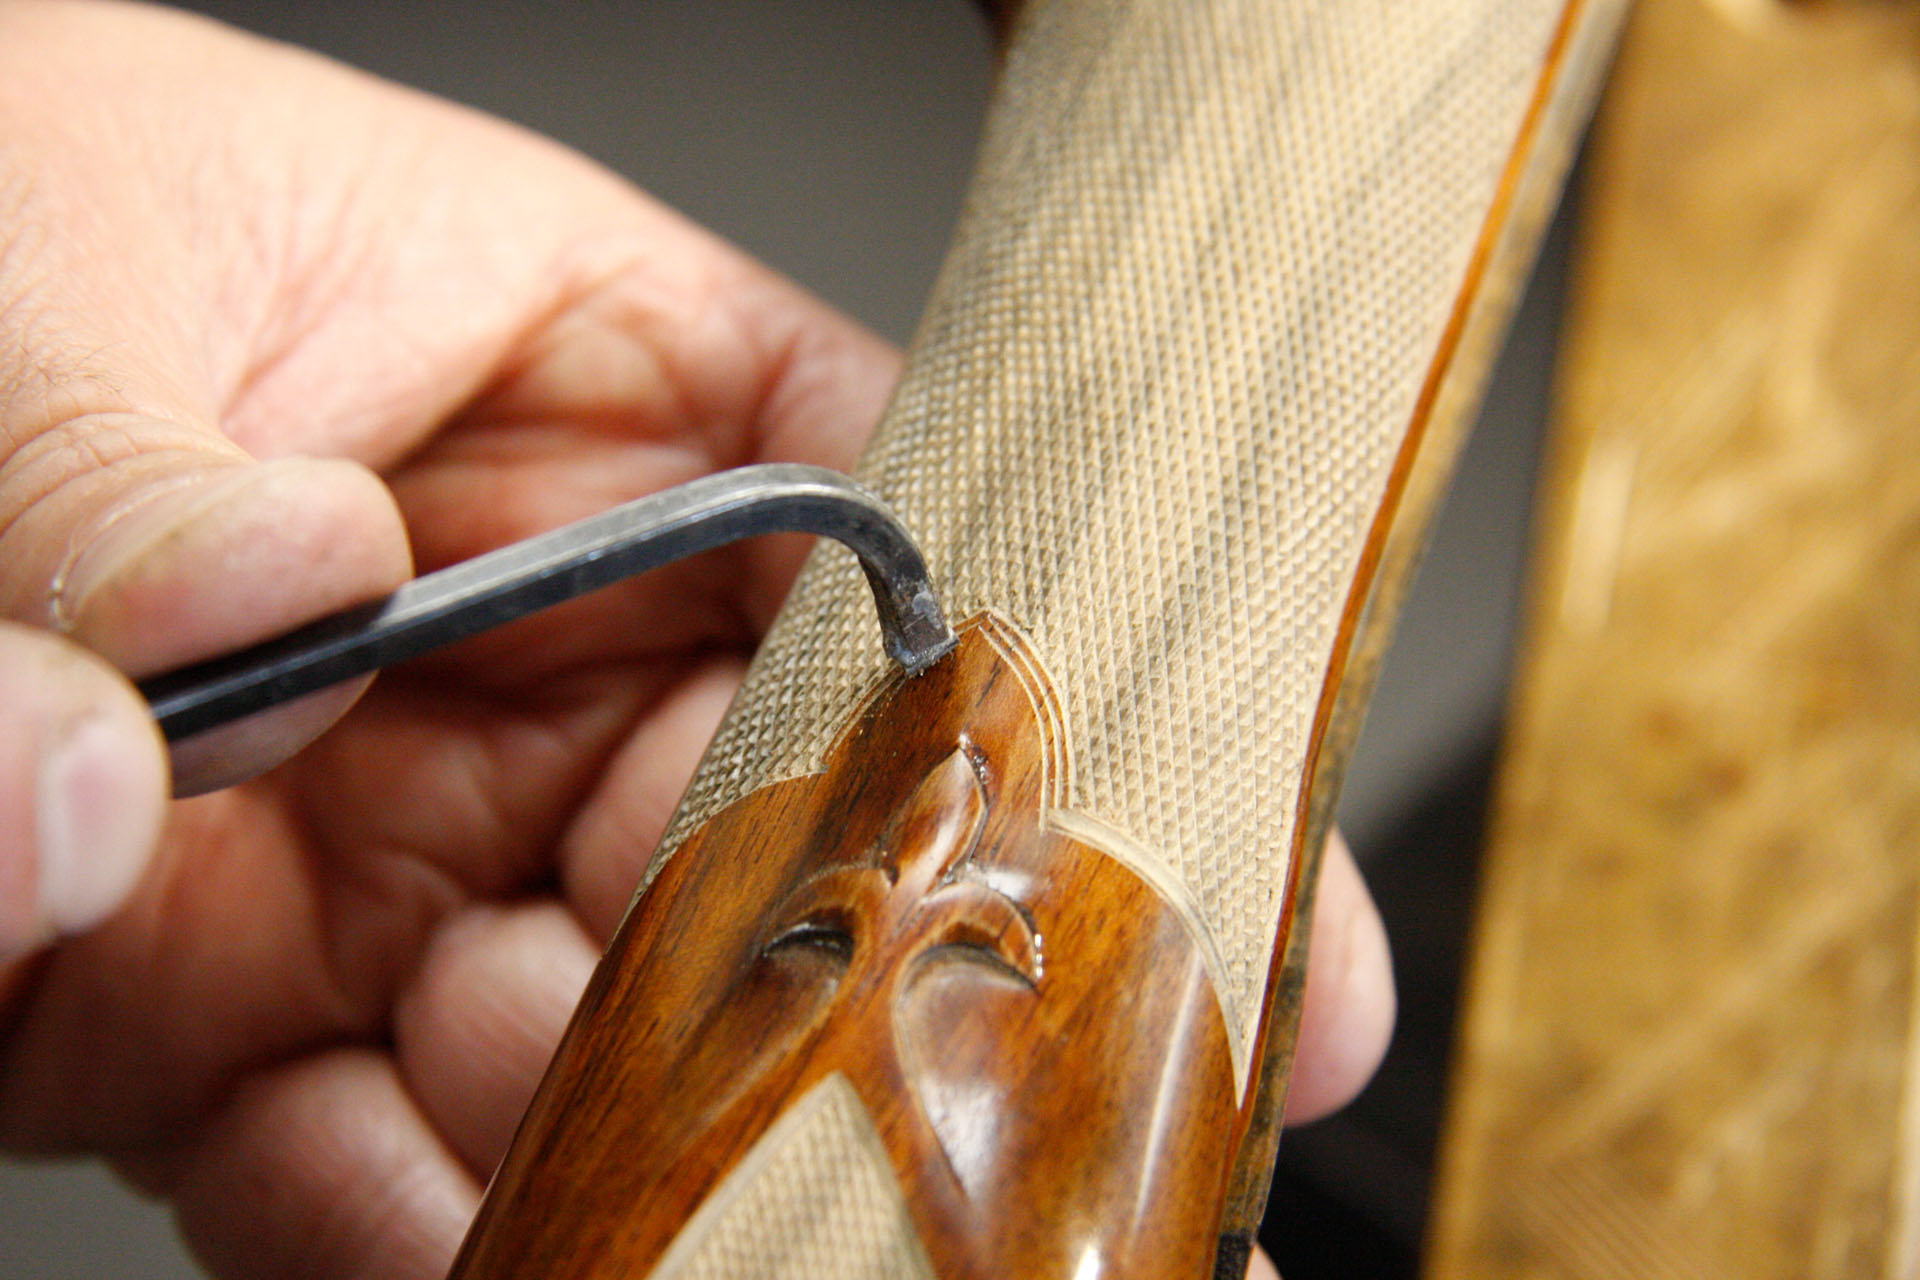
Day 12, Step 7
7) A chisel is then used to complete the mullered border.

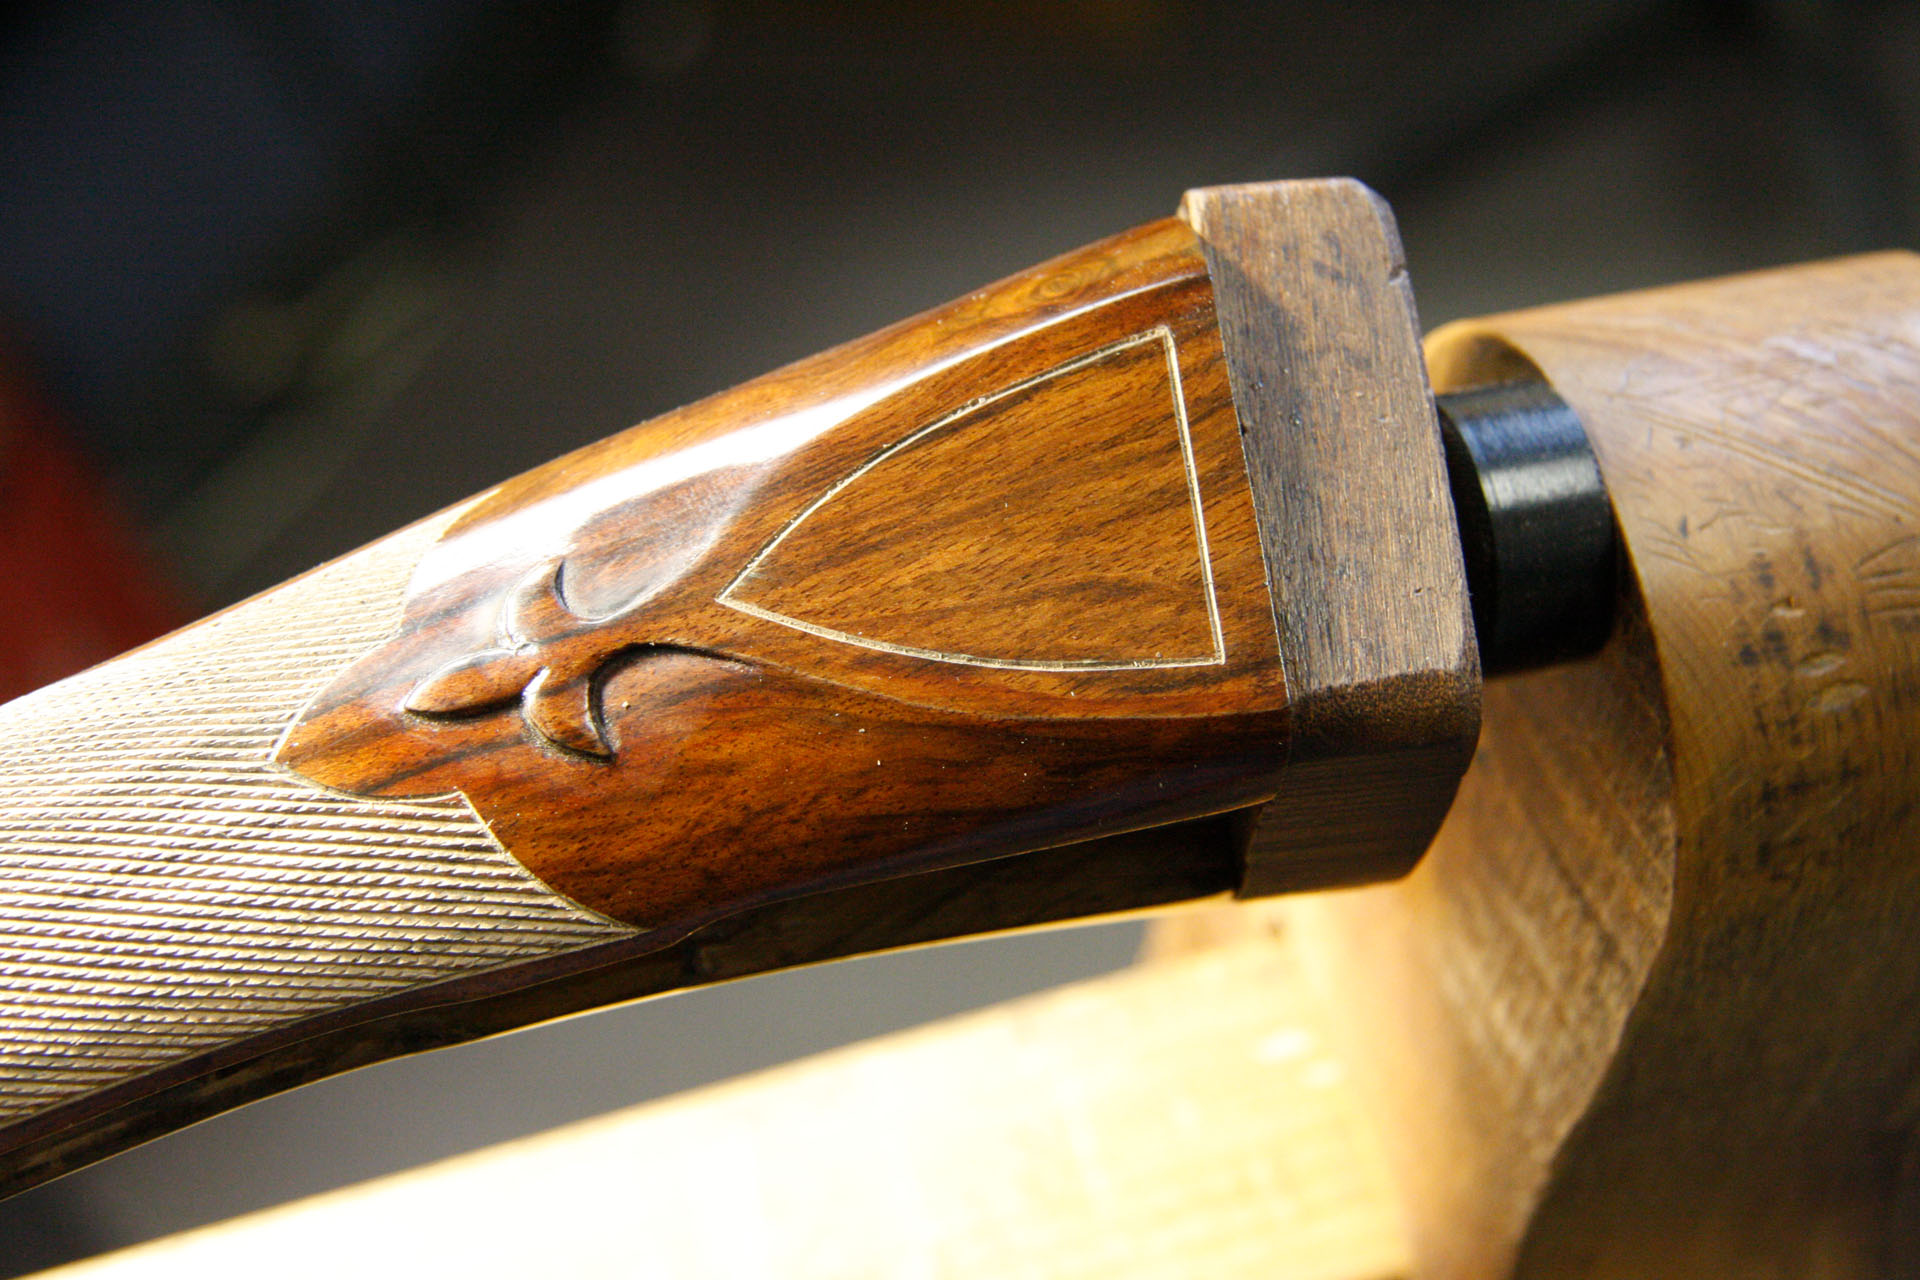
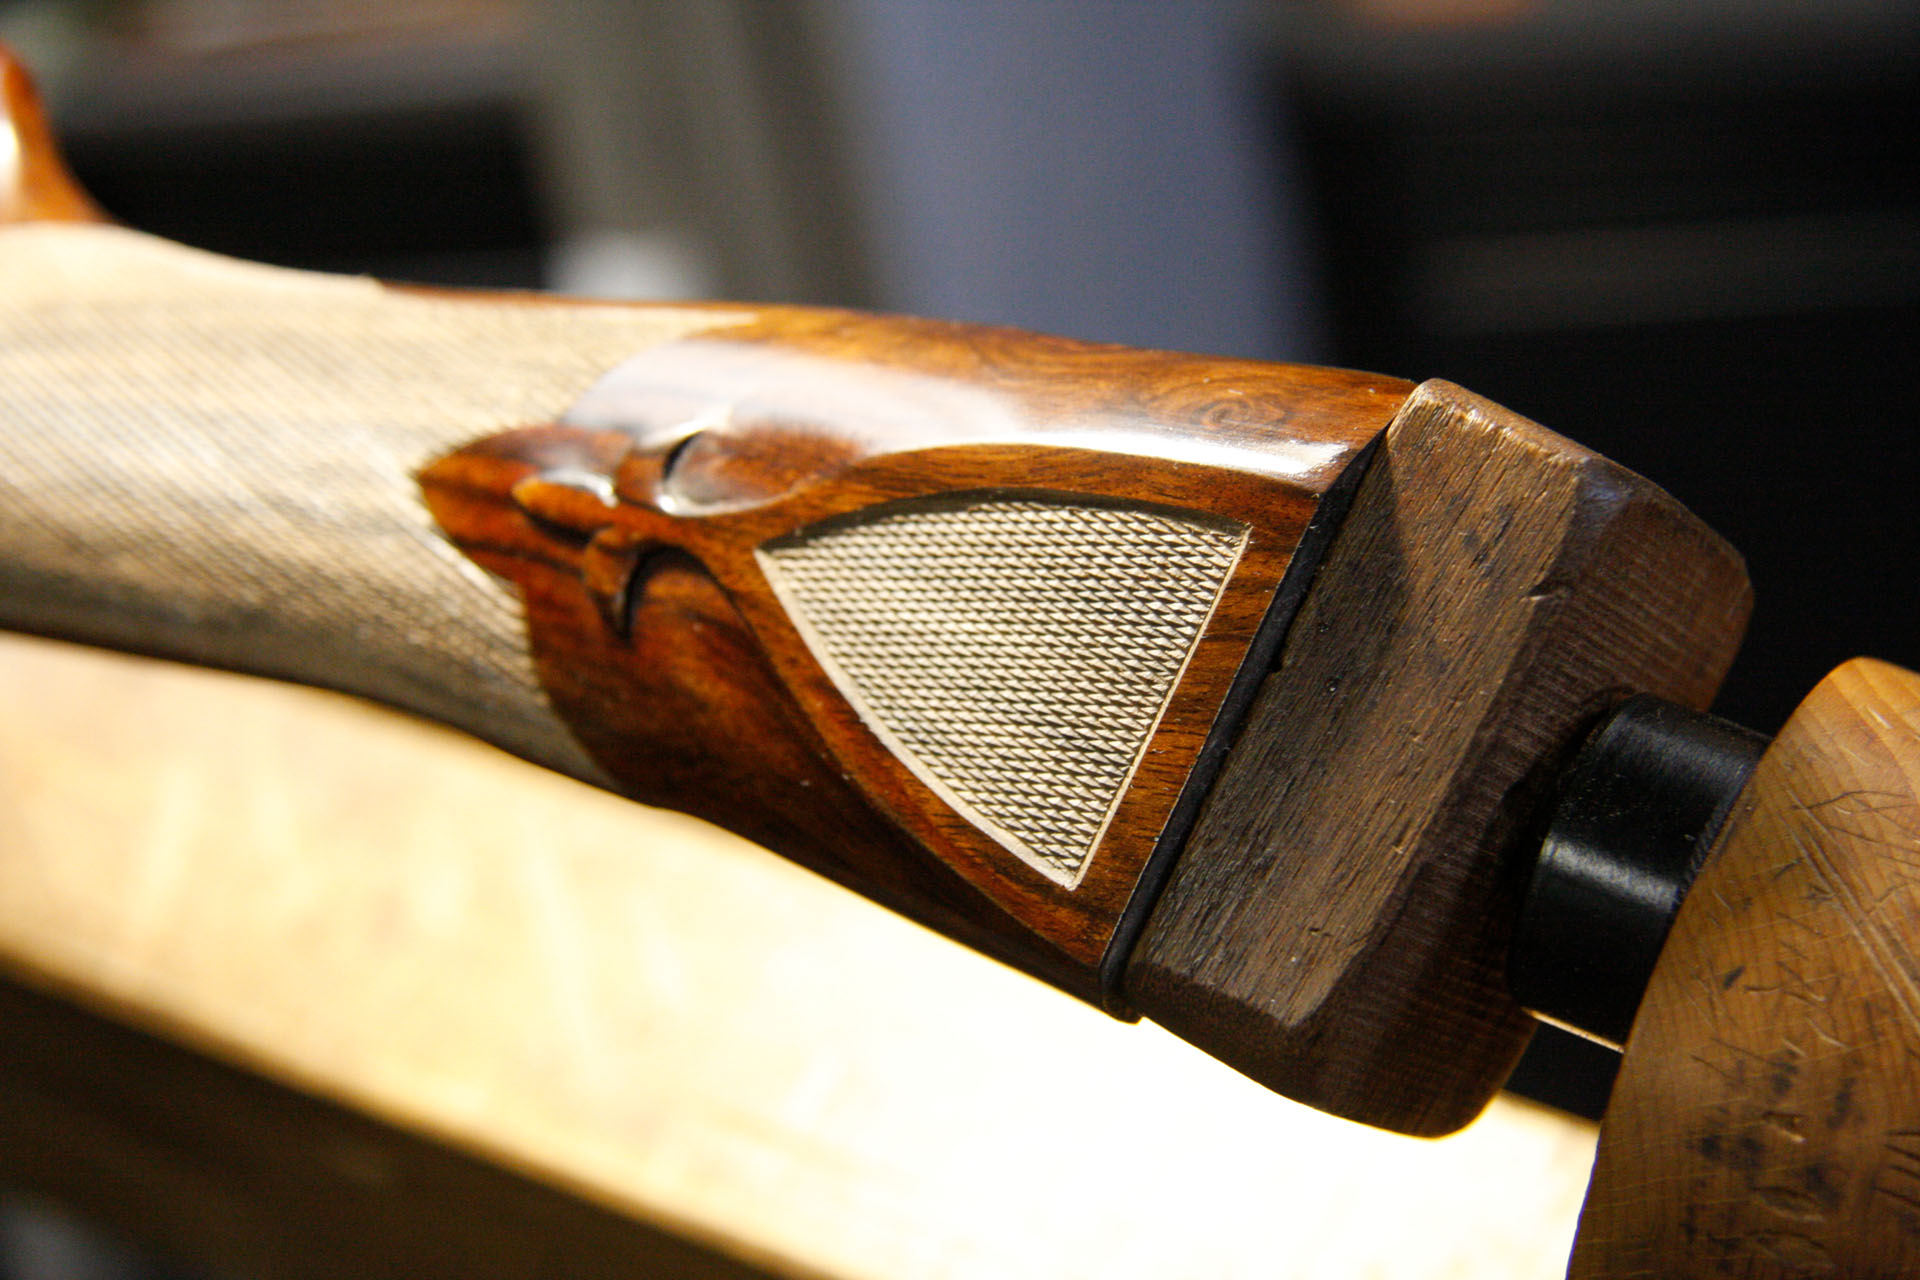
Day 12, Step 8
8) Finished side view.

Day 12, Step 9
9) The finished top view.
Parker BHE 12 Gauge Restoration: The Full Process
Days 1-3: making a new buttstock, fitting the stock to the receiver, fitting the skeleton buttplate
Days 4-6: last day of inletting, polishing the barrels, inletting the gold shield
Days 7-9: re-cutting the barrel engraving, polishing the action, rust bluing the barrels
Days 10-12: stock refinishing, checkering the buttstock, finishing up the checkering
Want to See More Stories Like These?
This installment of Restoration Resources appears in our Shoot History e-magazine. If you'd like to see more stories like these while learning about classic firearms preservation, head over to Shoot History. Be sure to hit the subscribe button while you're there.
0 Comments