We hope you enjoy this multi-part blog series on the restoration of a 1921 Parker BHE 12 gauge shotgun. Do you have questions about the process of gun restoration? Feel free to ask in the comments section below, or drop us a line.
Day 7: Re-Cutting the Barrel Engraving
Day 7, Step 1
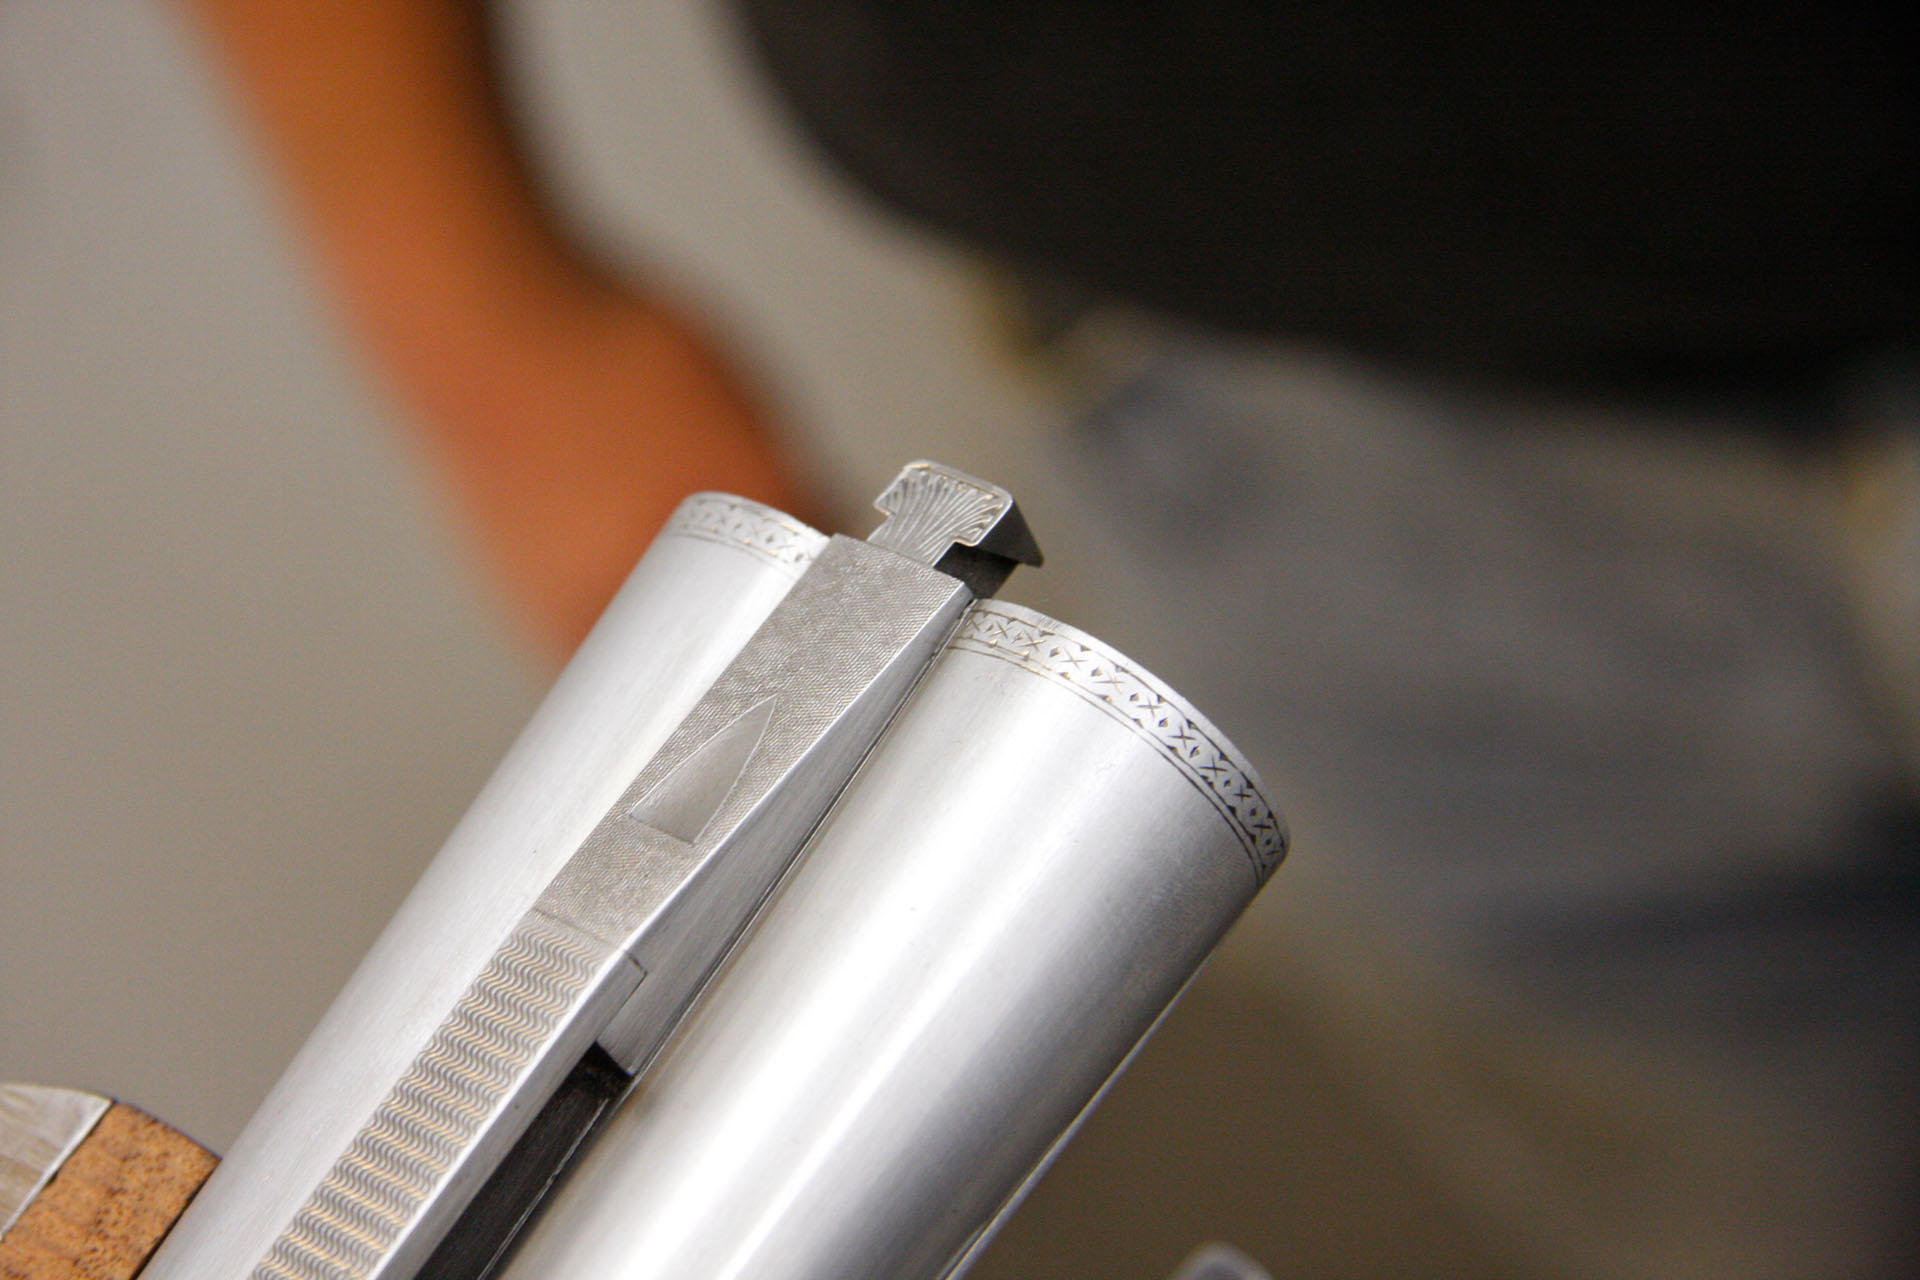
1) This is before any recut has been done.

Day 7, Step 2
2) First, the borders are recut. This particular pattern on the Parker BHE is known as a “chip-cut border.”

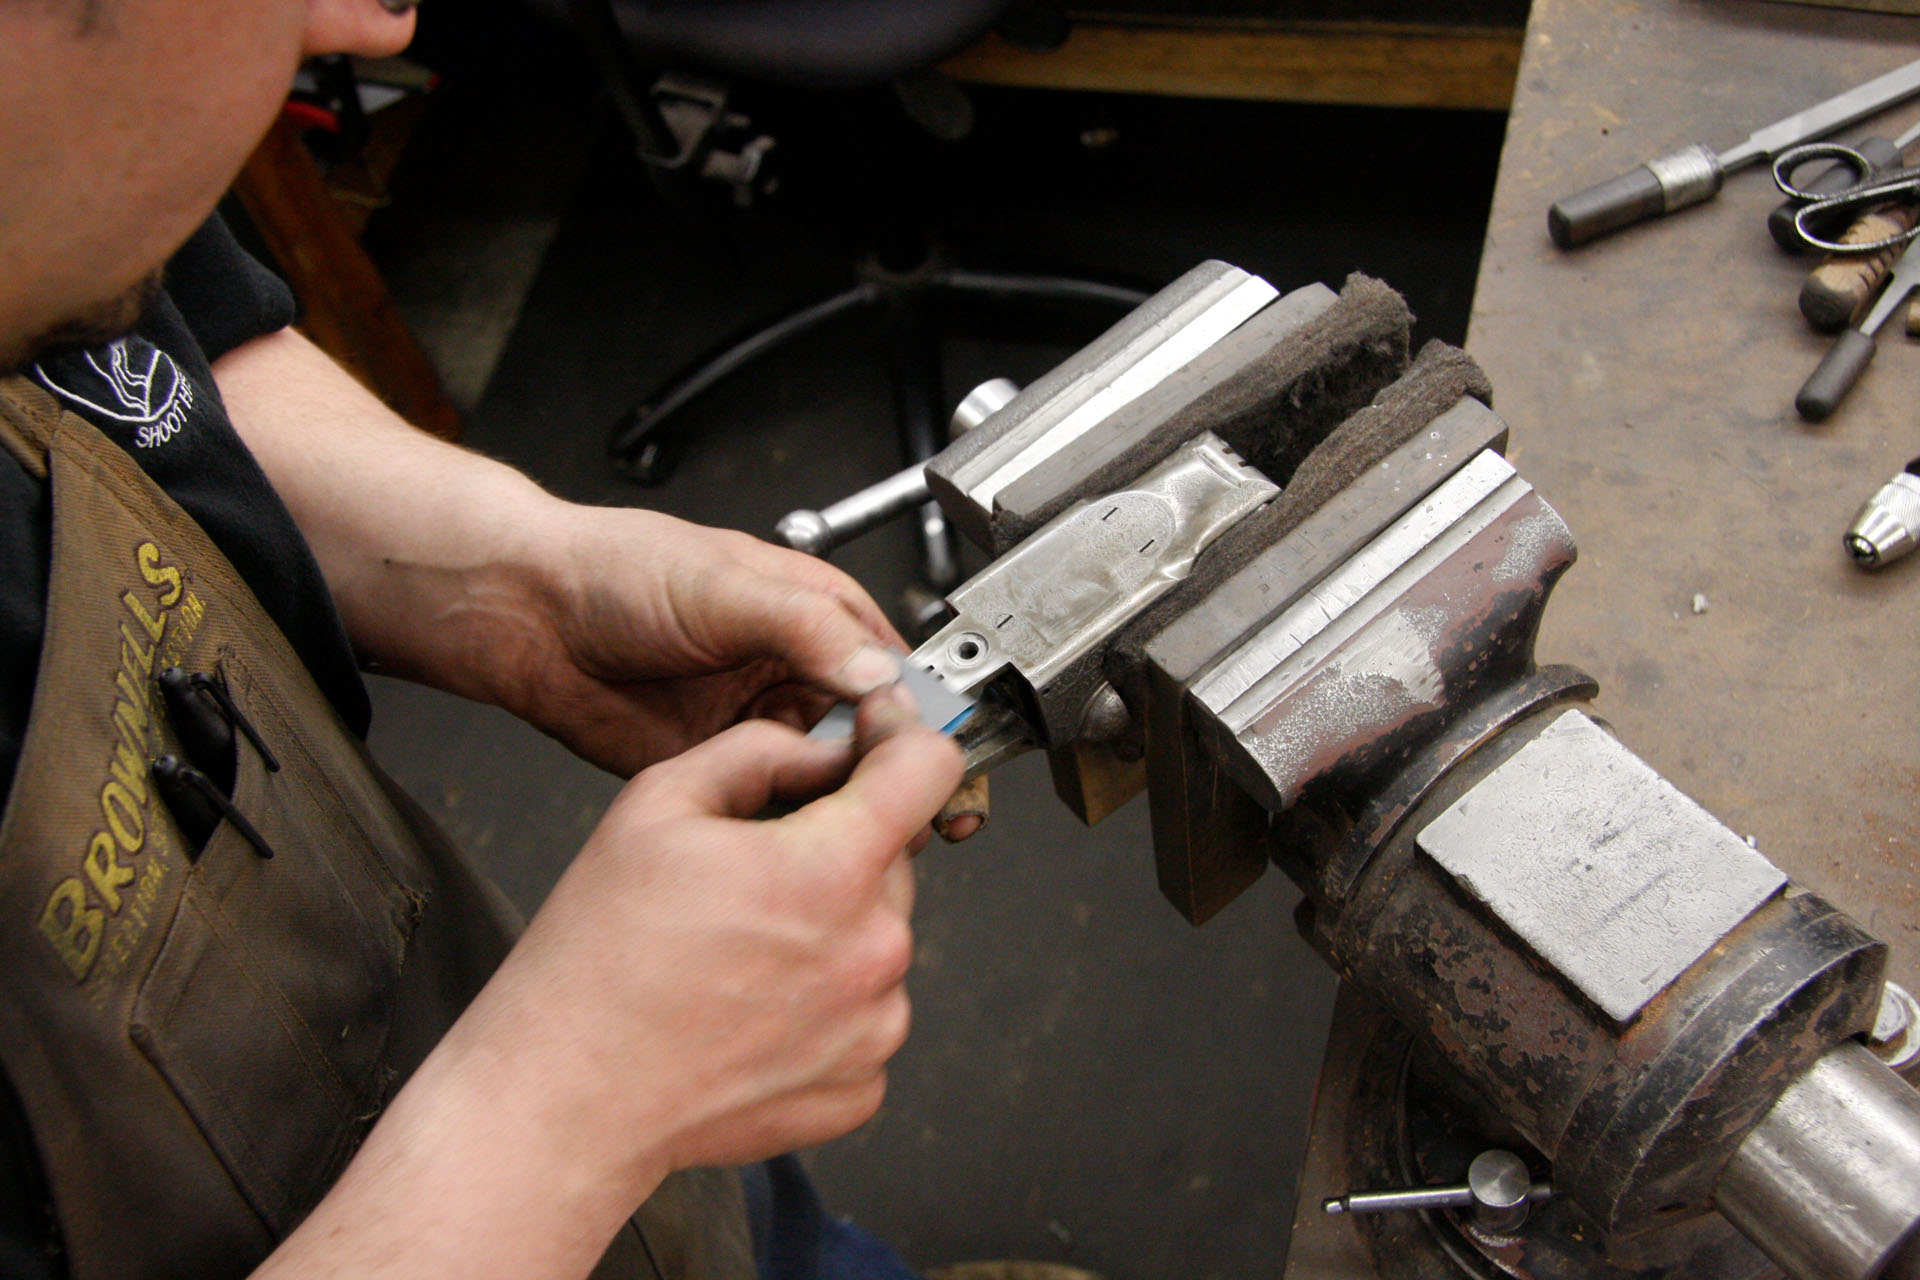
Day 7, Step 3
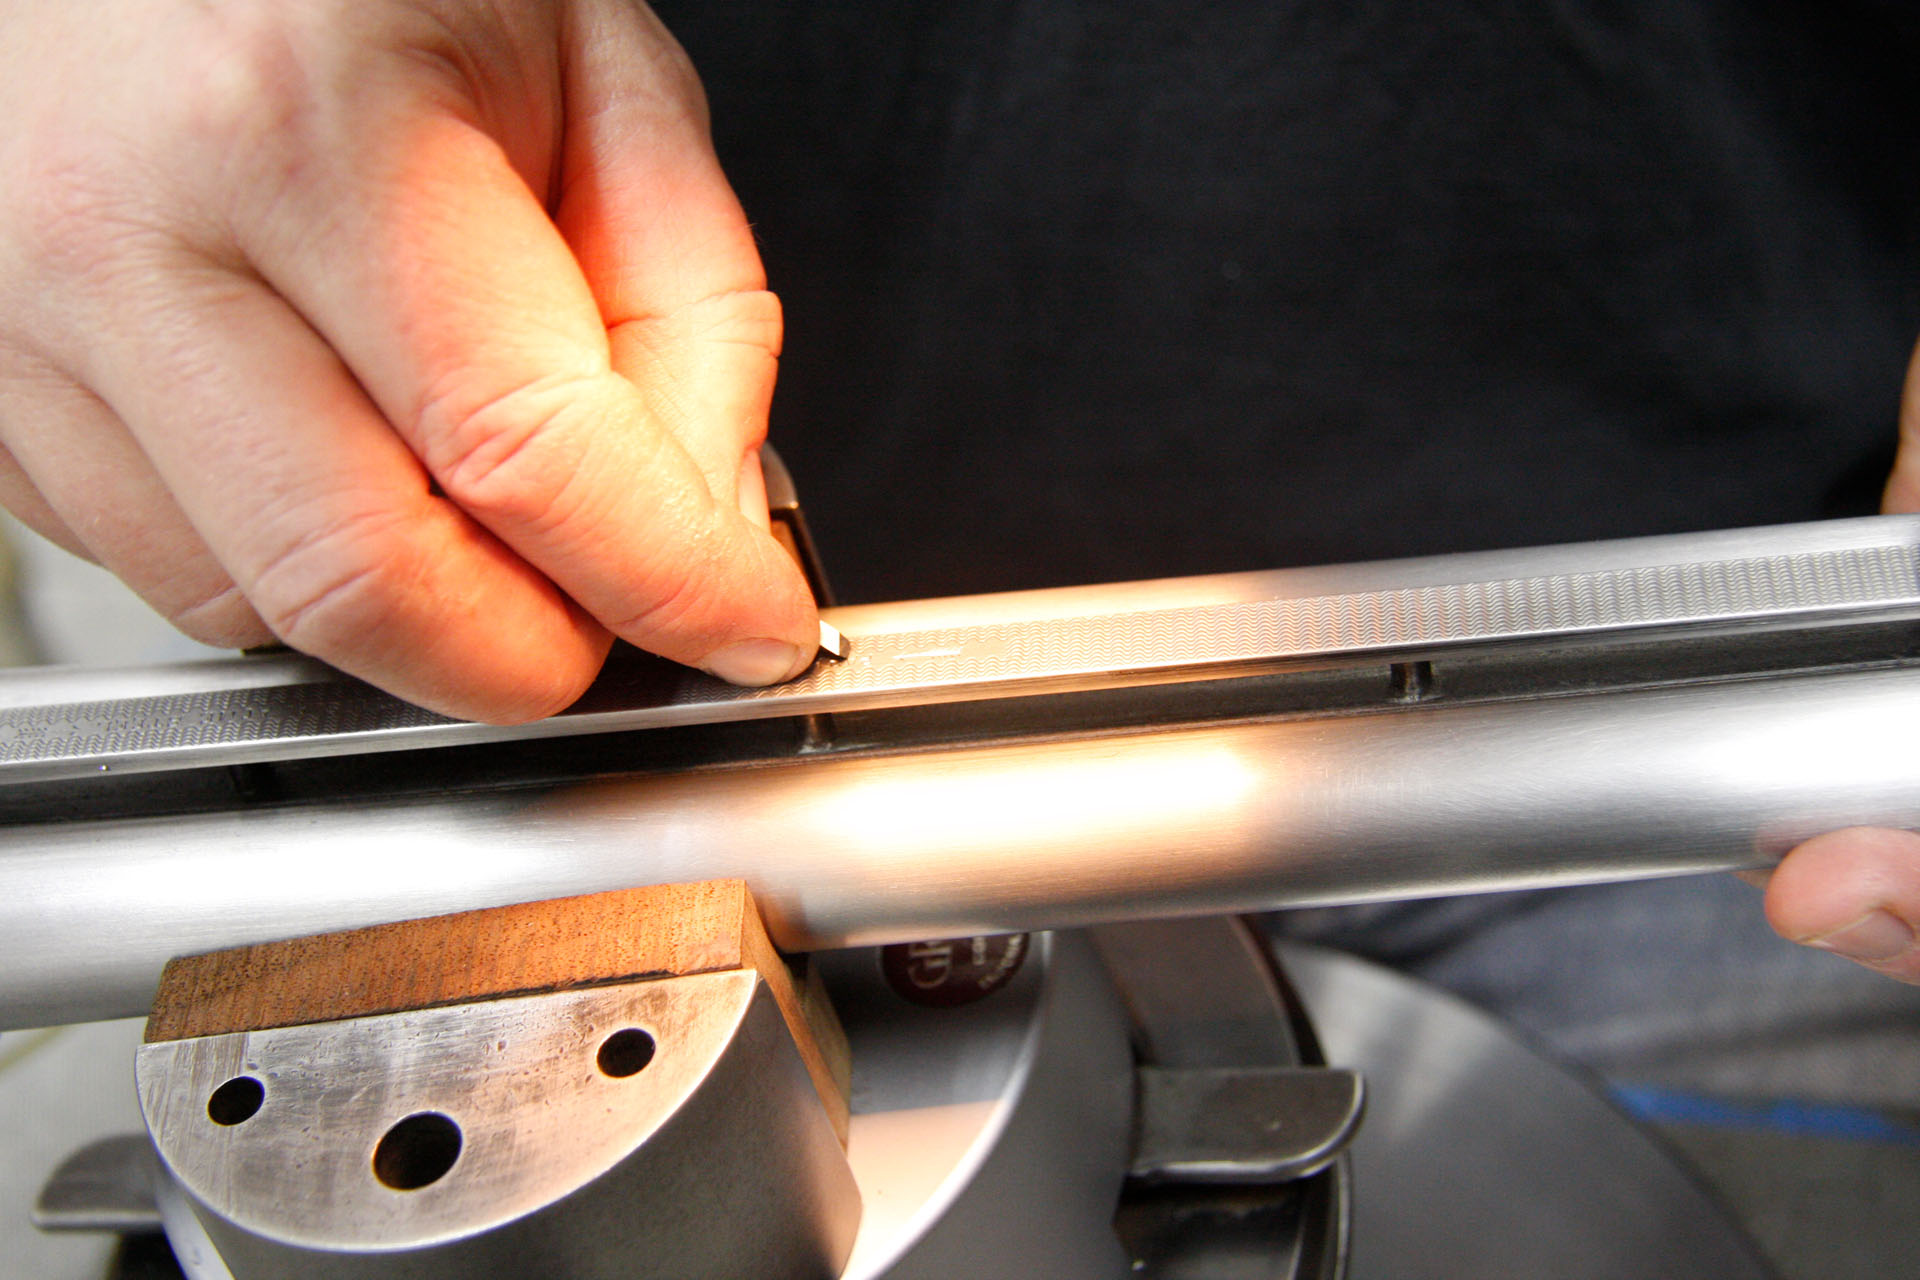
3) Here the engraving is done by hand tools.
Day 7, Step 4
4) Tap, tap, tap!
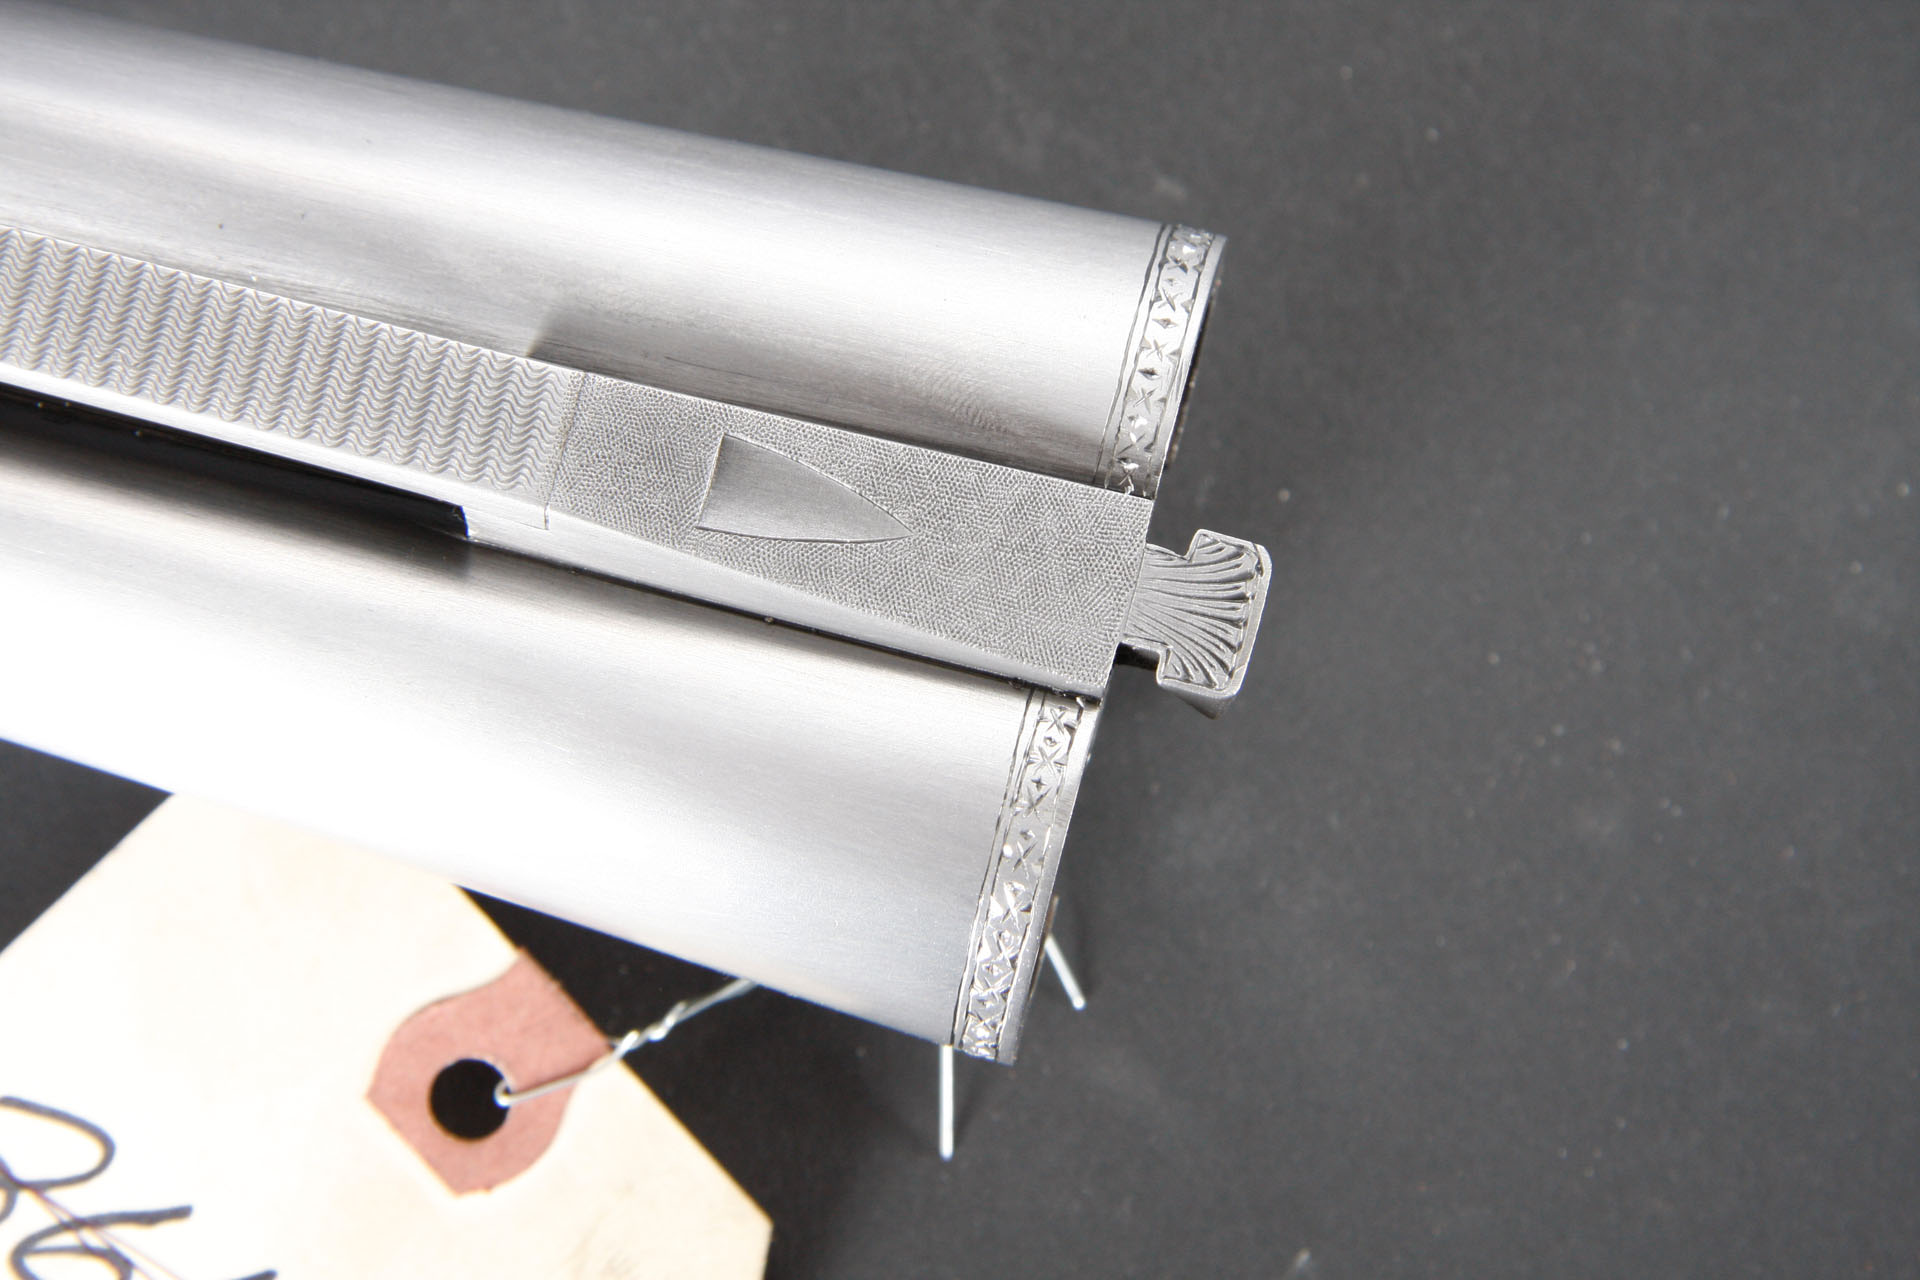
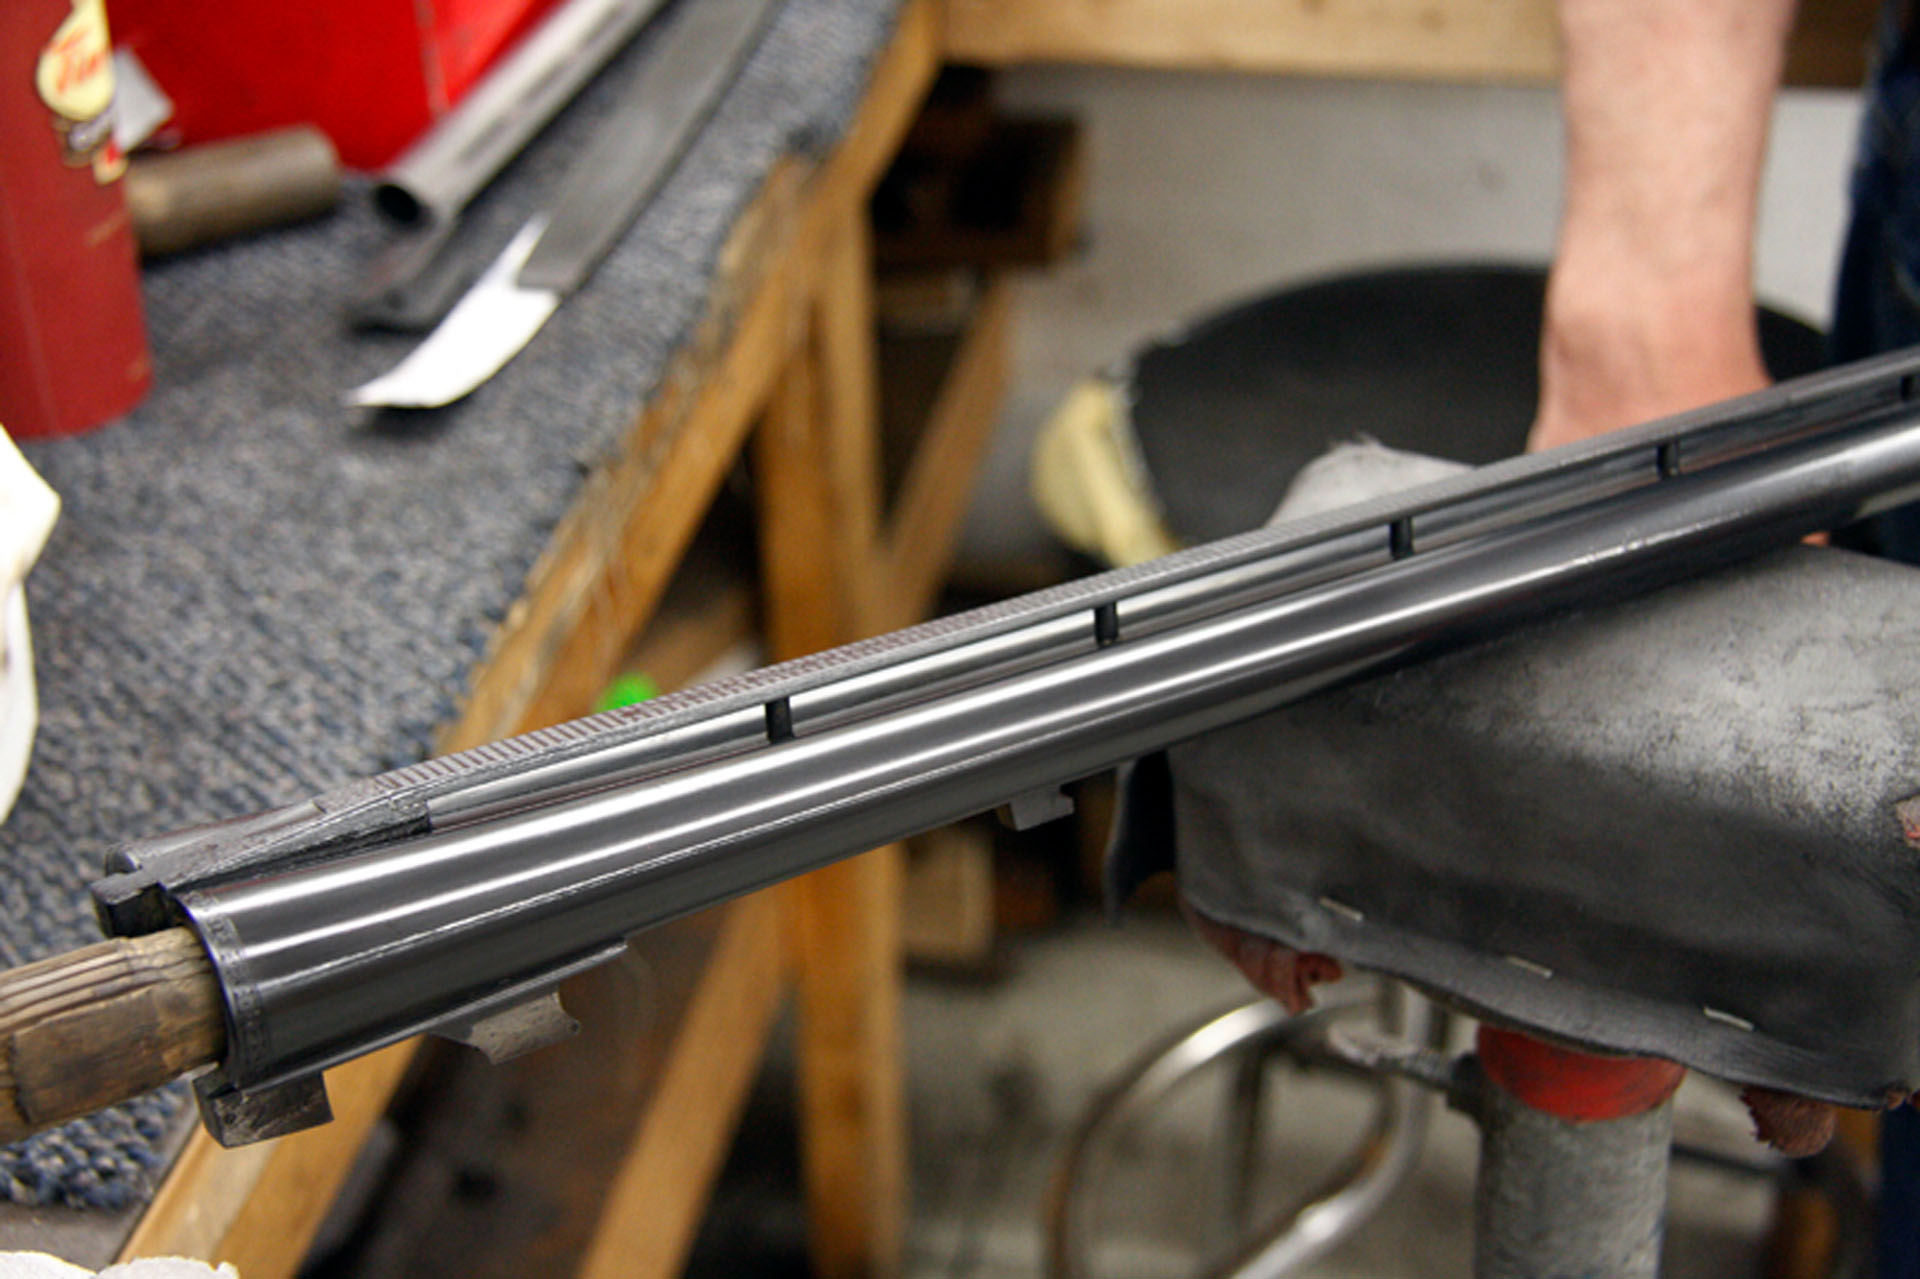
Day 7, Step 5
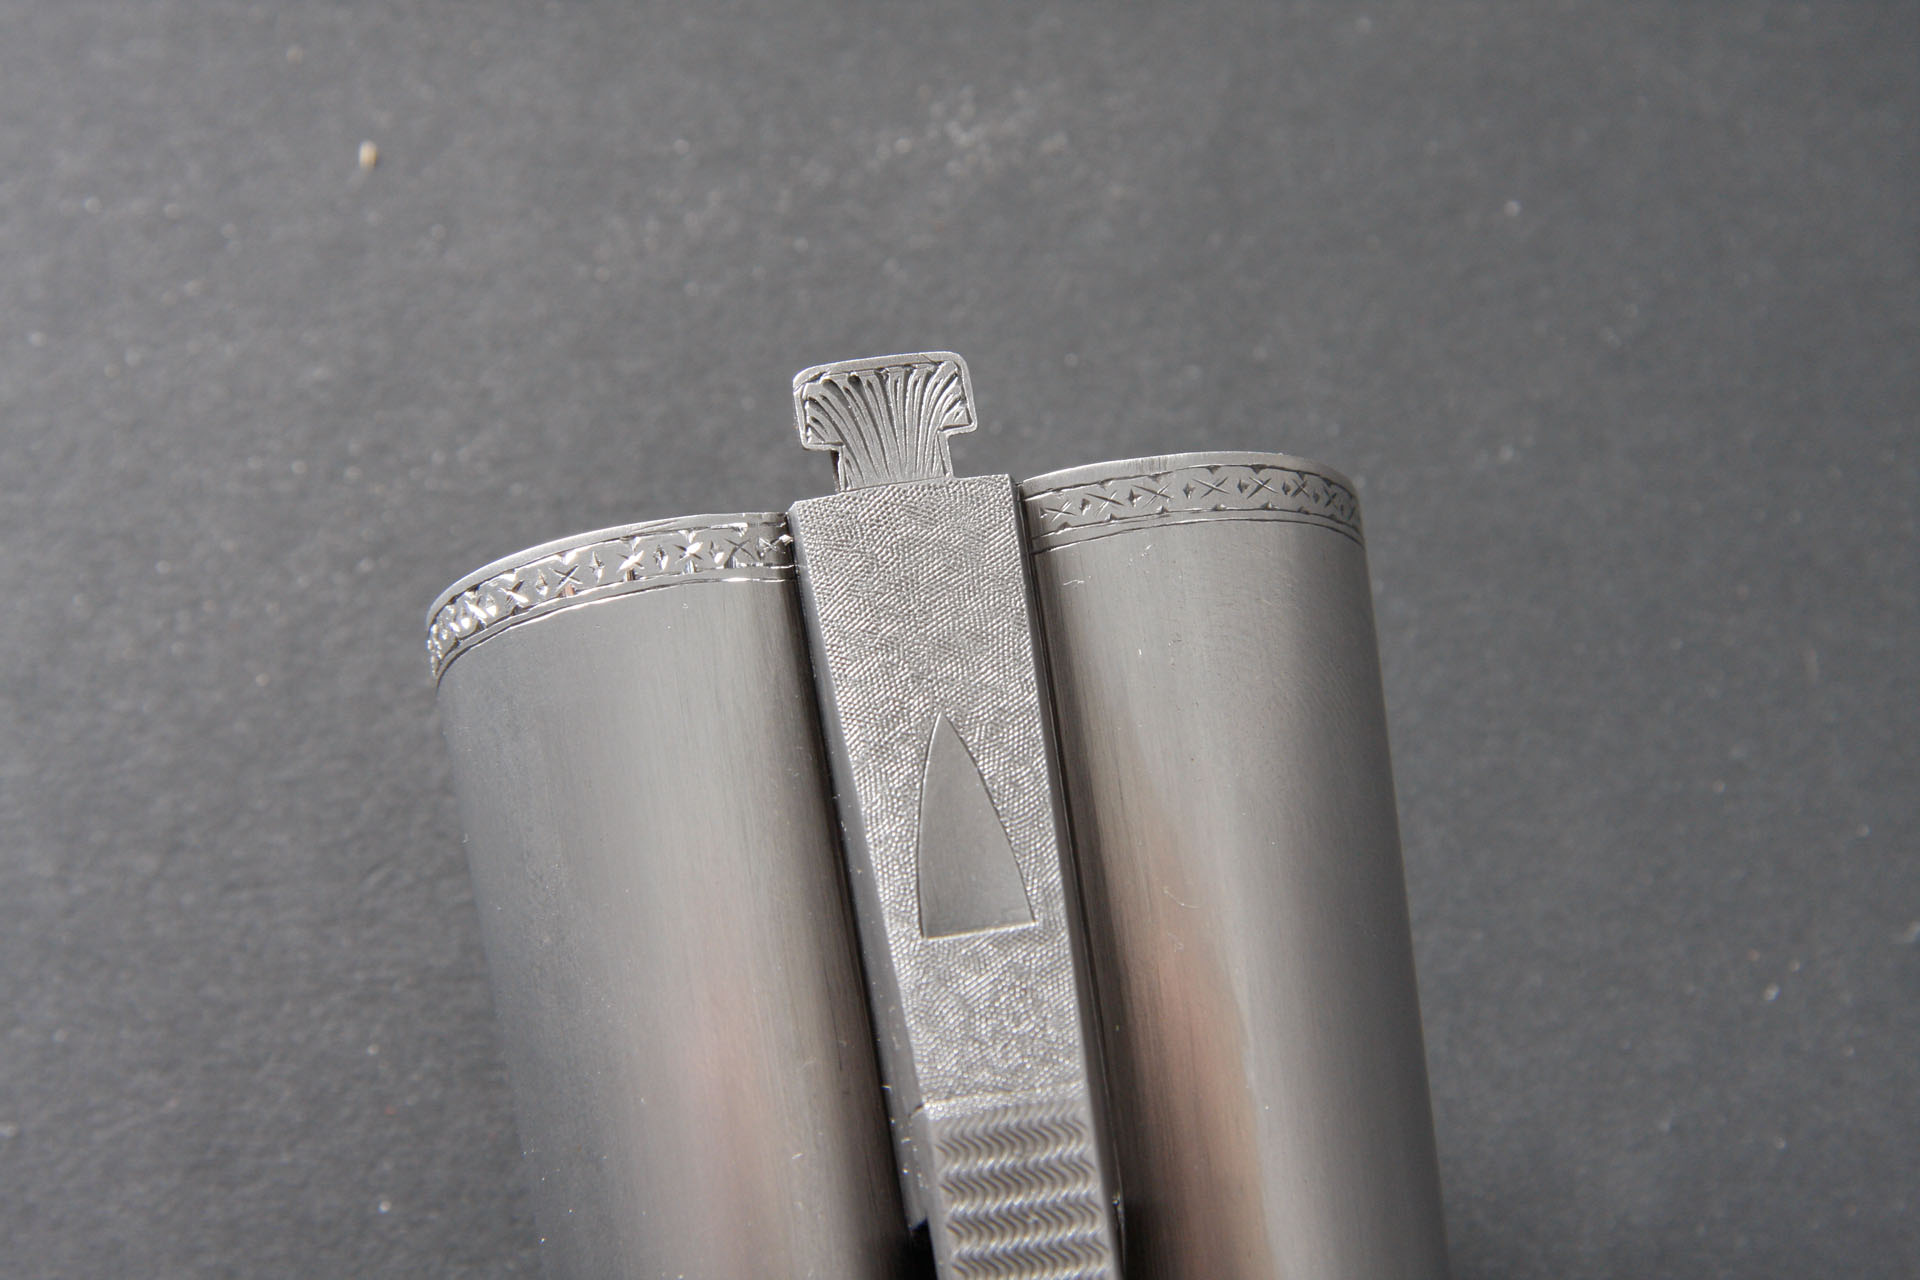
5) Here you can see the difference between the band on the left that has been recut and the band on the right that has not.
Day 7, Step 6
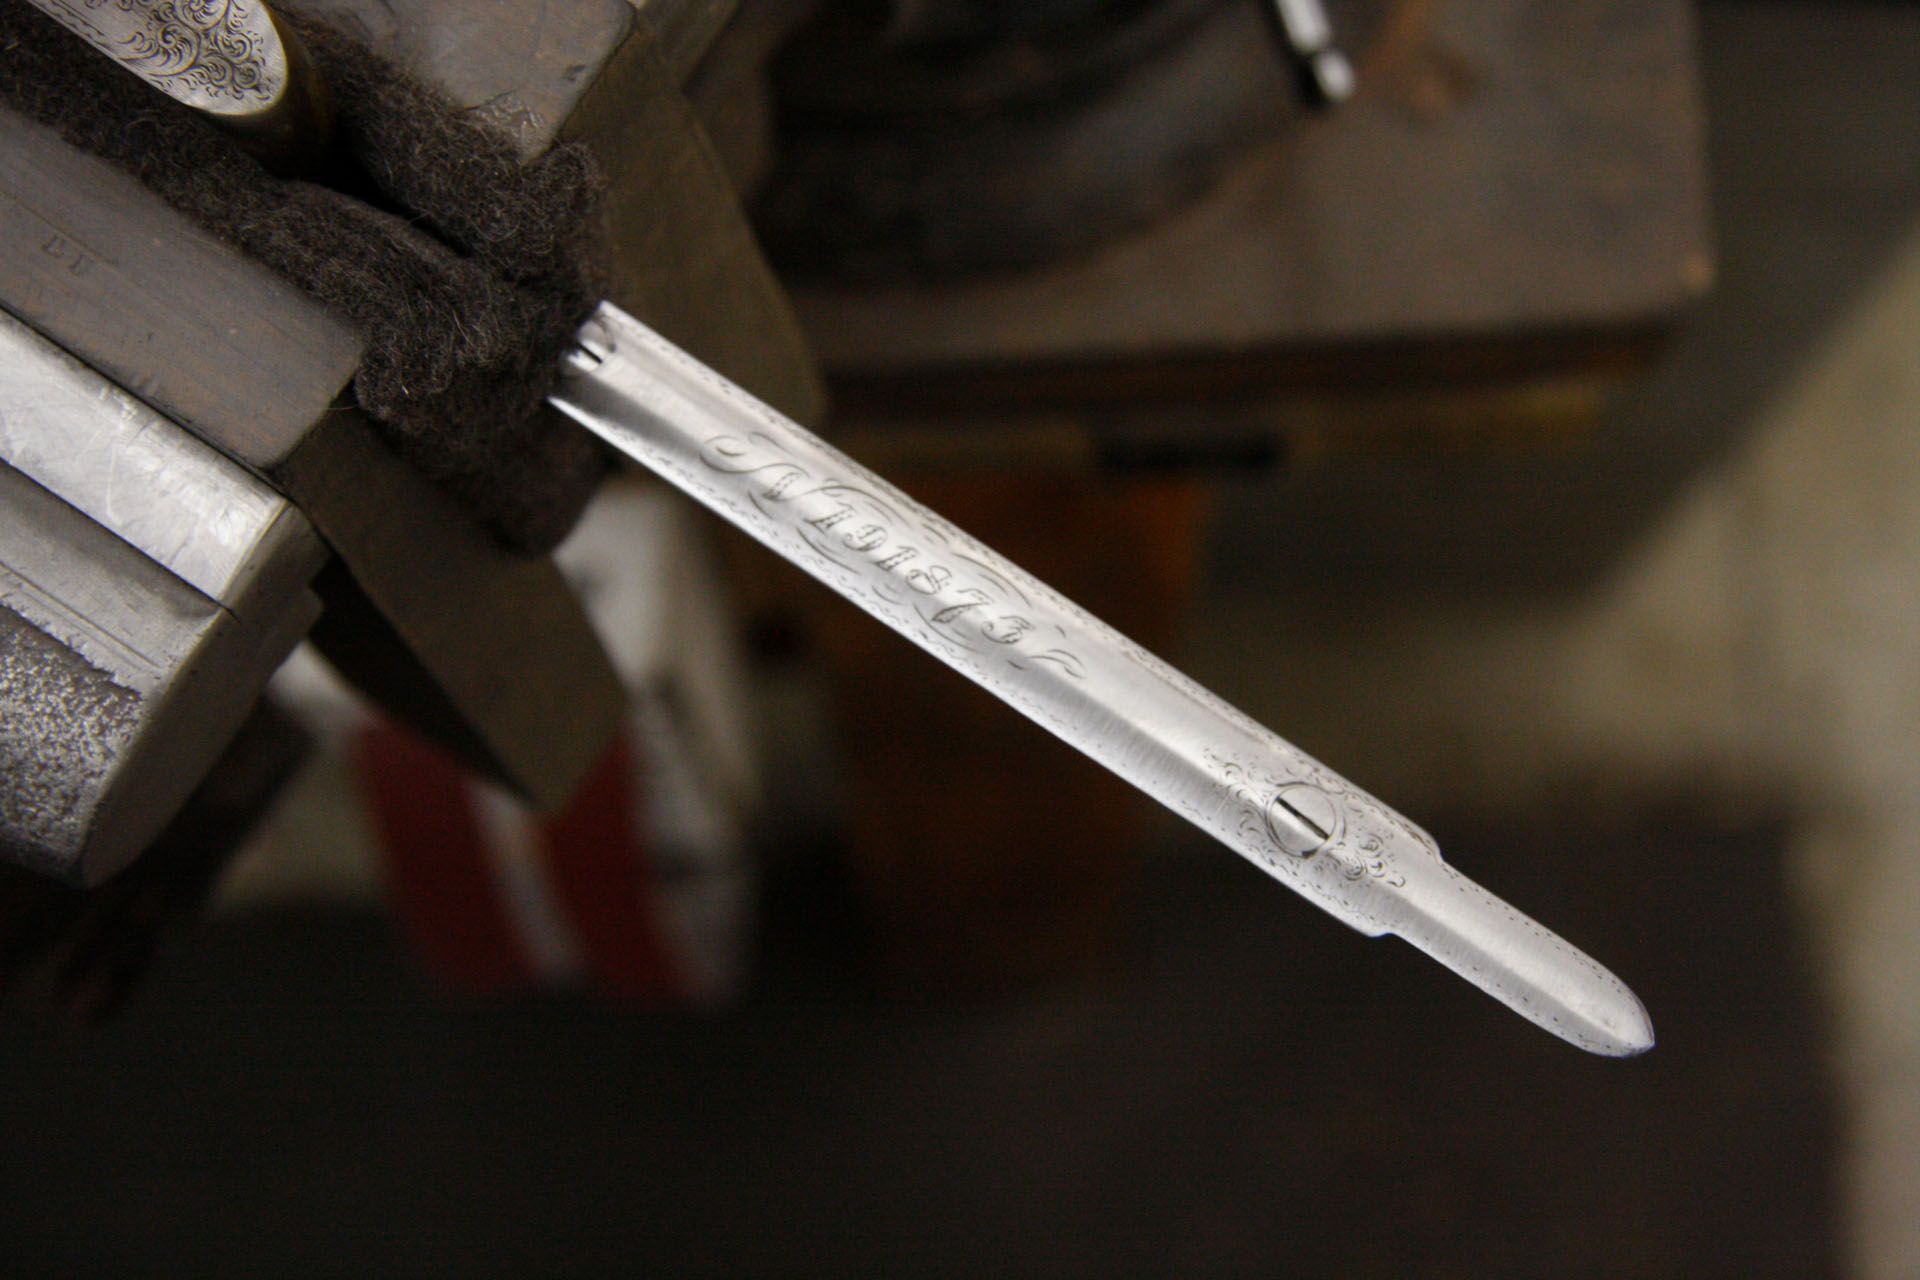
6) Recutting the barrel on the top rib.
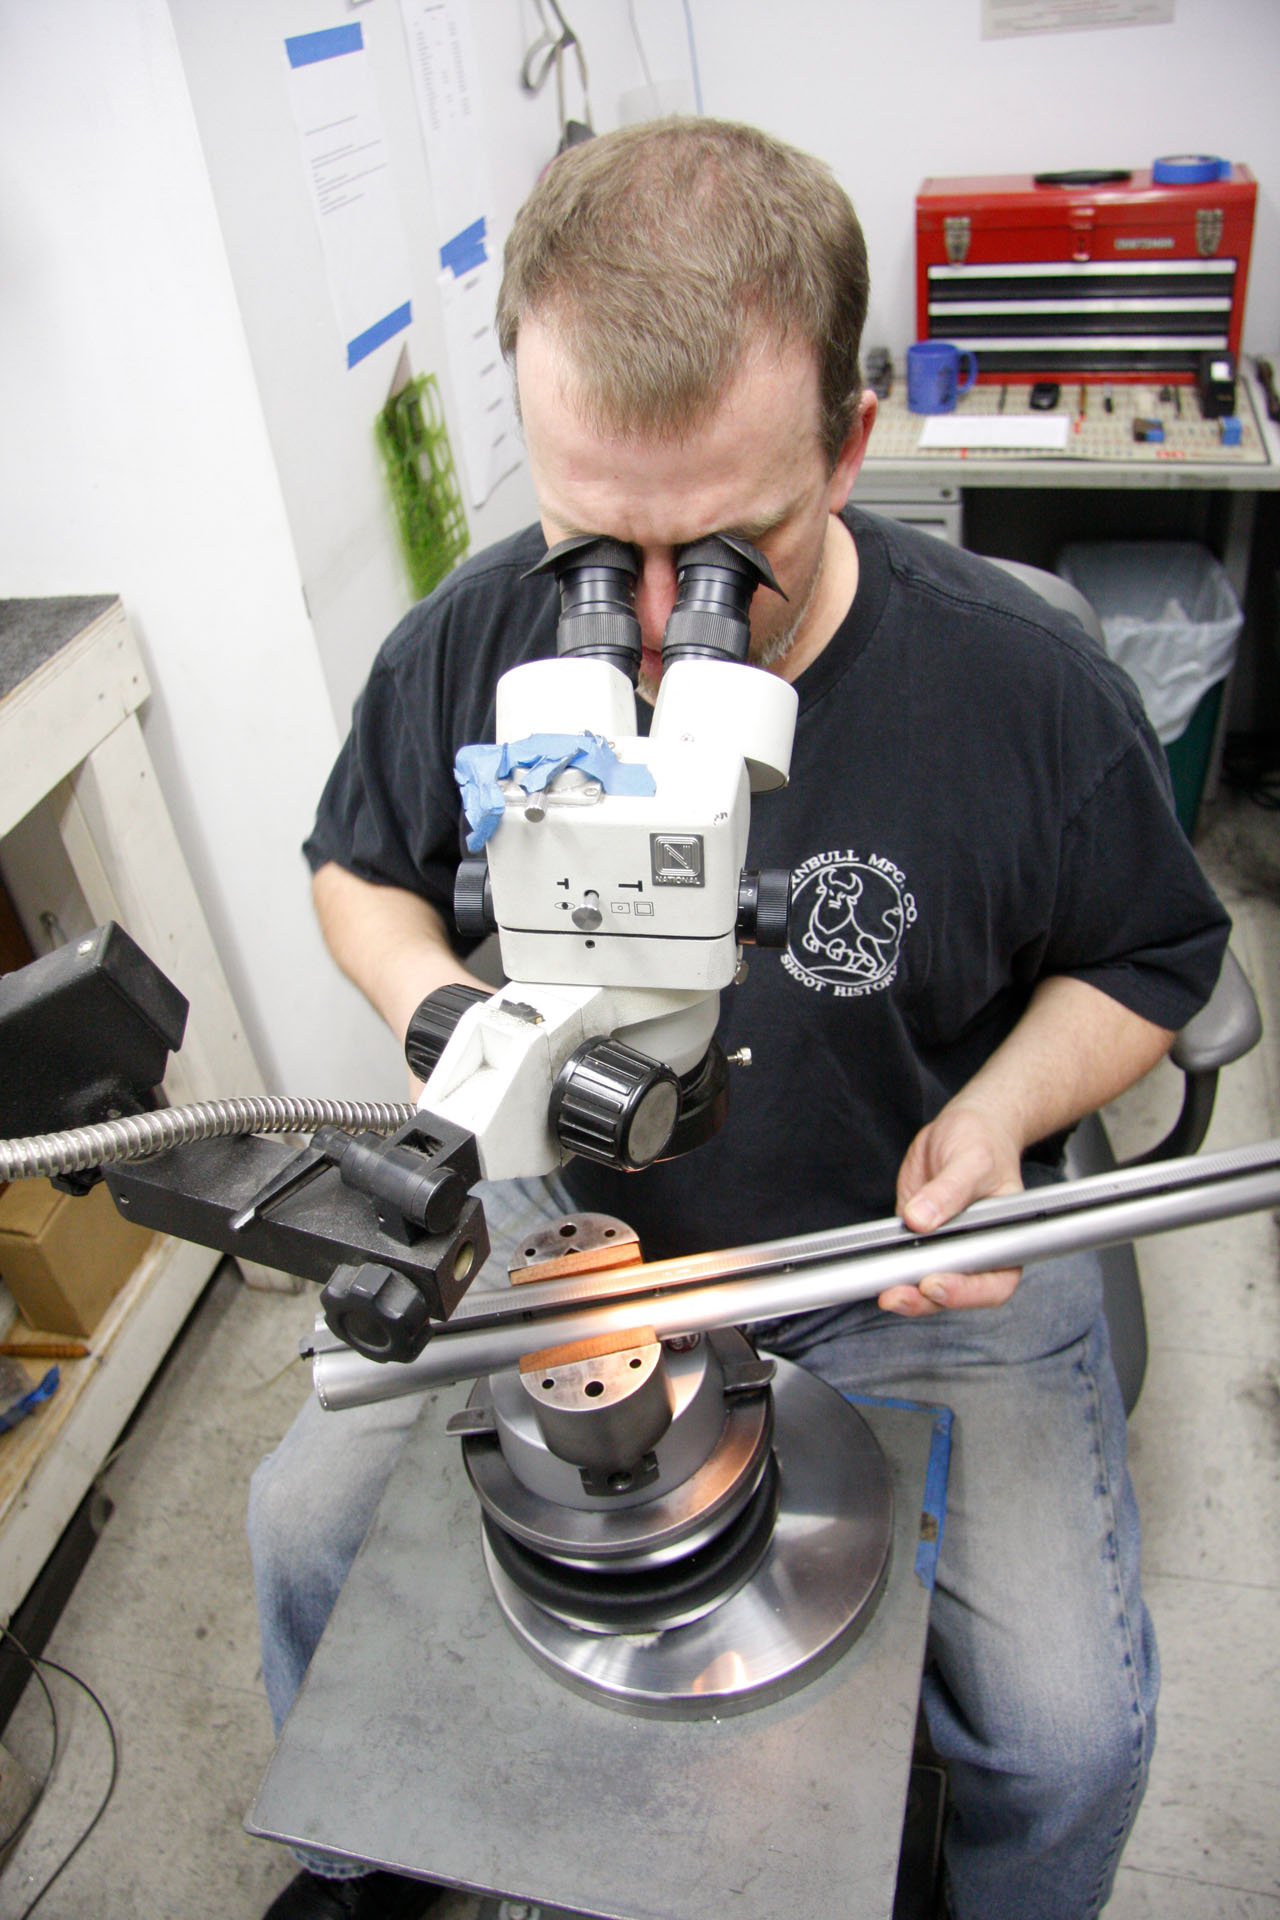
Day 7, Step 7
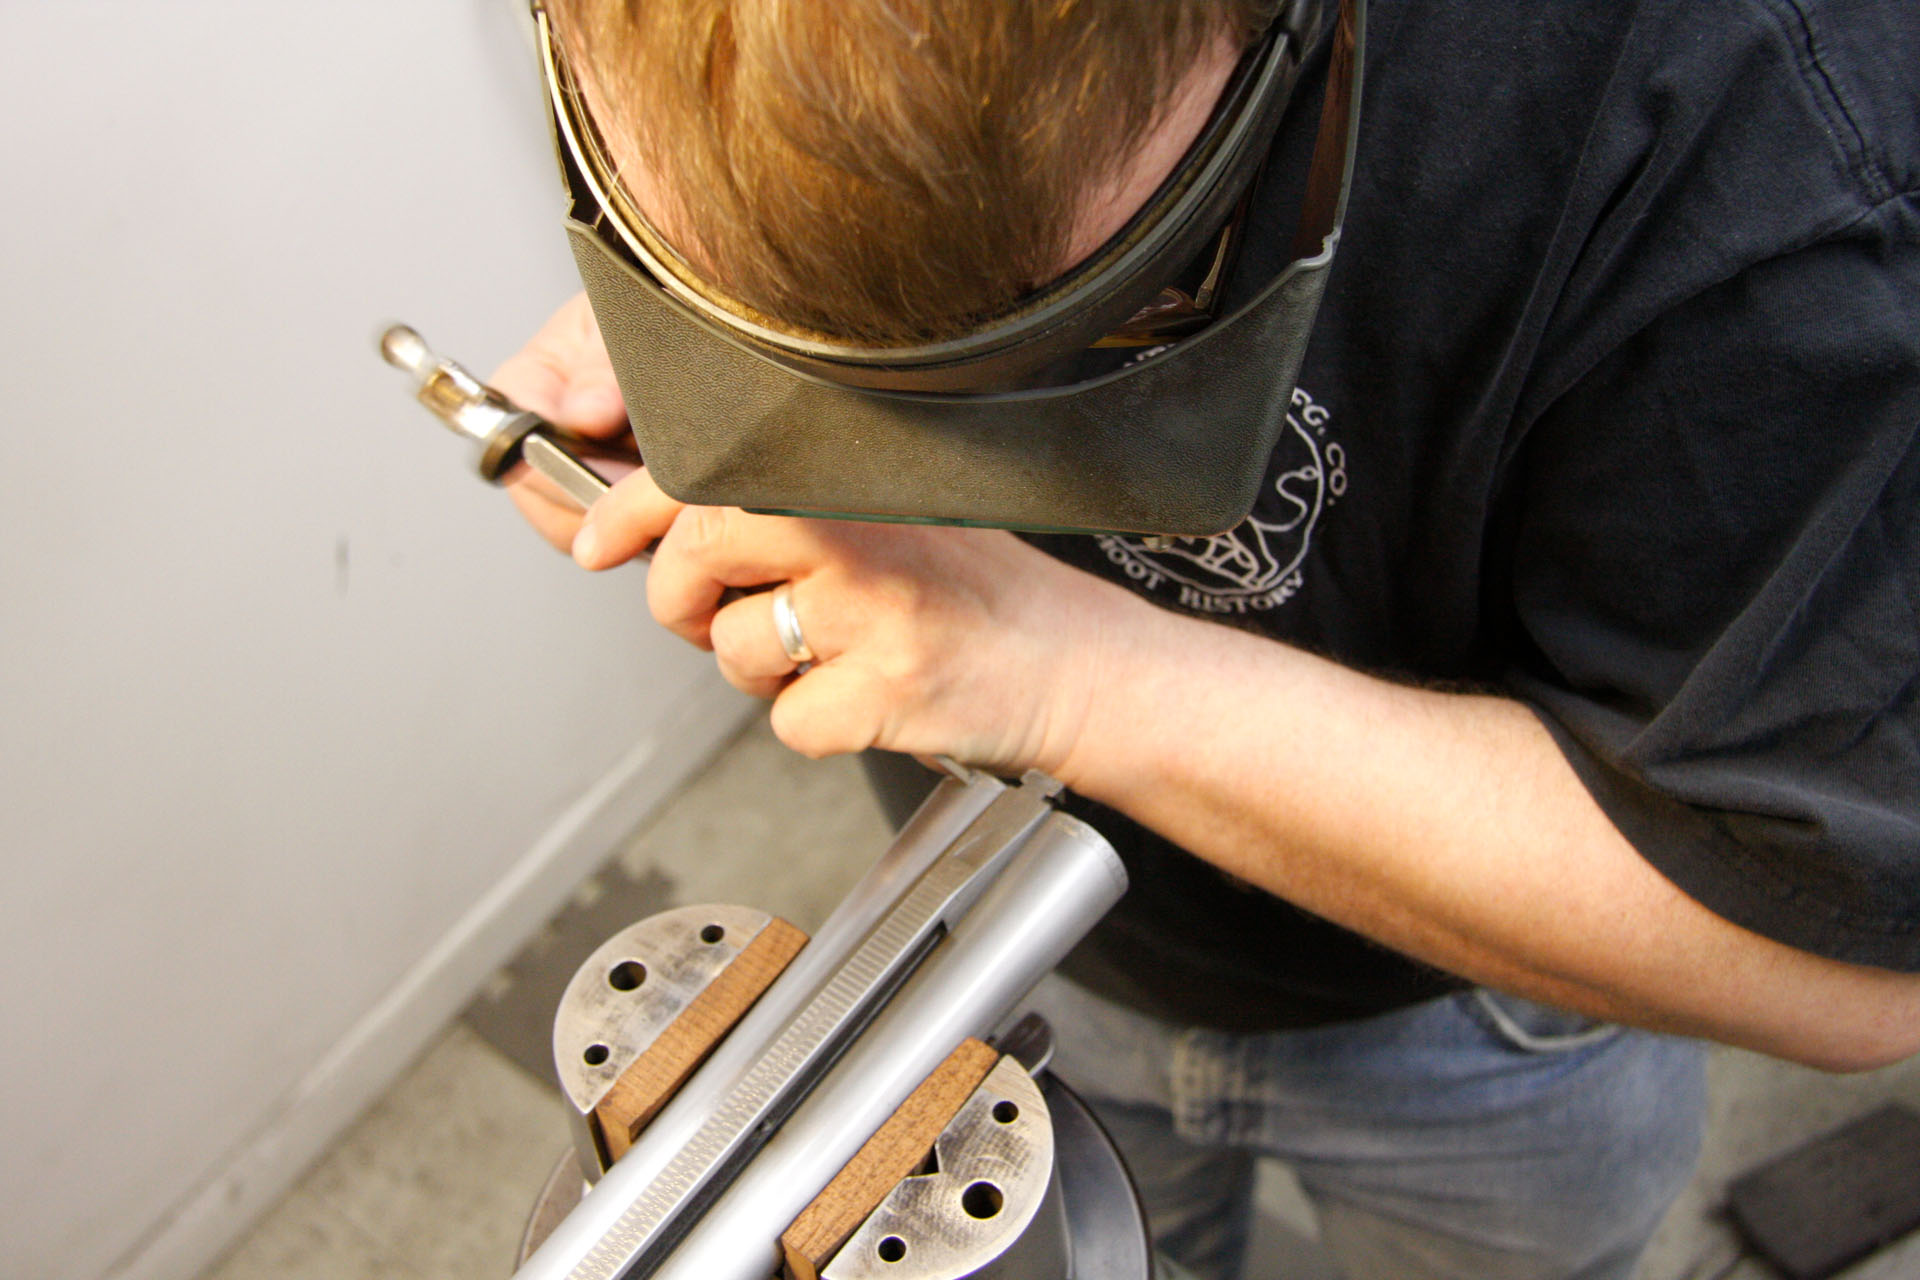
7) Tom McArdle, our in-house engraver, and his setup.
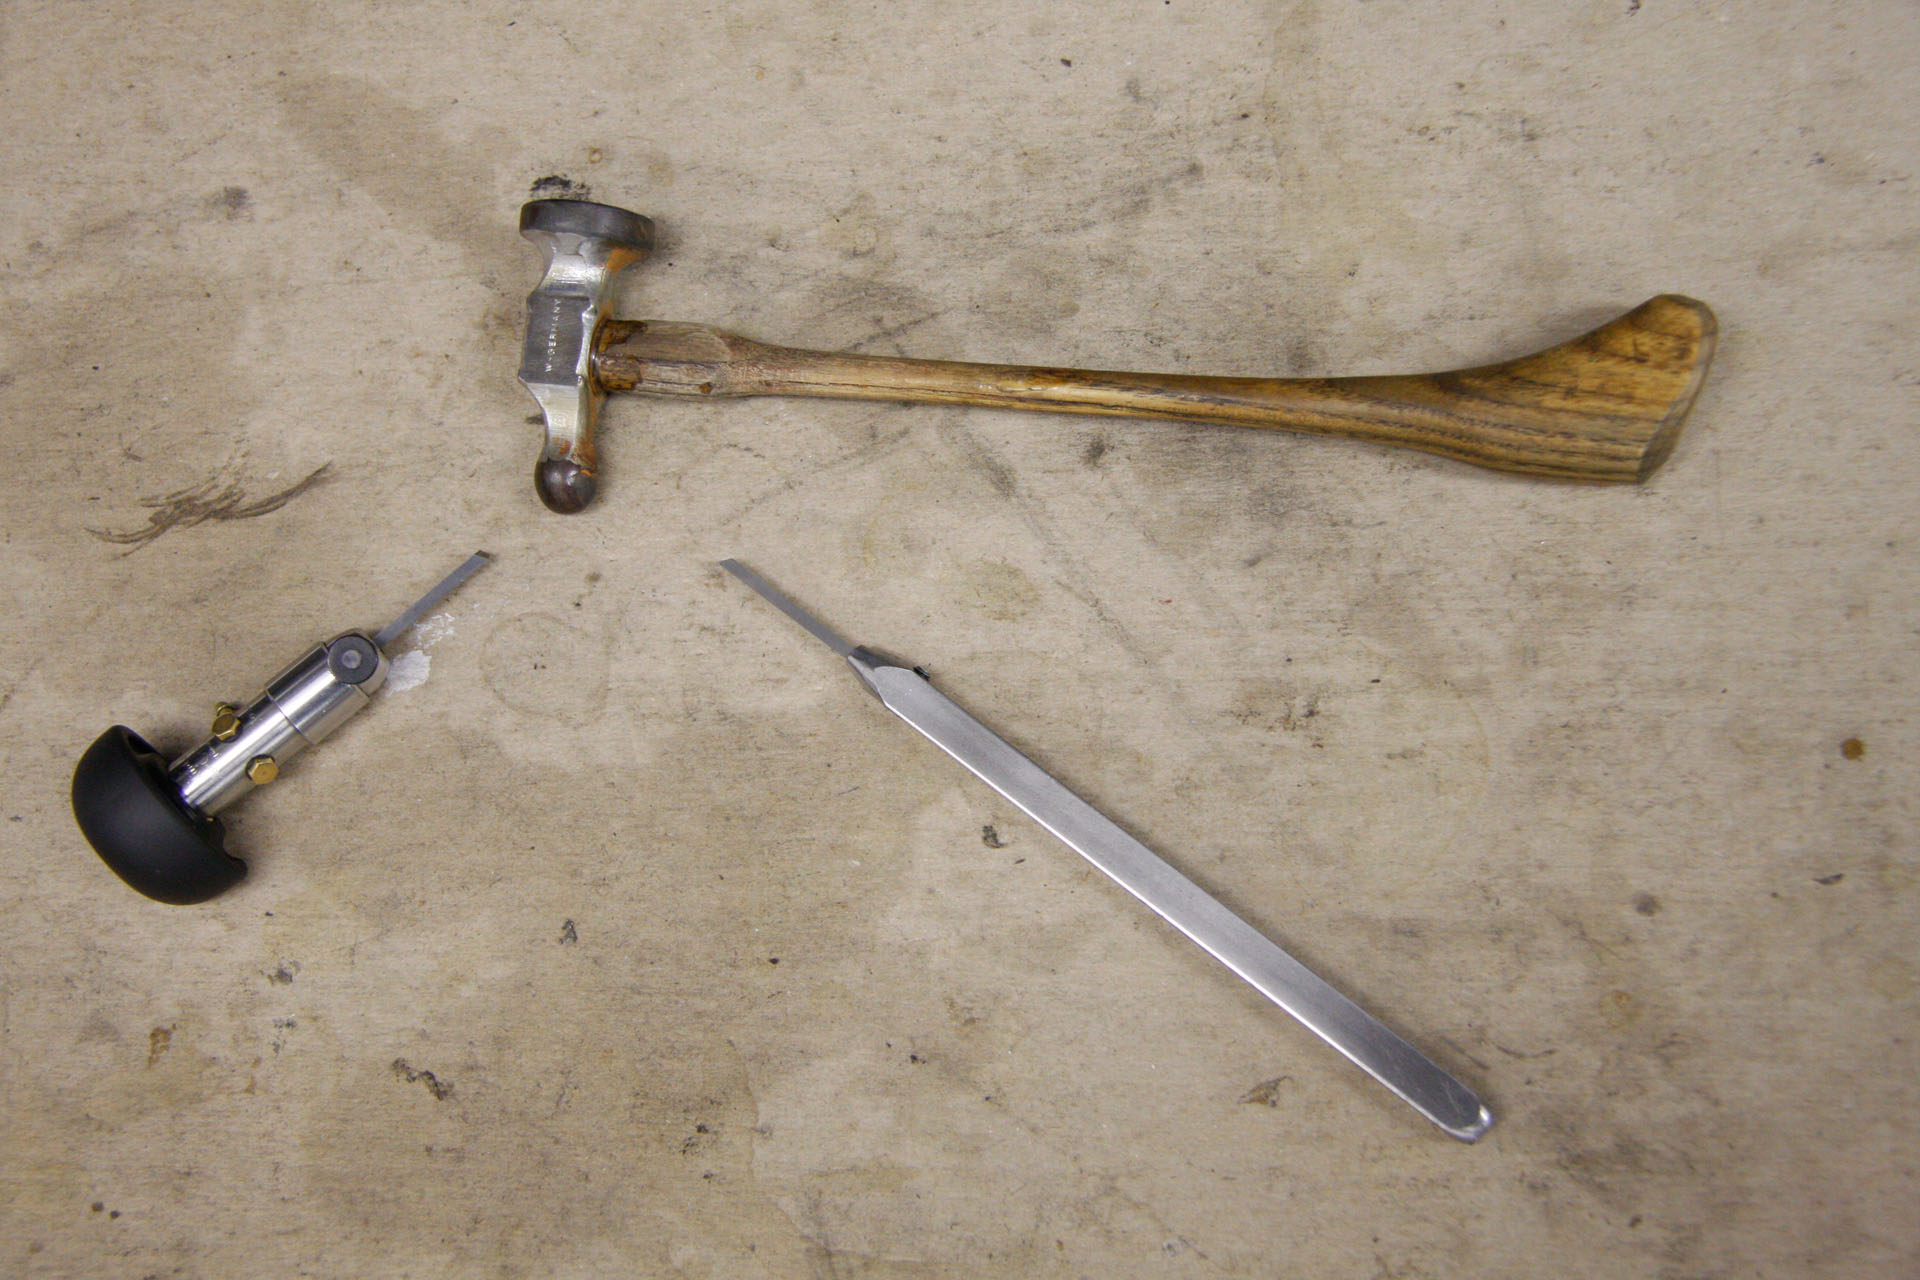
Day 7, Step 8
8) Here are some of the tools that Tom uses: an air chasing engraver, a standard hammer, and a chisel.
Day 7, Step 9
9) The finished barrels after both bands have been recut. Next, it’s off to be rust blued.
Day 8: Polishing the Action

Day 8, Step 1
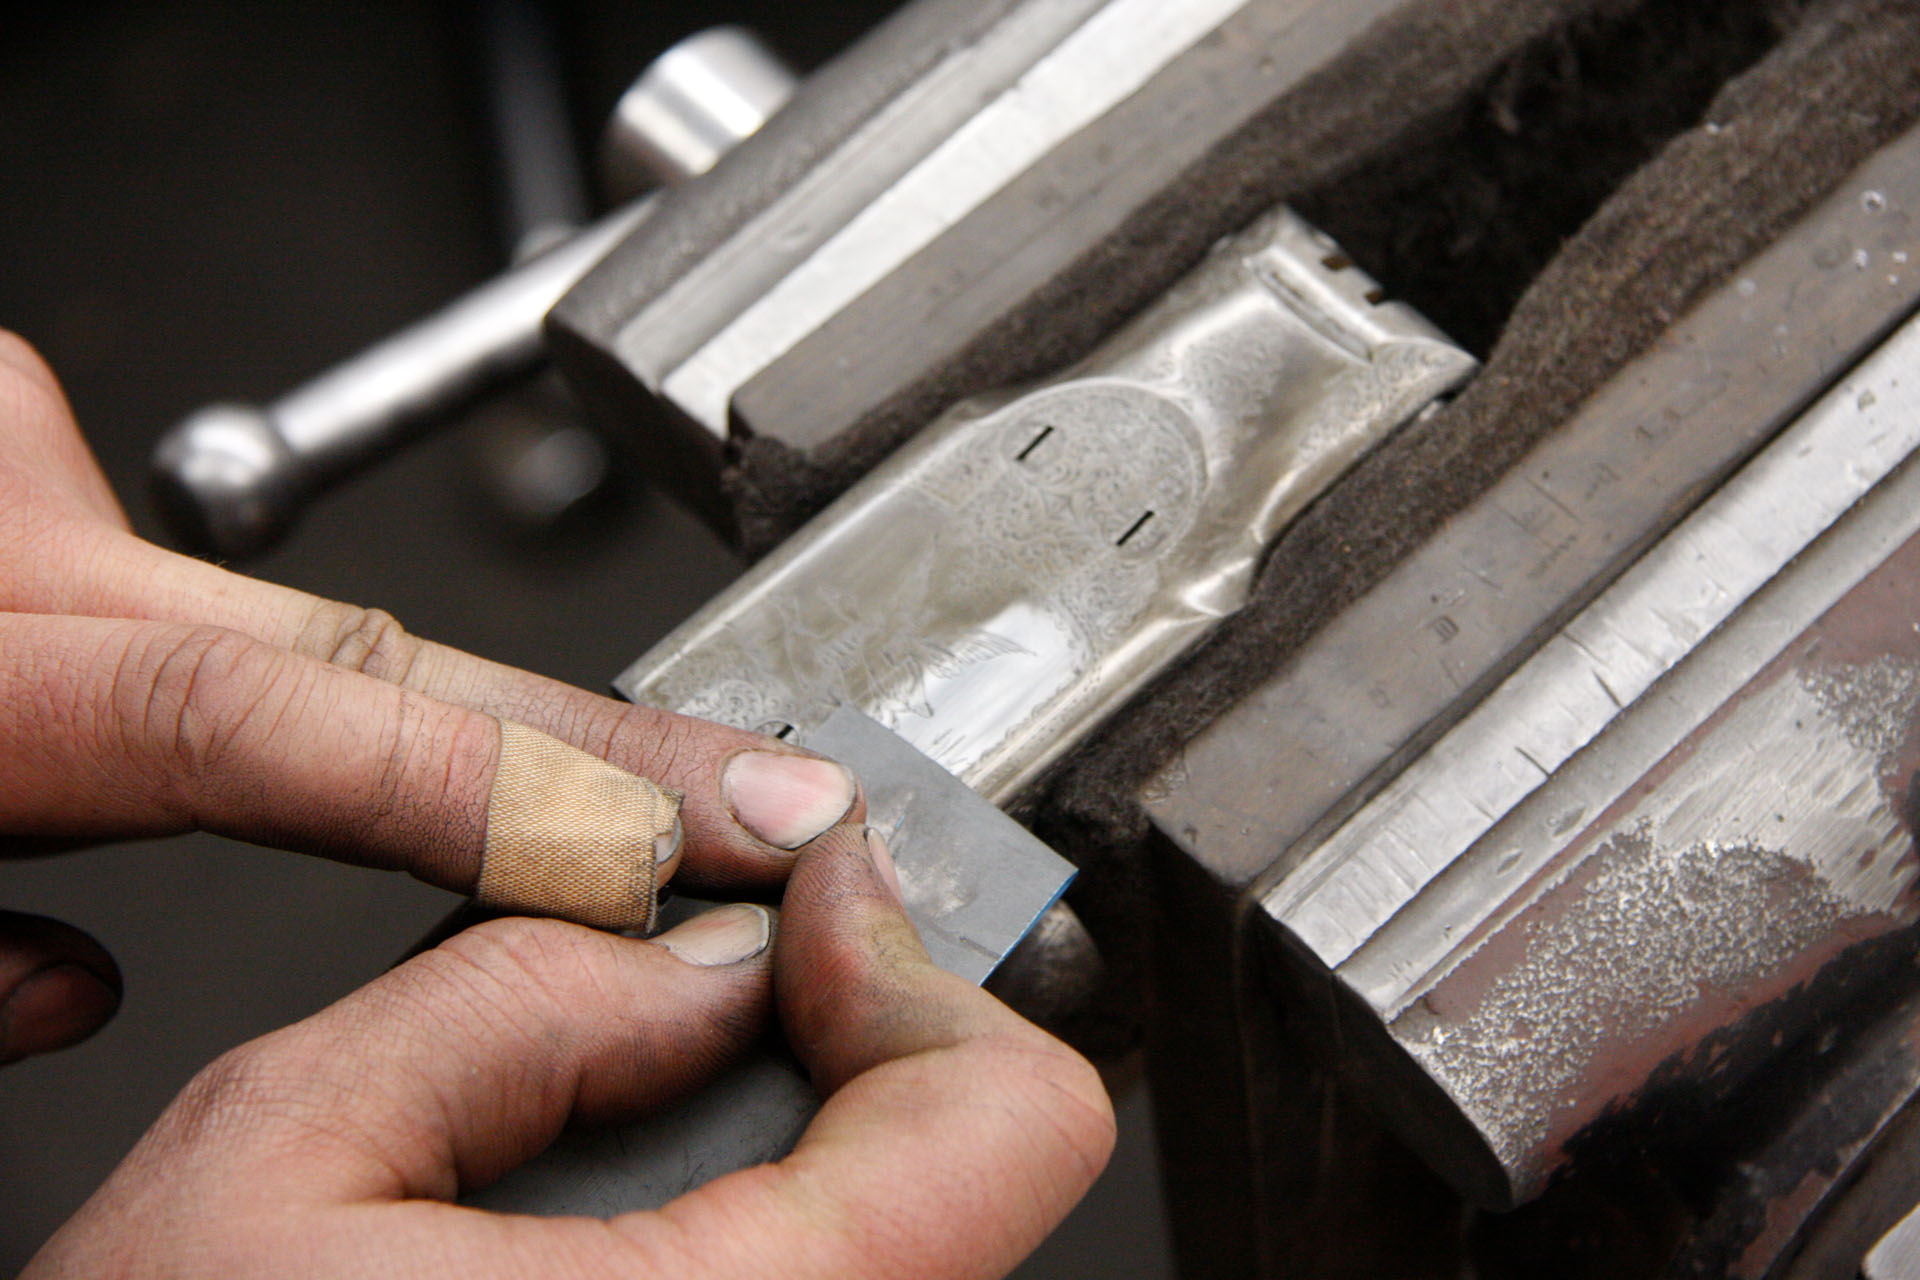
1) In polishing the frame, one has to be very careful not to remove too much of the original engraving.
Day 8, Step 2
2) Here the gunsmith uses a polishing stick with sanding paper to polish the floor plate.
Day 8, Step 3
3) The floor plate and action are matched up to ensure that they are polished evenly.
Day 8, Step 4
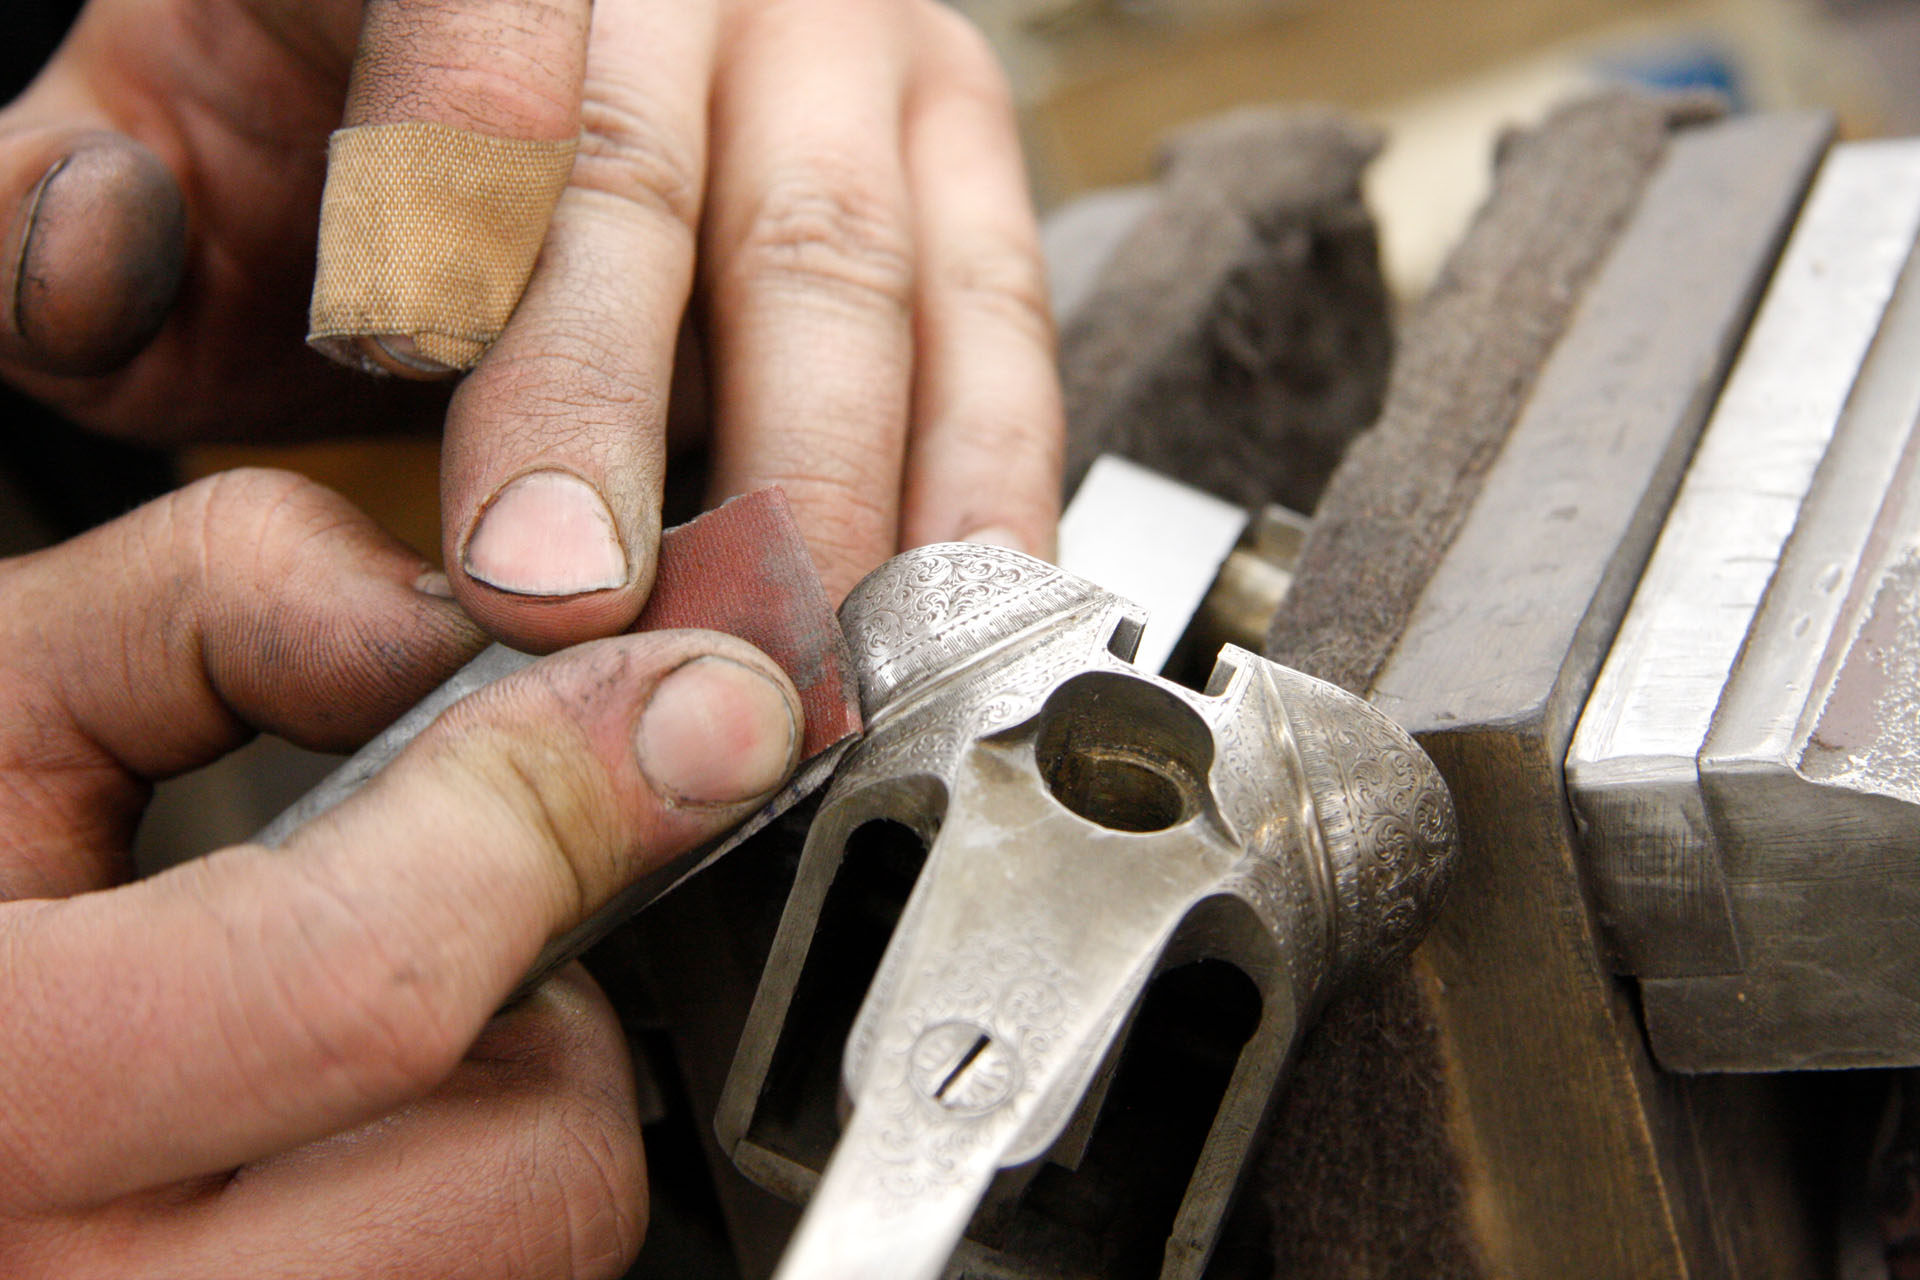
4) The breech ball is cleaned up with the same polishing block and sanding paper.
Day 8, Step 5
5) Polishing the trigger guard.
Day 8, Step 6
6) Using a “shoe shine” method to polish the trigger guards.
Day 8, Step 7
7) The finished trigger guard.
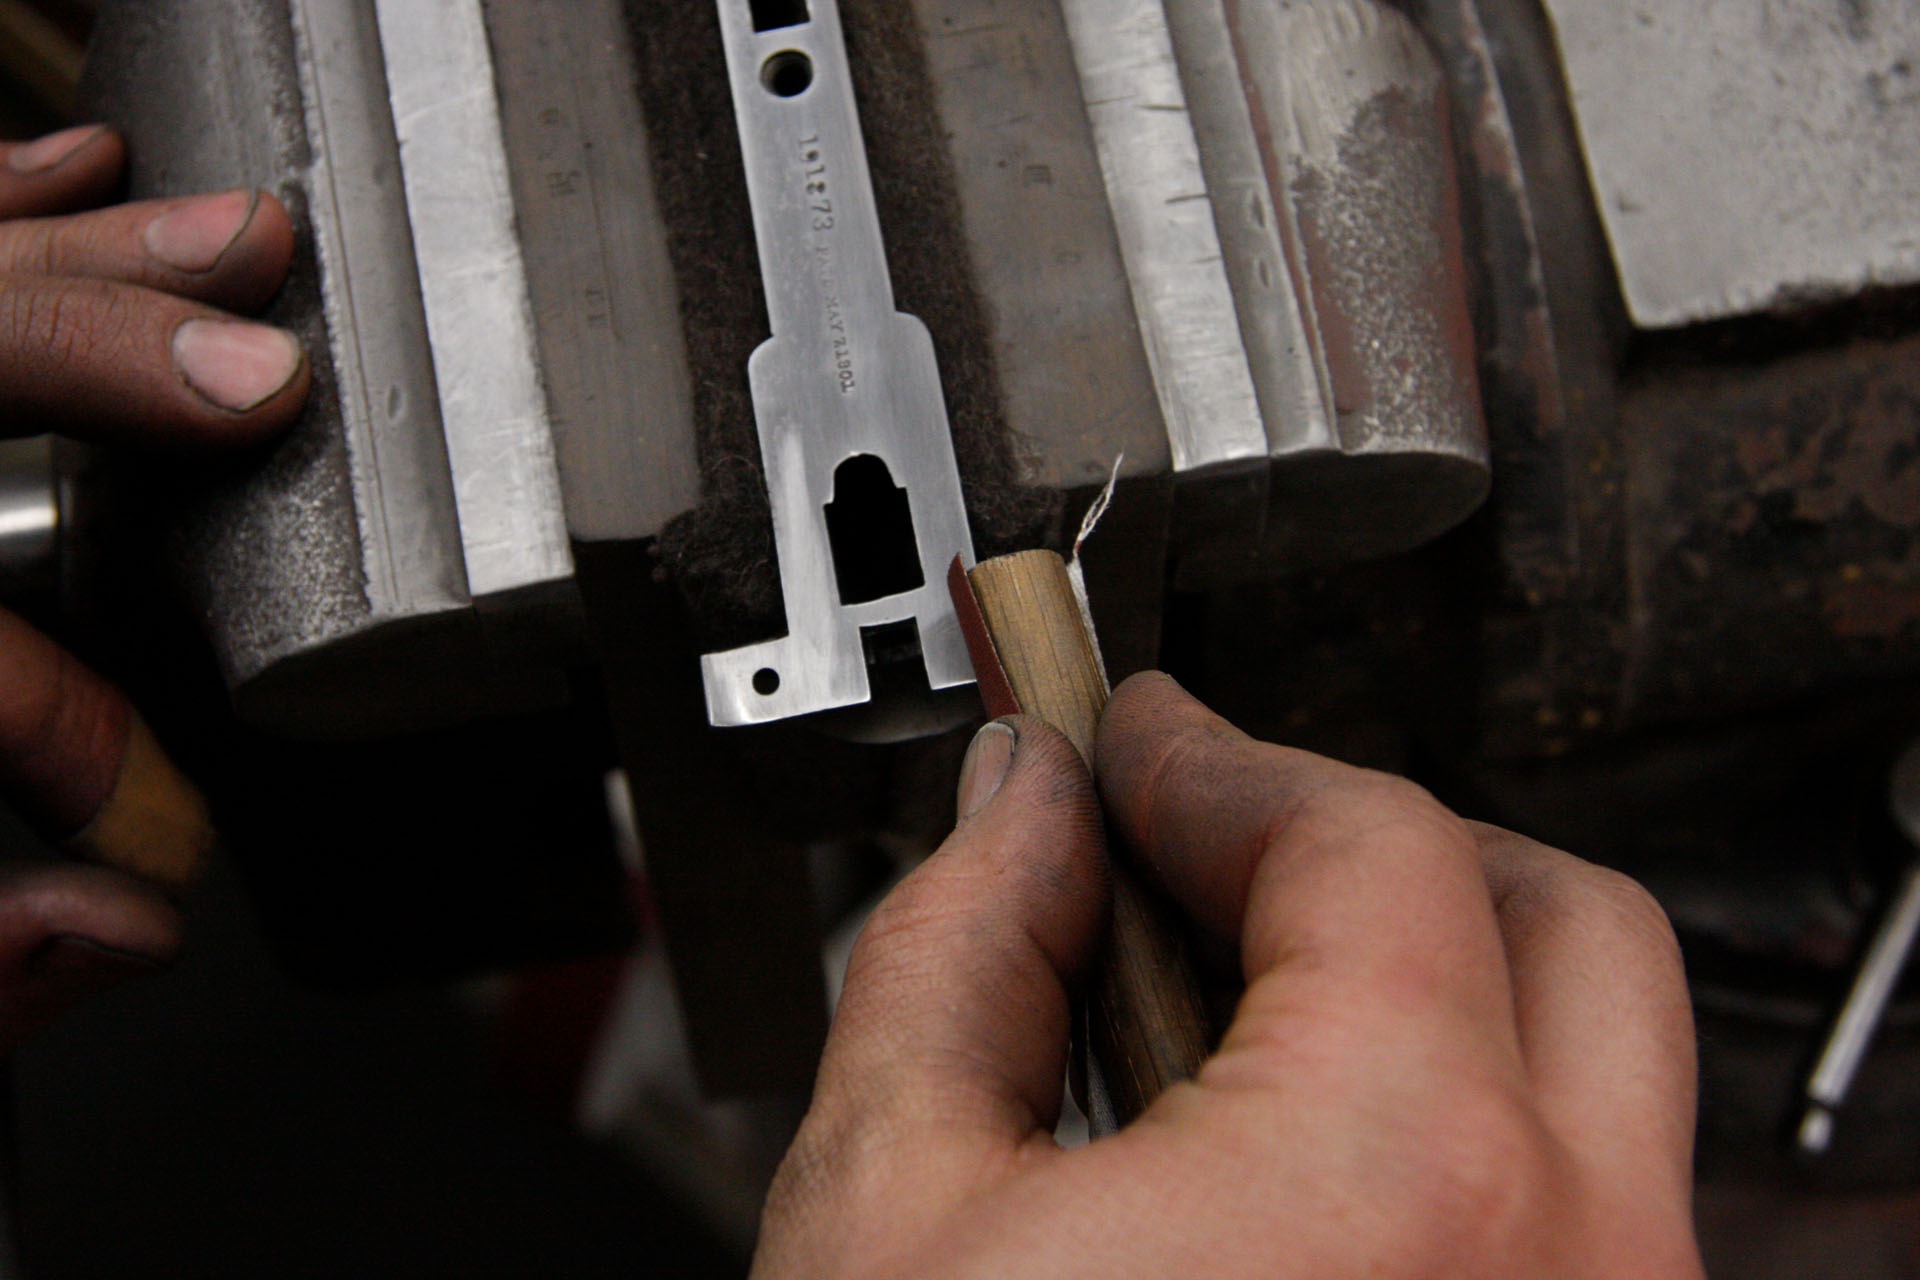
Day 8, Step 8
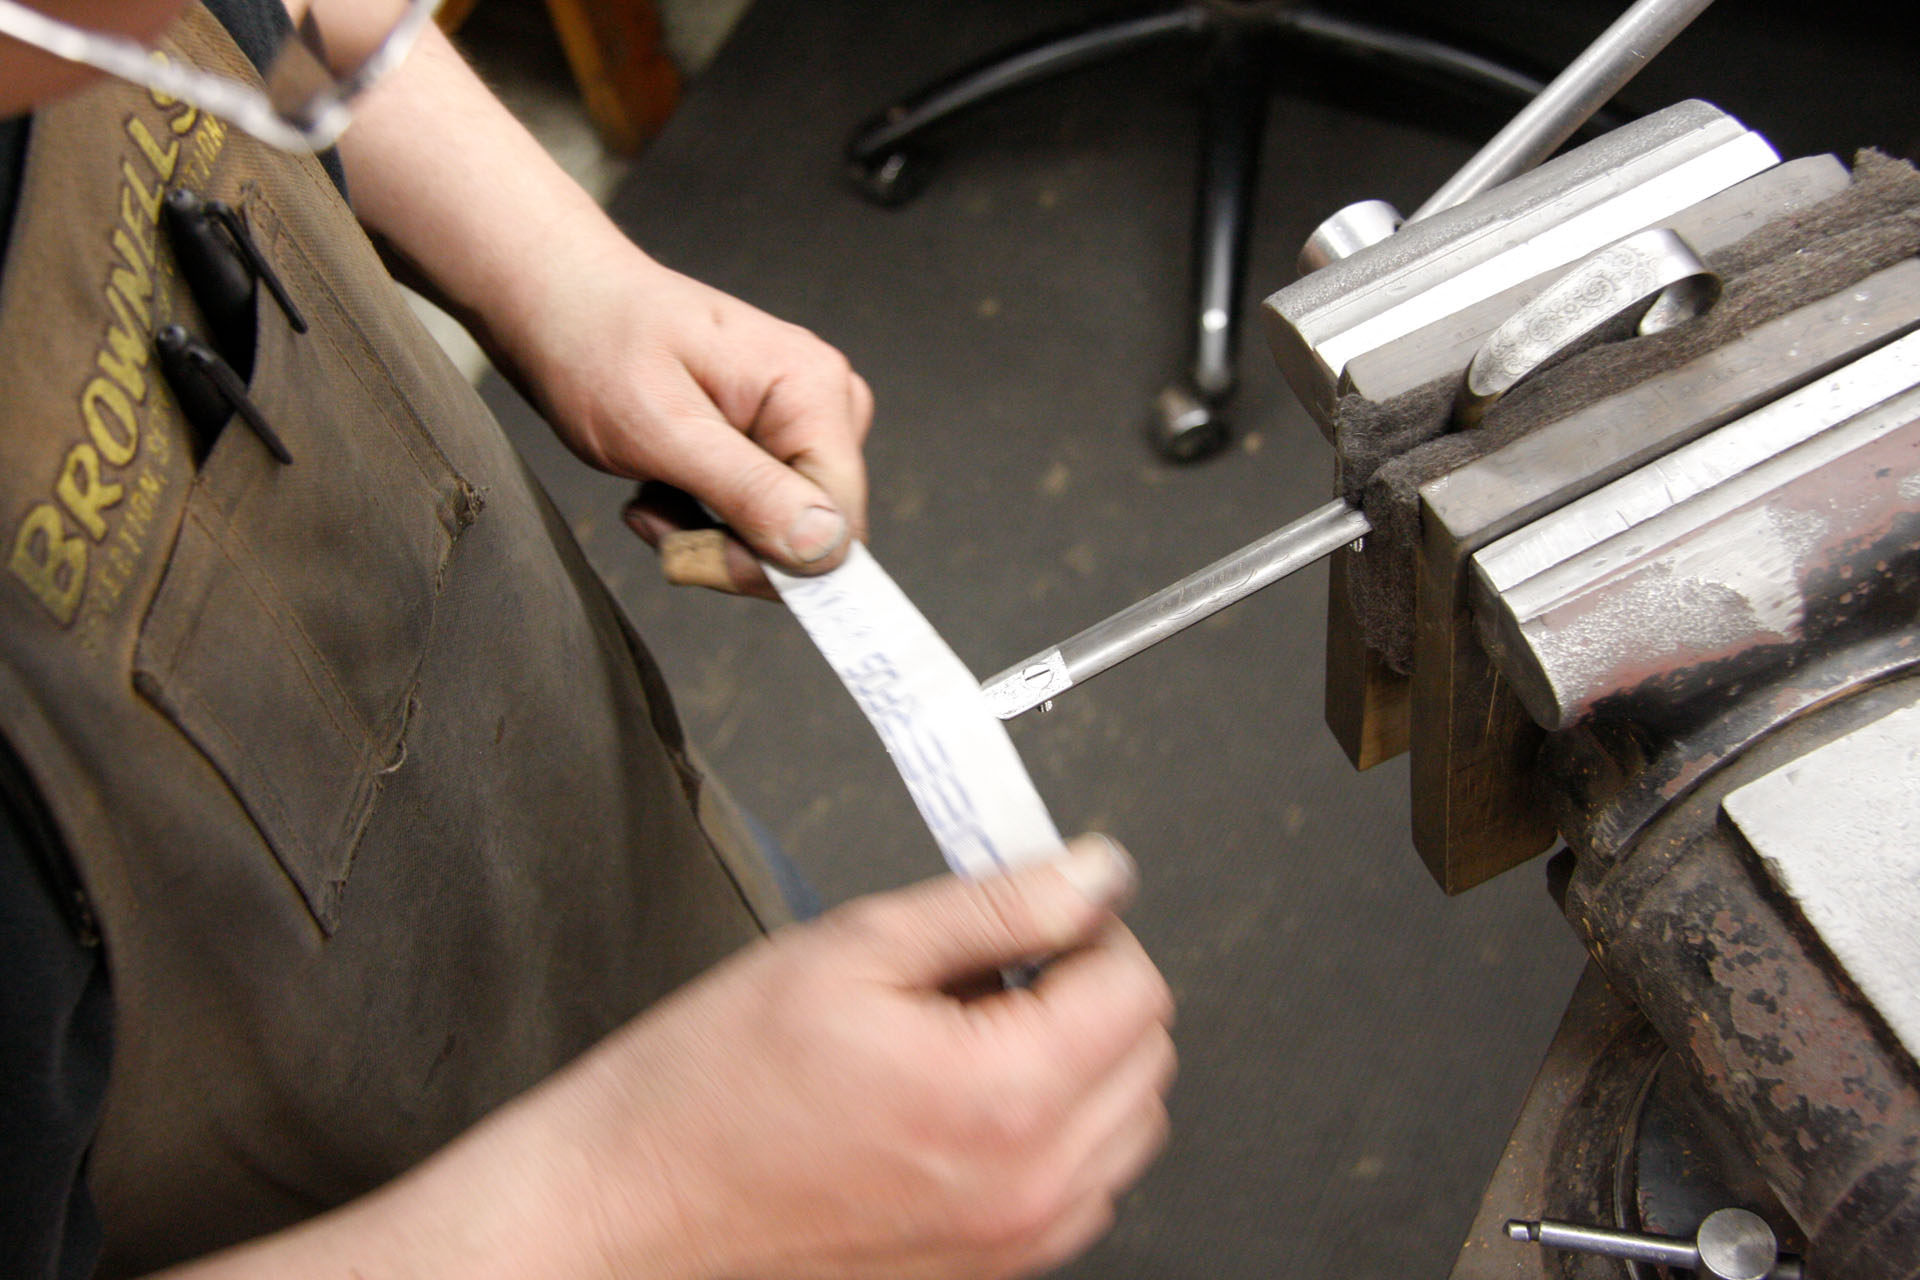
8) A wooden dowl with sanding paper is the tool of choice for this section, ensuring that the radius is just right on the forend iron.

Day 8, Step 9
9) More polishing using a wooden dowel.

Day 8, Step 10
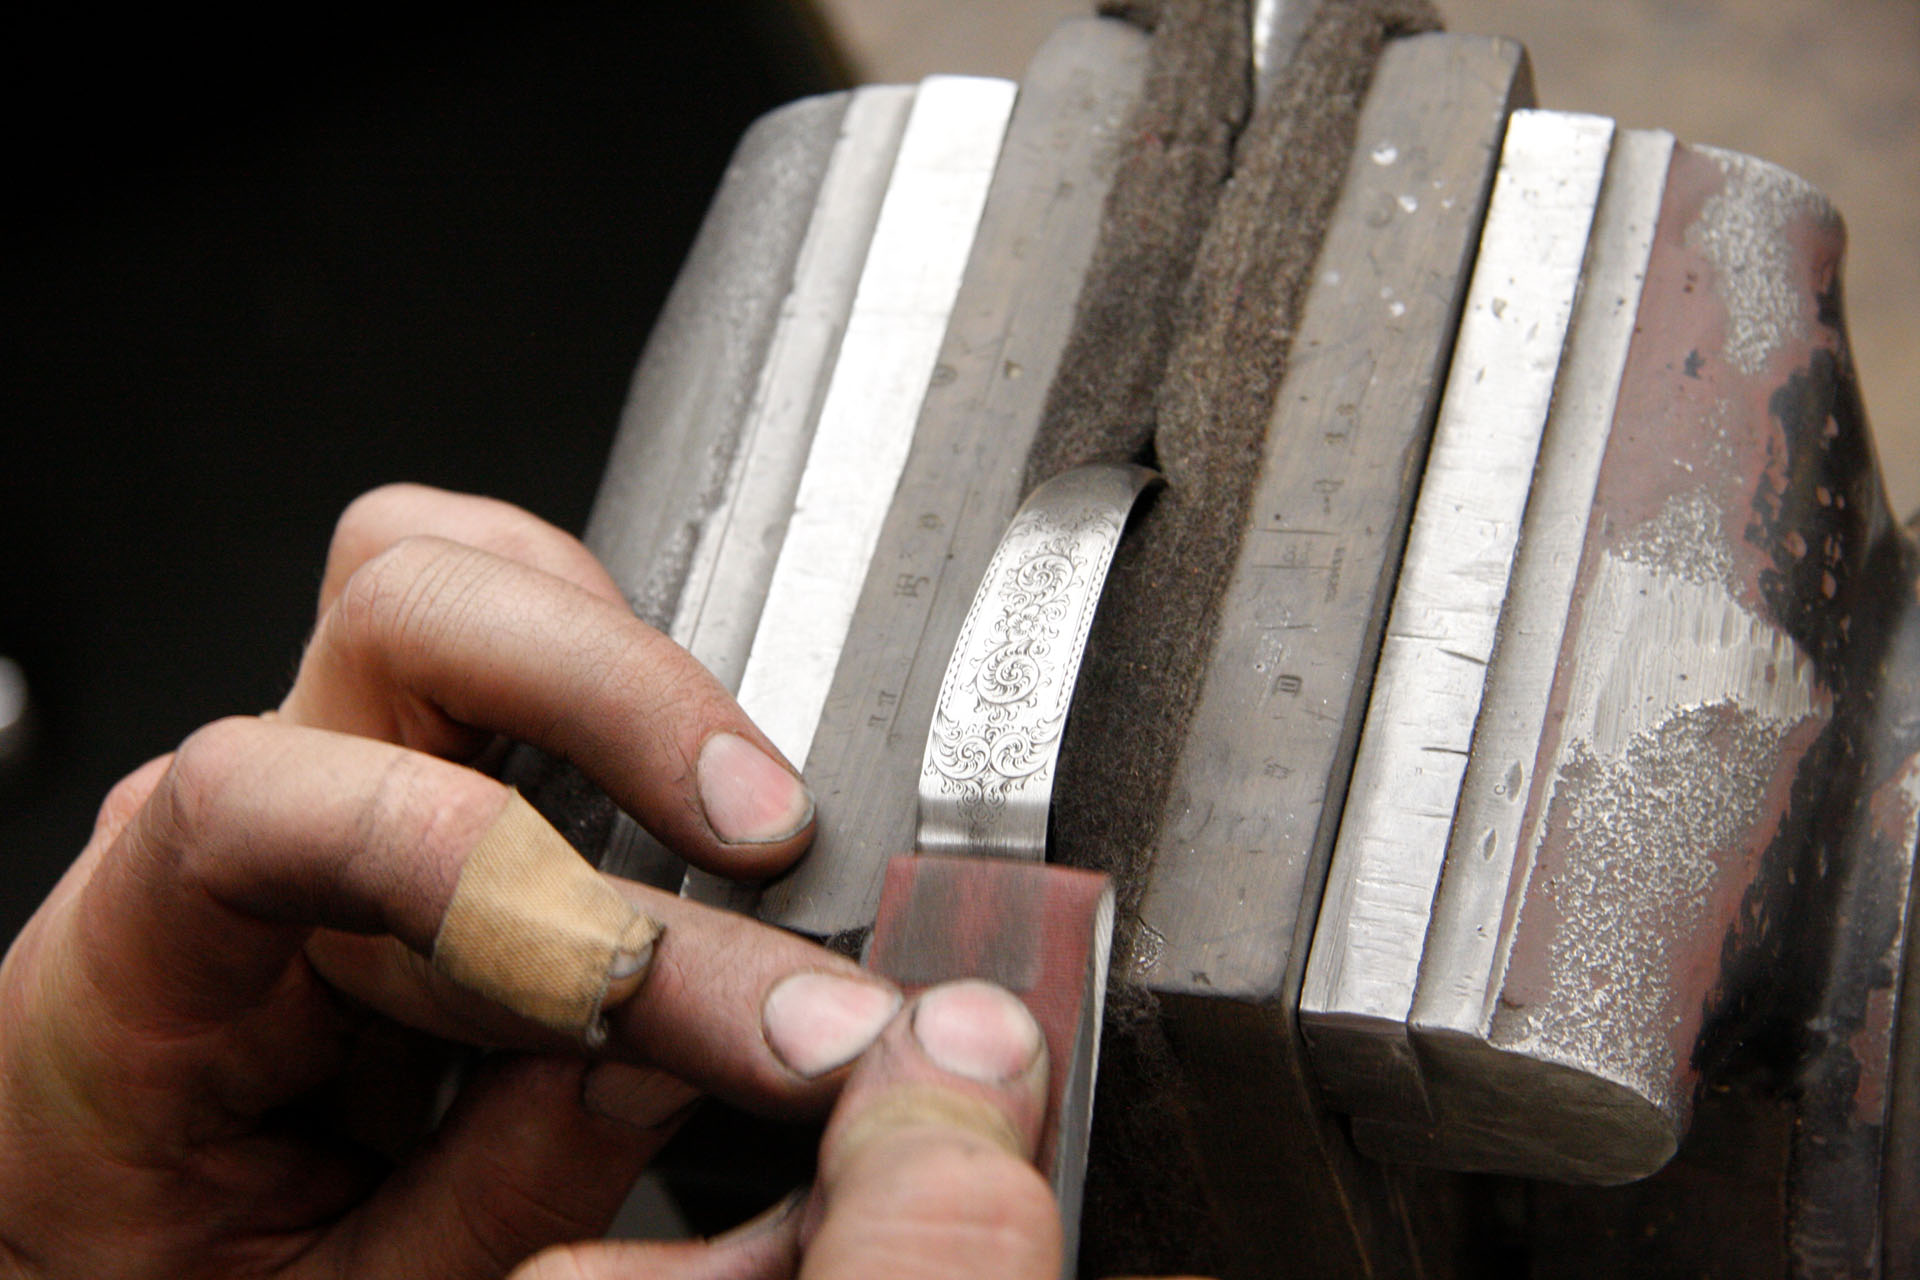
10) Another method of polishing uses a file with paper wrapped around it to get the flat portions of the forend iron.
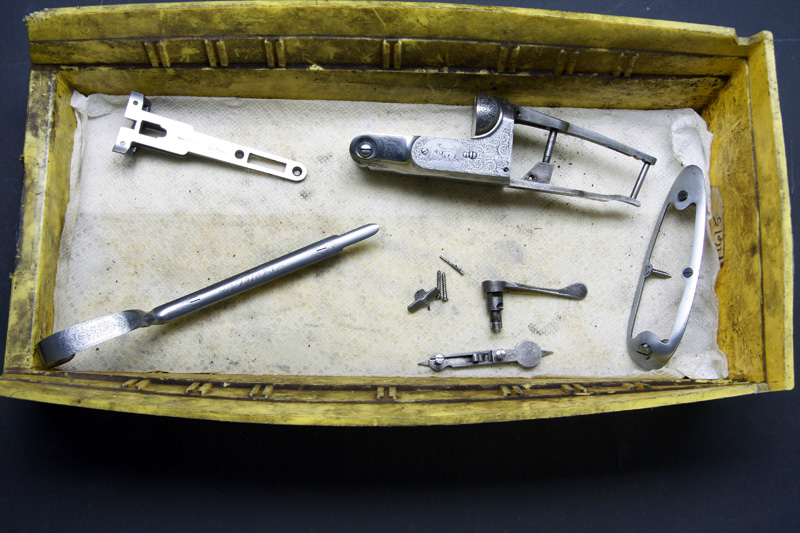
Day 8, Step 11
11) All the parts have been polished and are awaiting engraving recut.
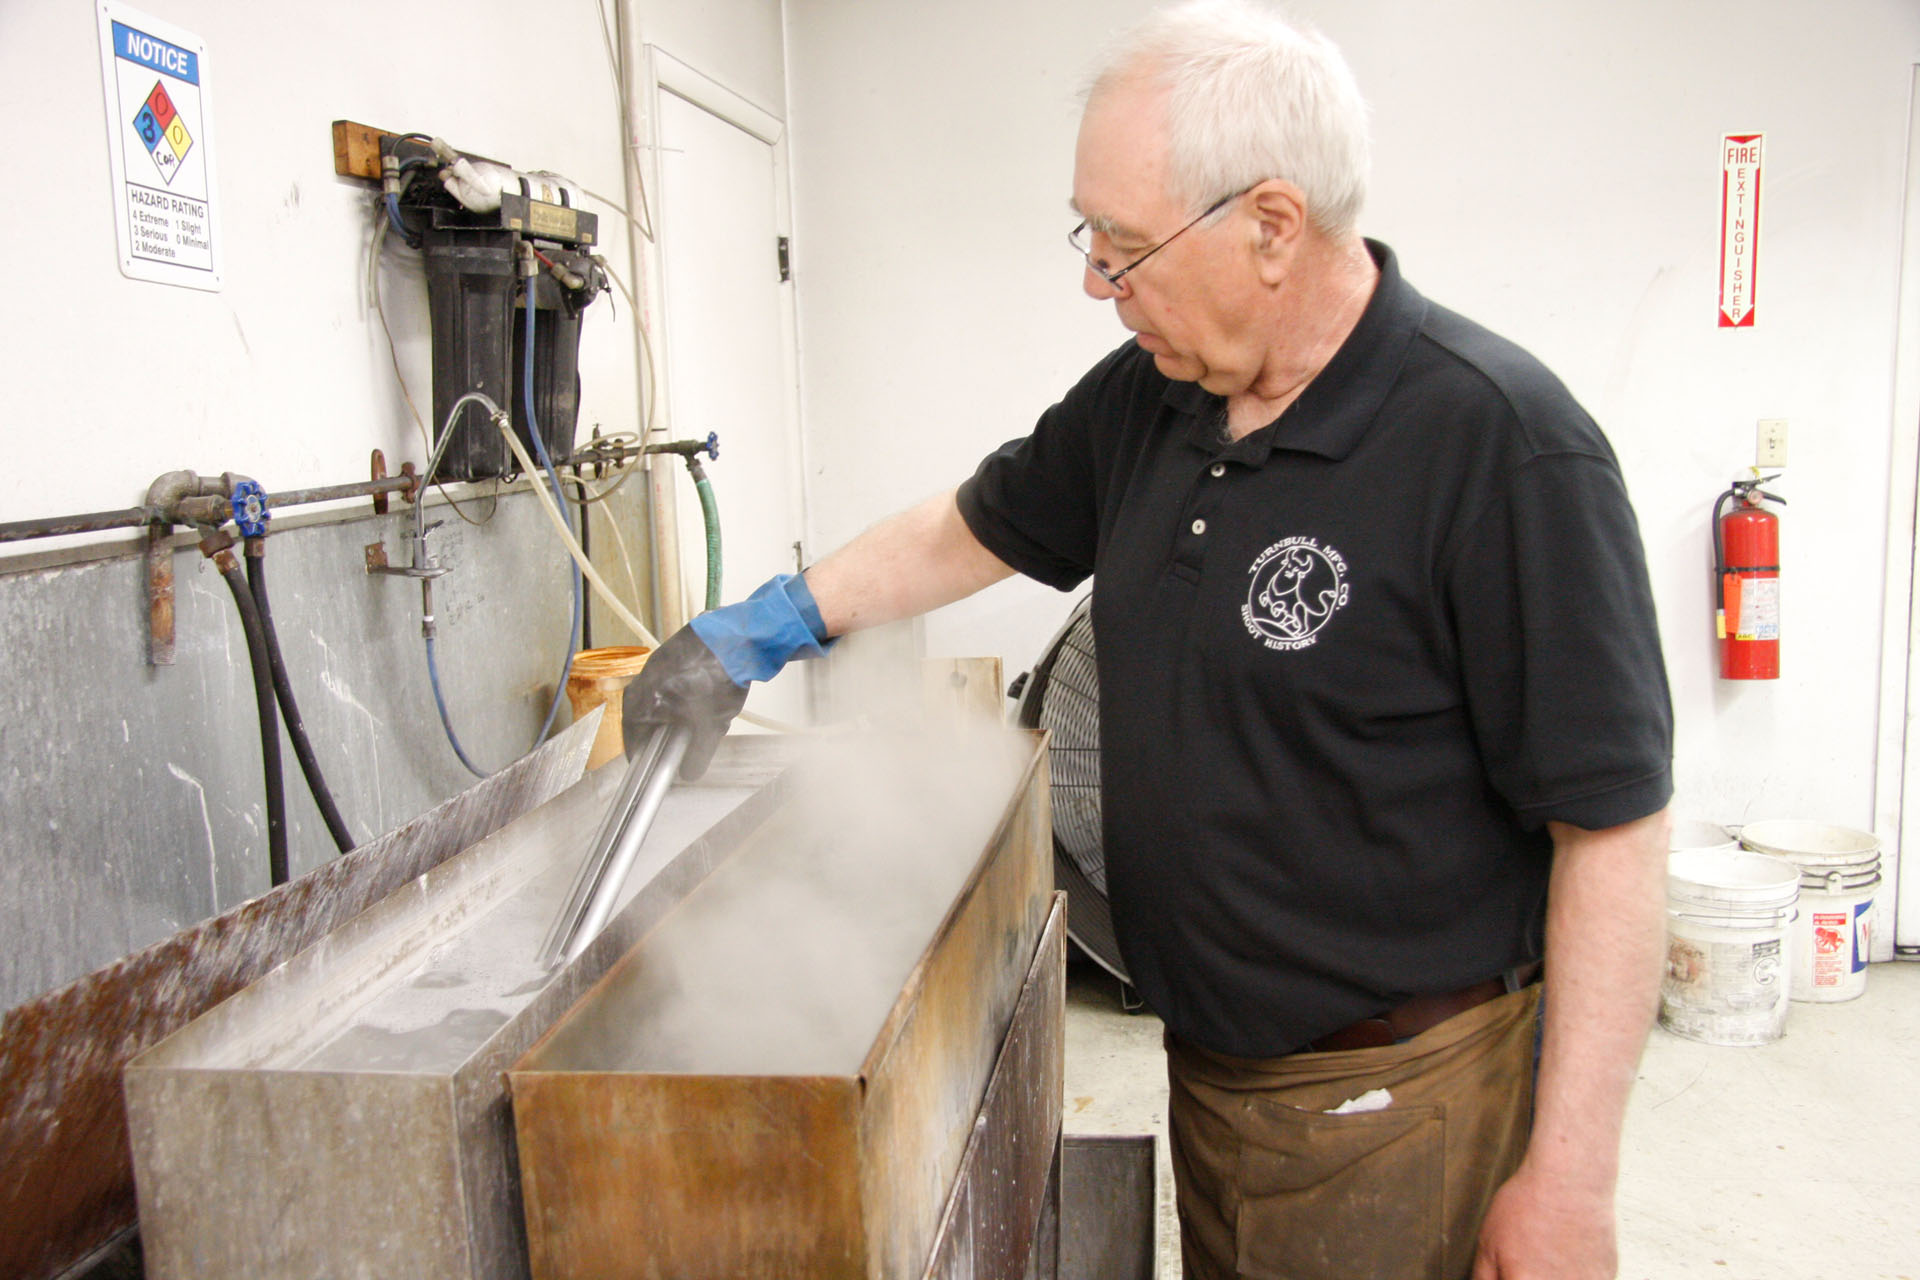
Day 9: Rust Bluing the Barrels
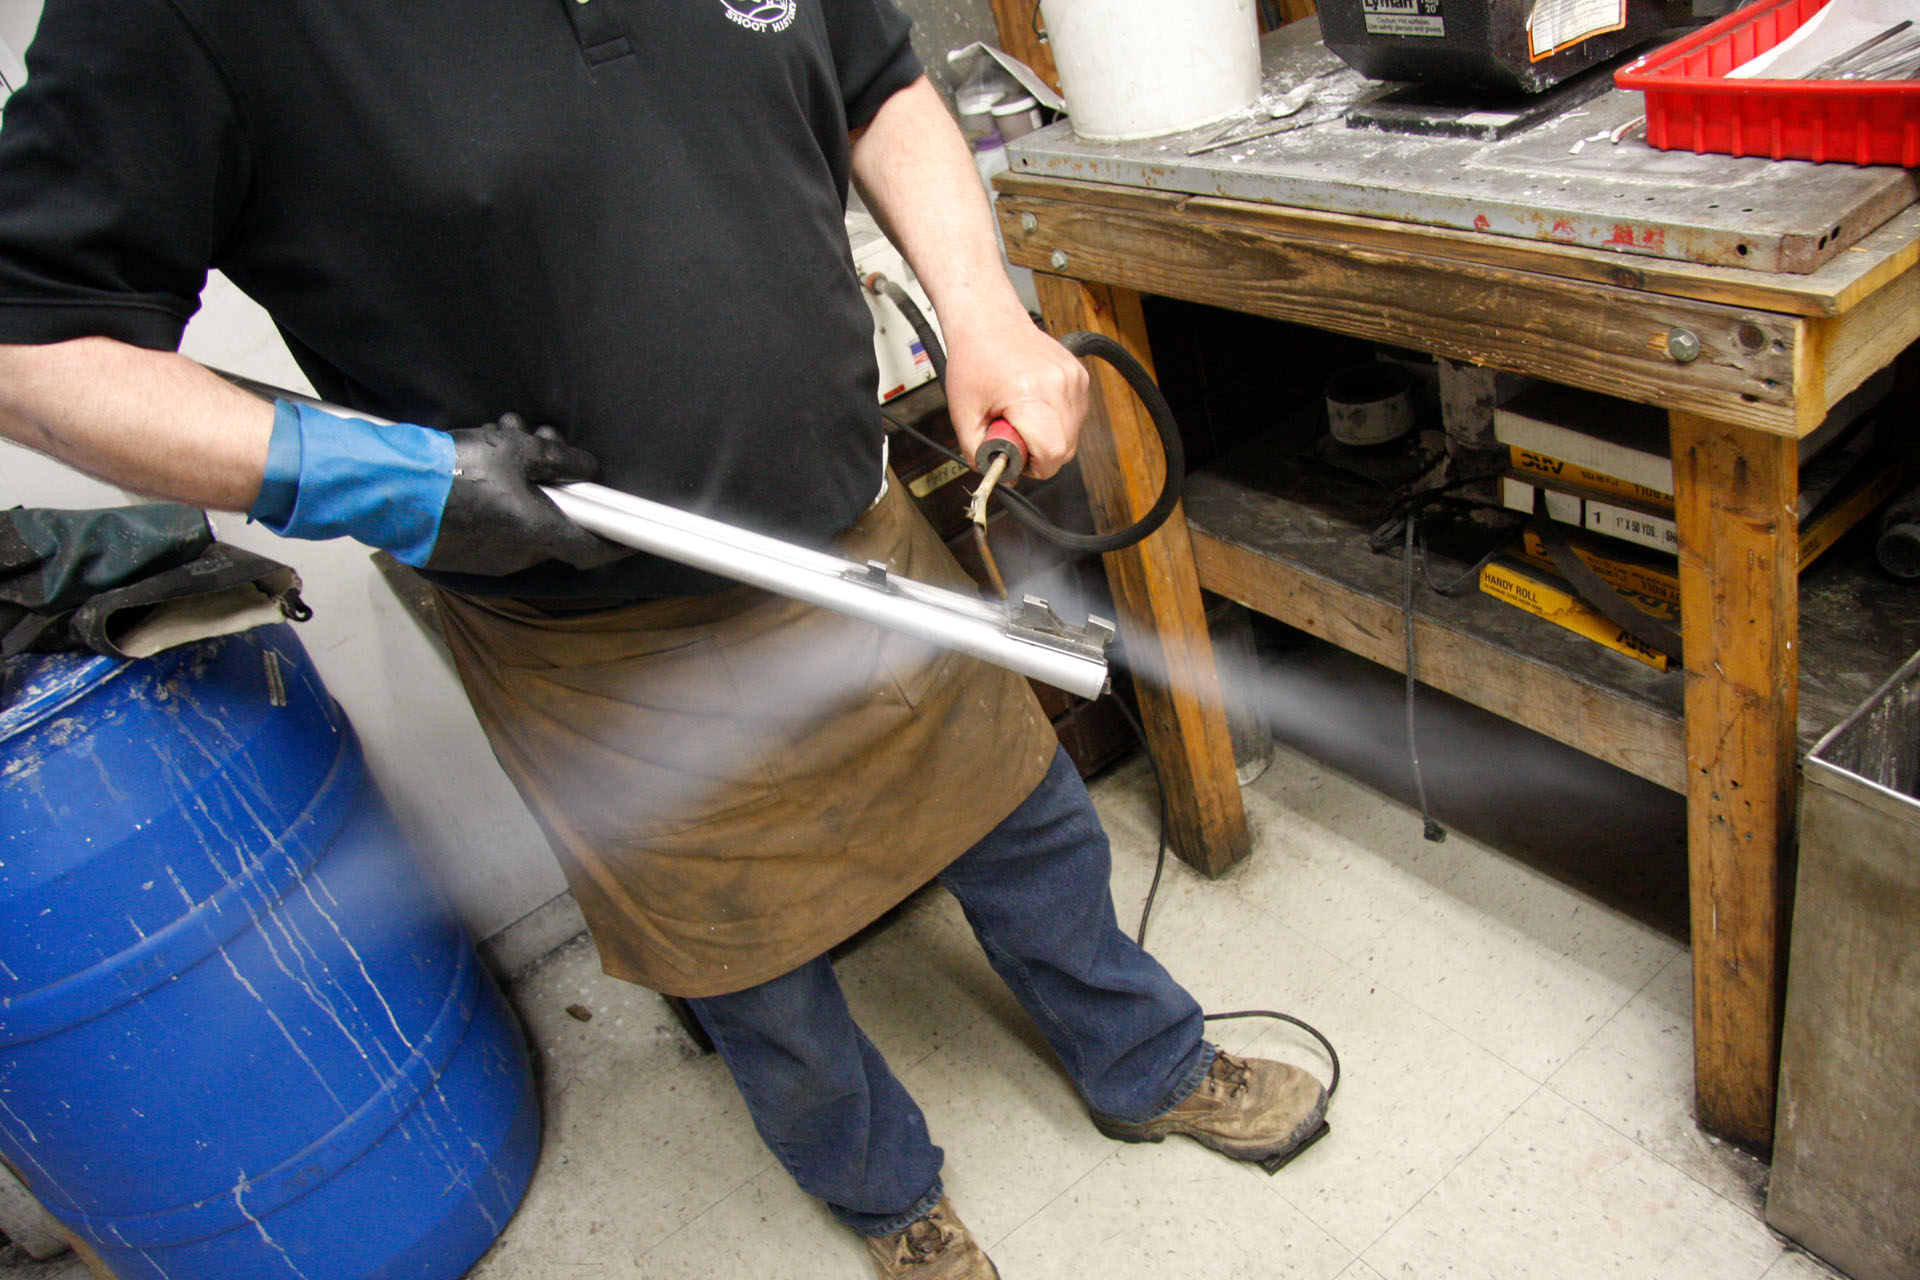
Day 9, Step 1
1) The barrels are inspected for dings, etc. after they’ve been polished and engraved. Steaming removes any built-up grease or residue that has accumulated over its lifetime.
Day 9, Step 2
2) The barrels are then dipped into a hot soap tank to be de-greased. Generally, they sit in this tank for about 30 minutes.
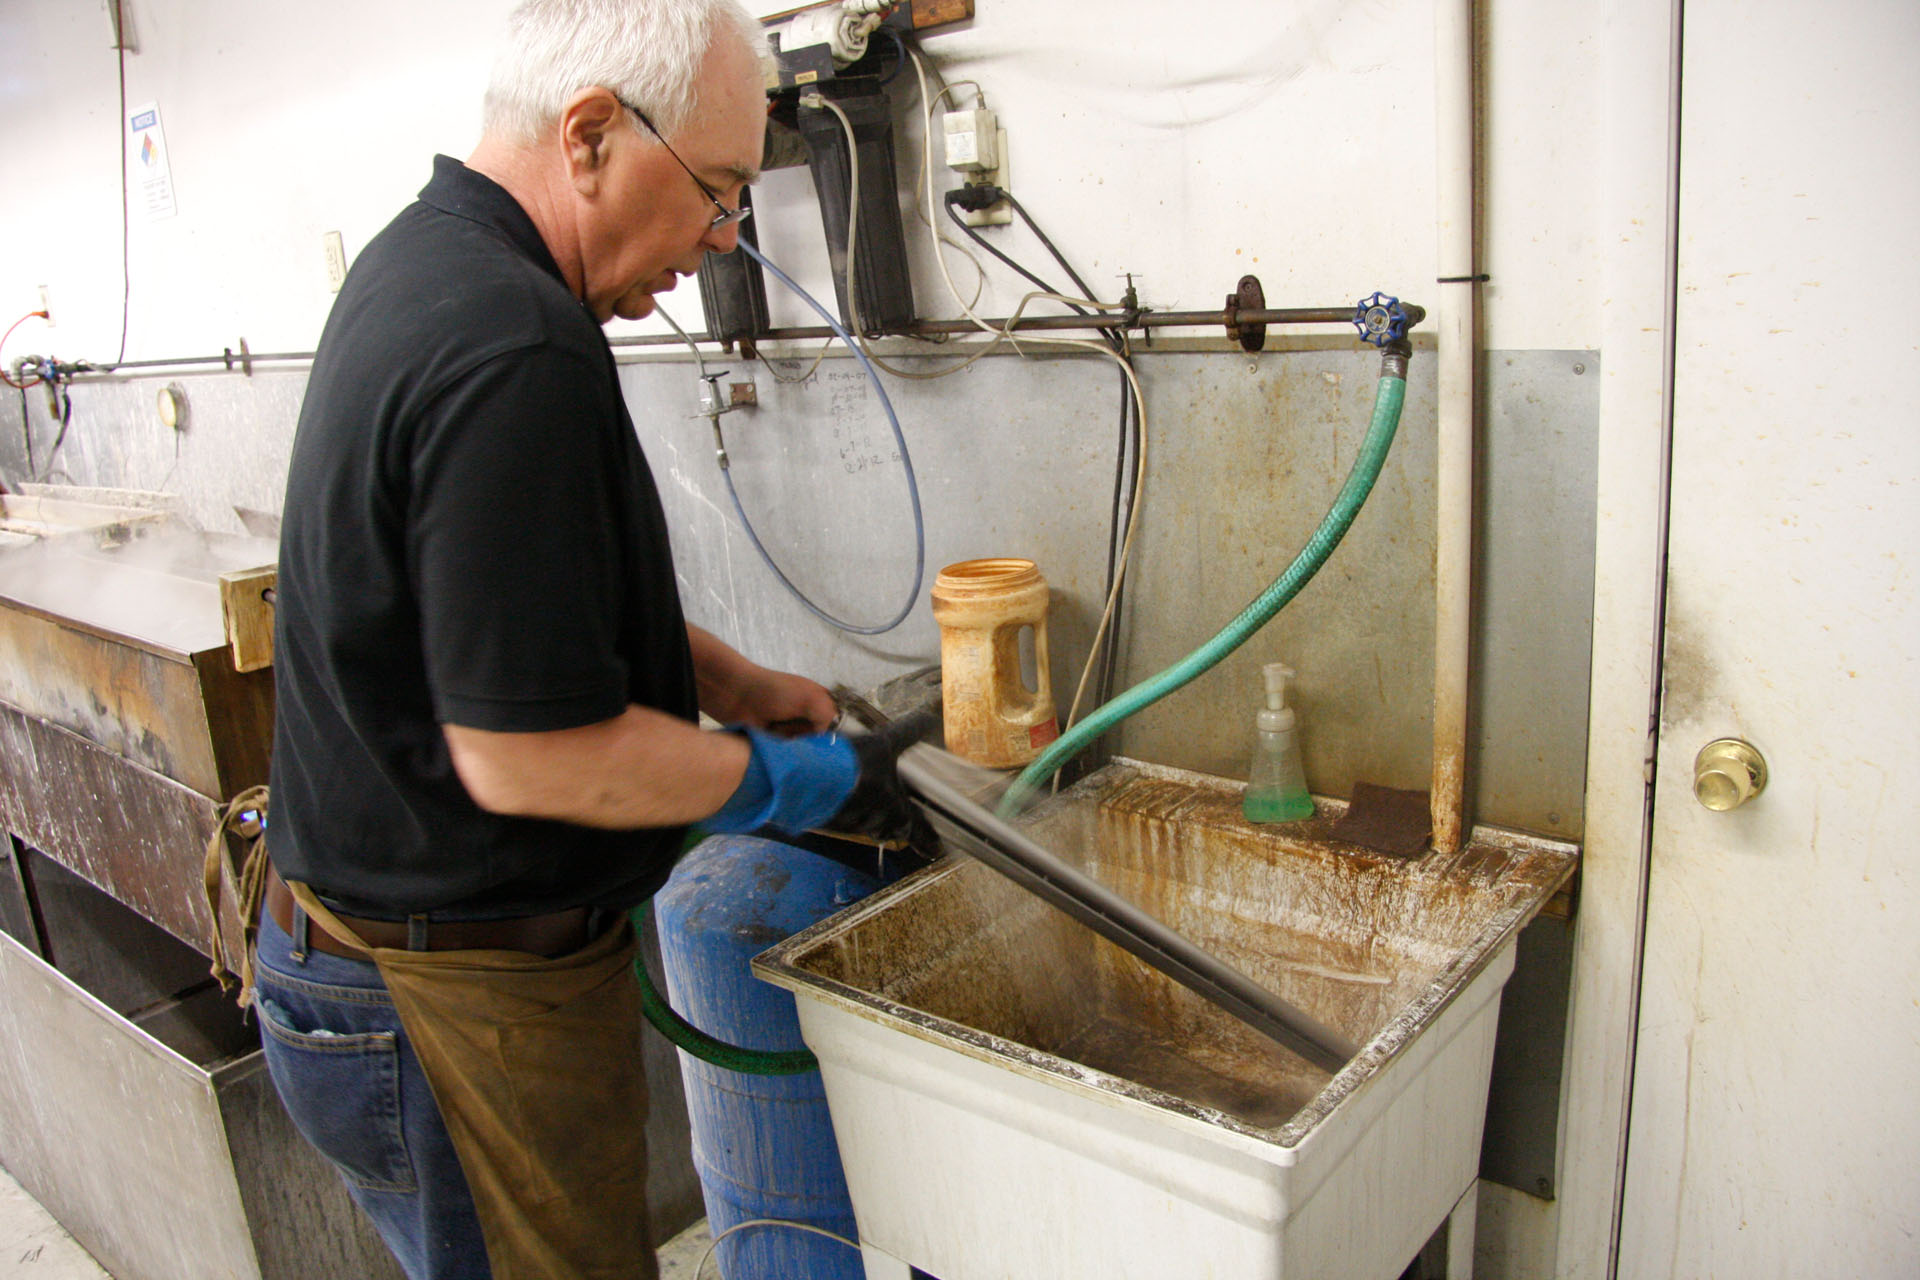
Day 9, Step 3
3) They are then rinsed off with water and towel-dried.
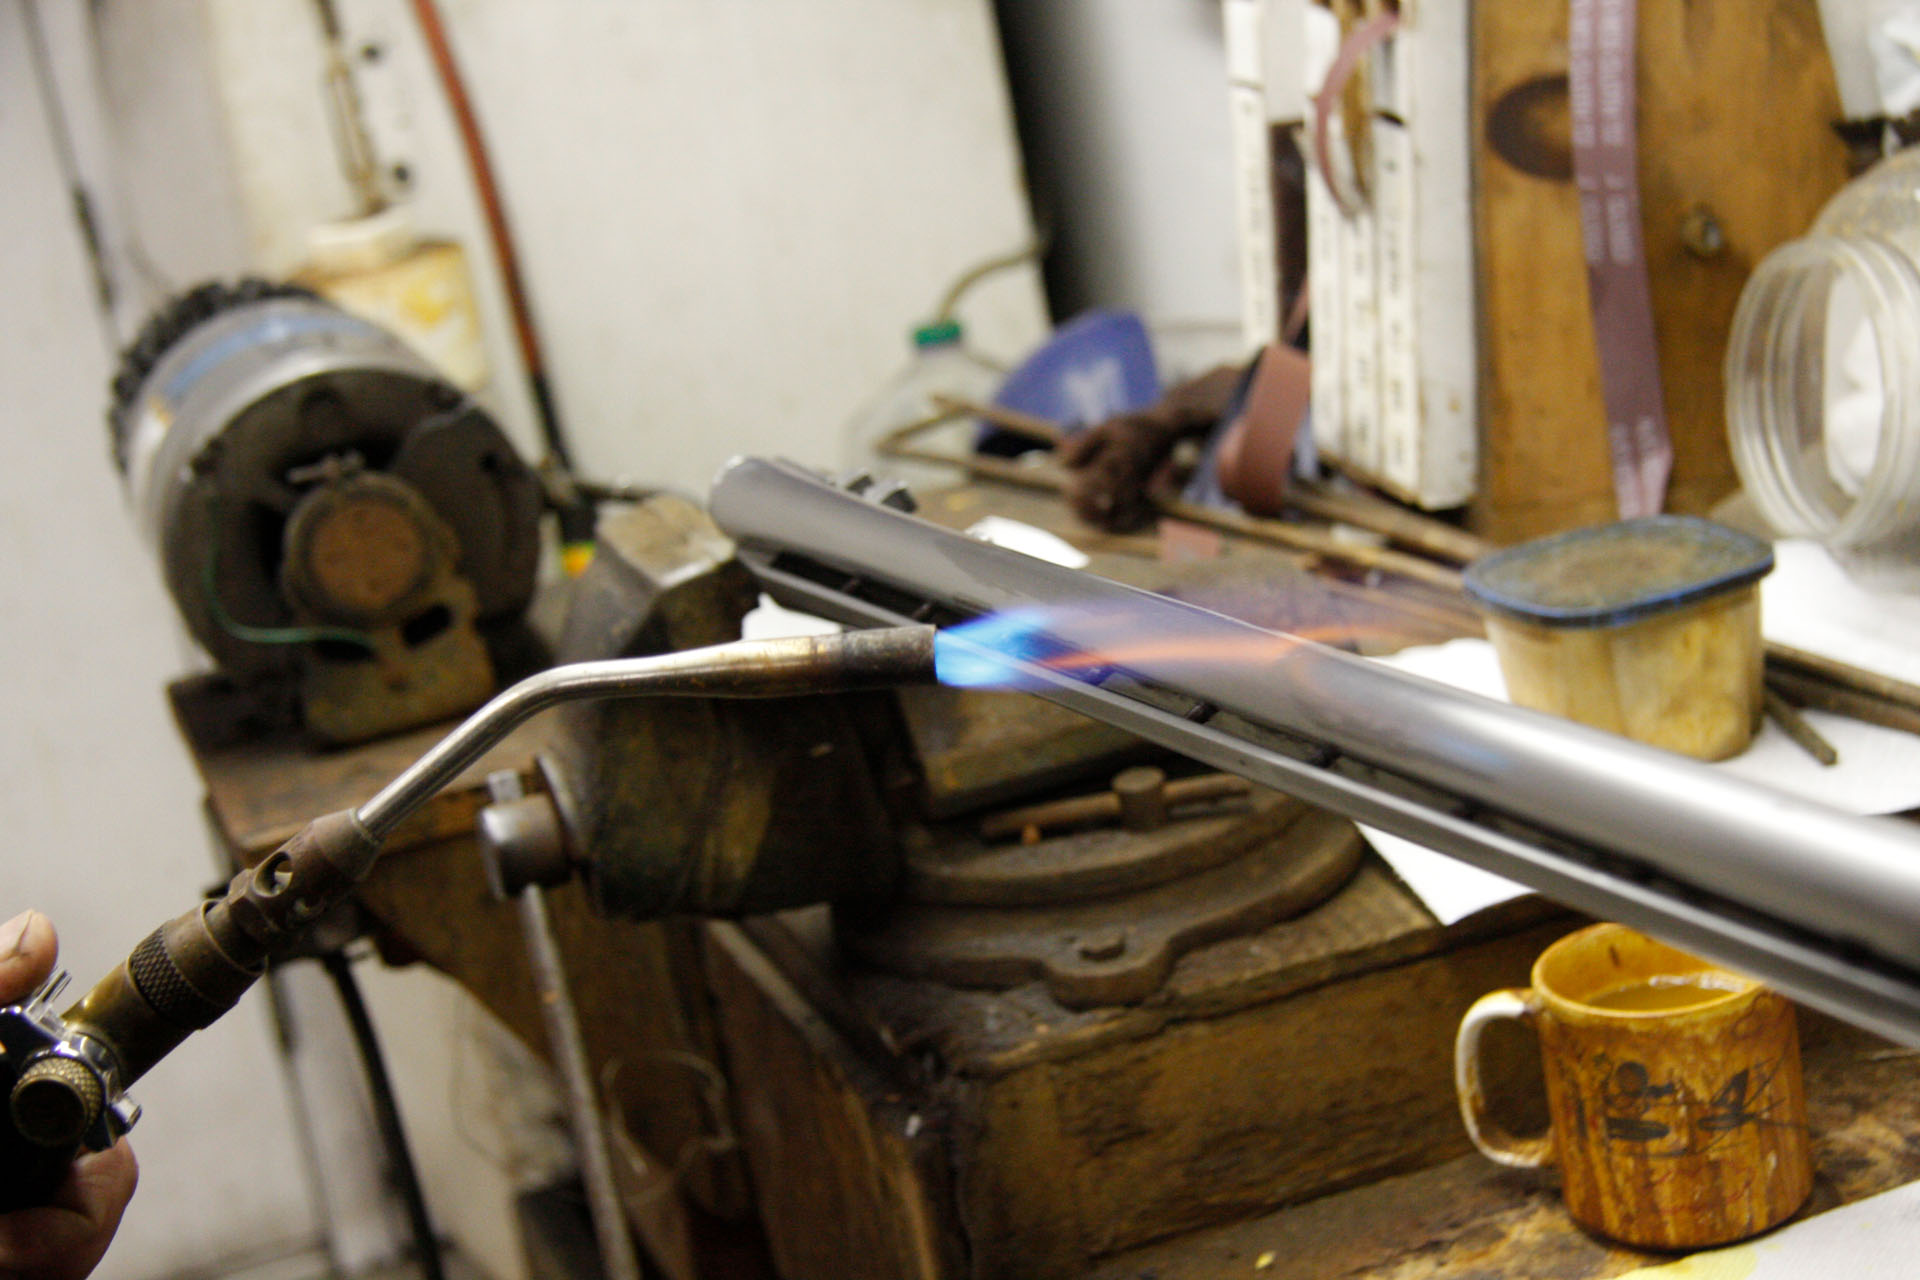
Day 9, Step 4
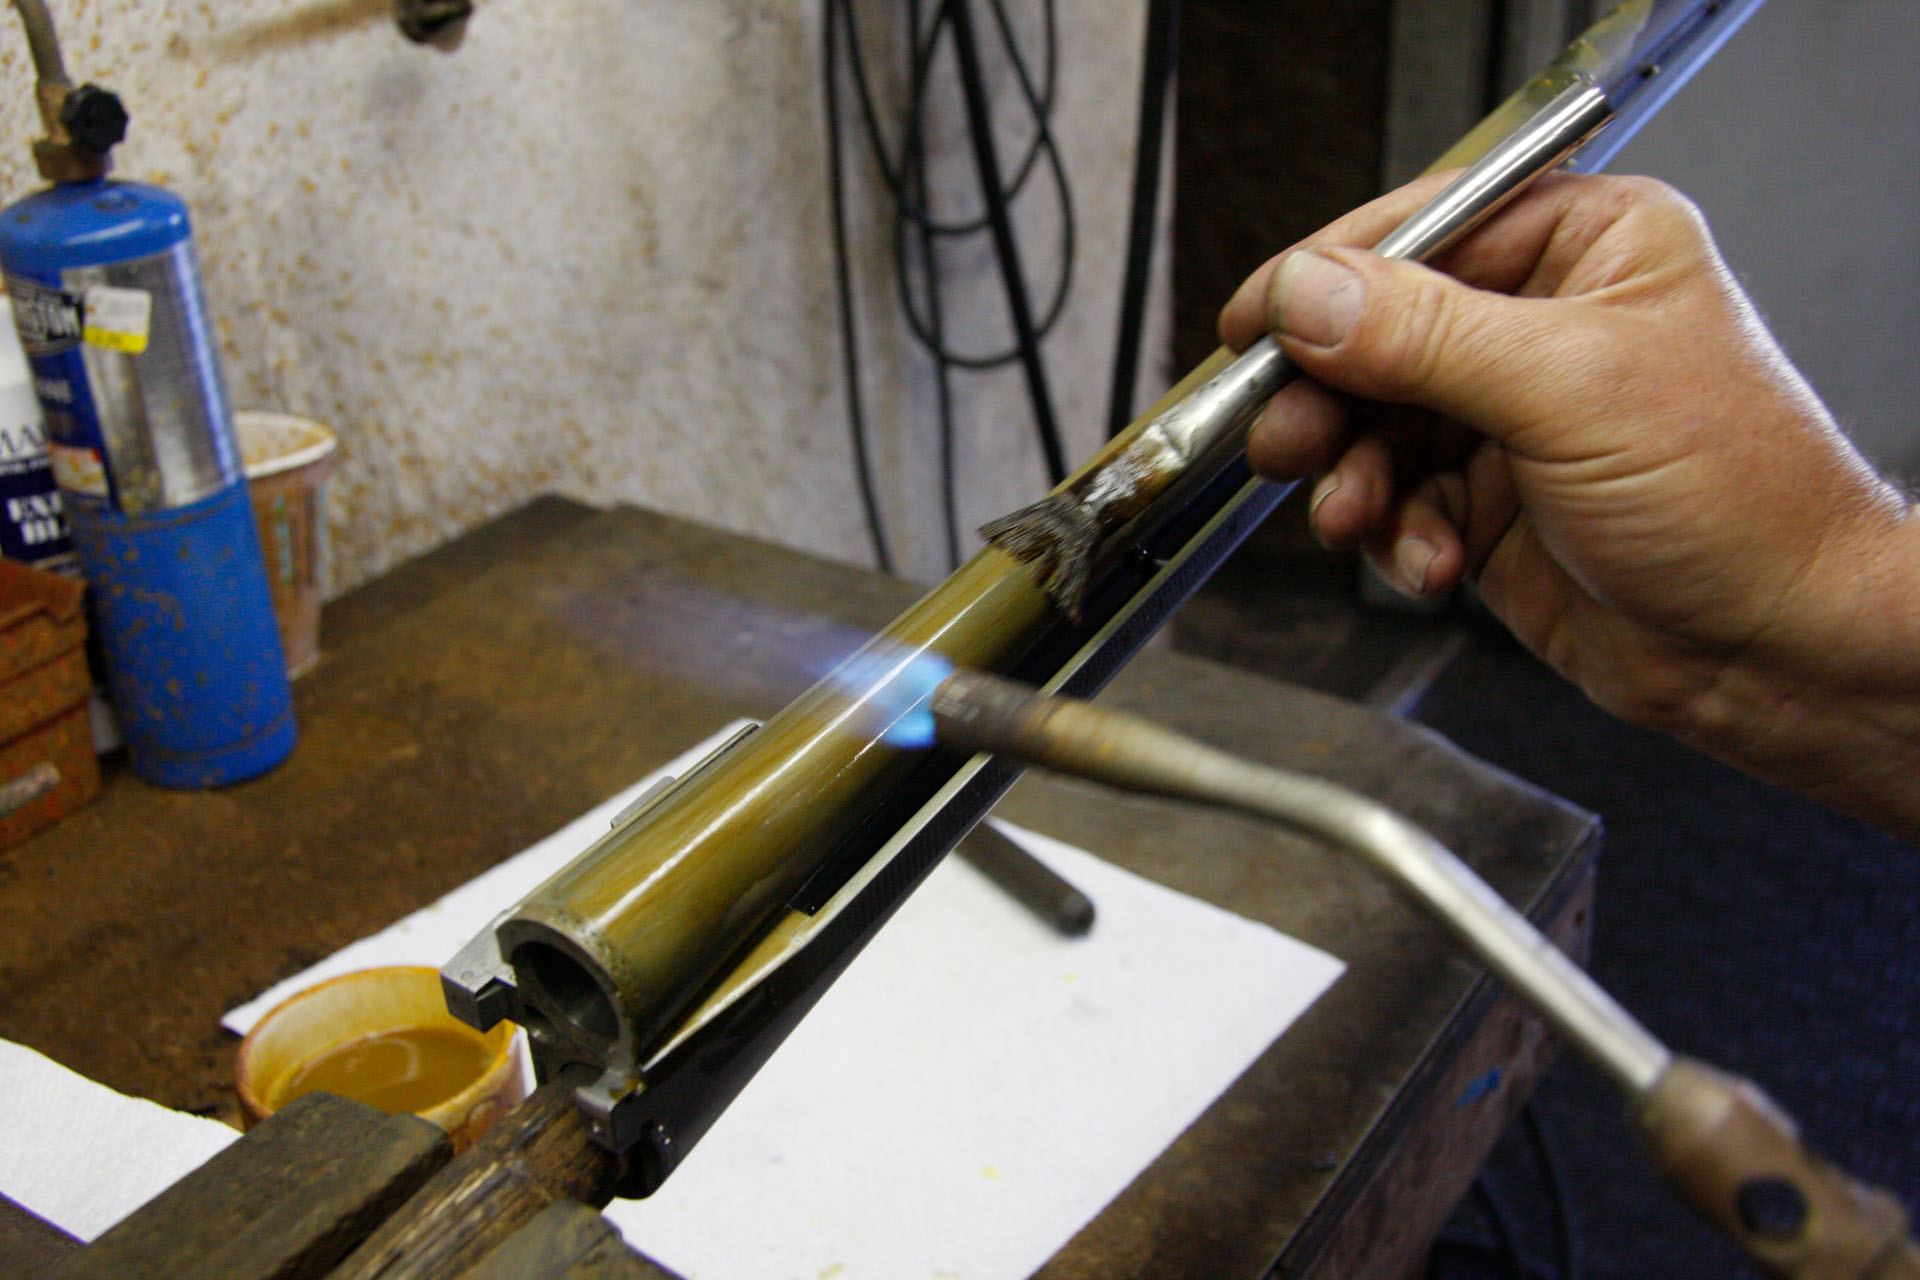
4) Using a propane torch, the barrels are warmed up for further drying. This step removes any extra moisture and enhances the bluing process.
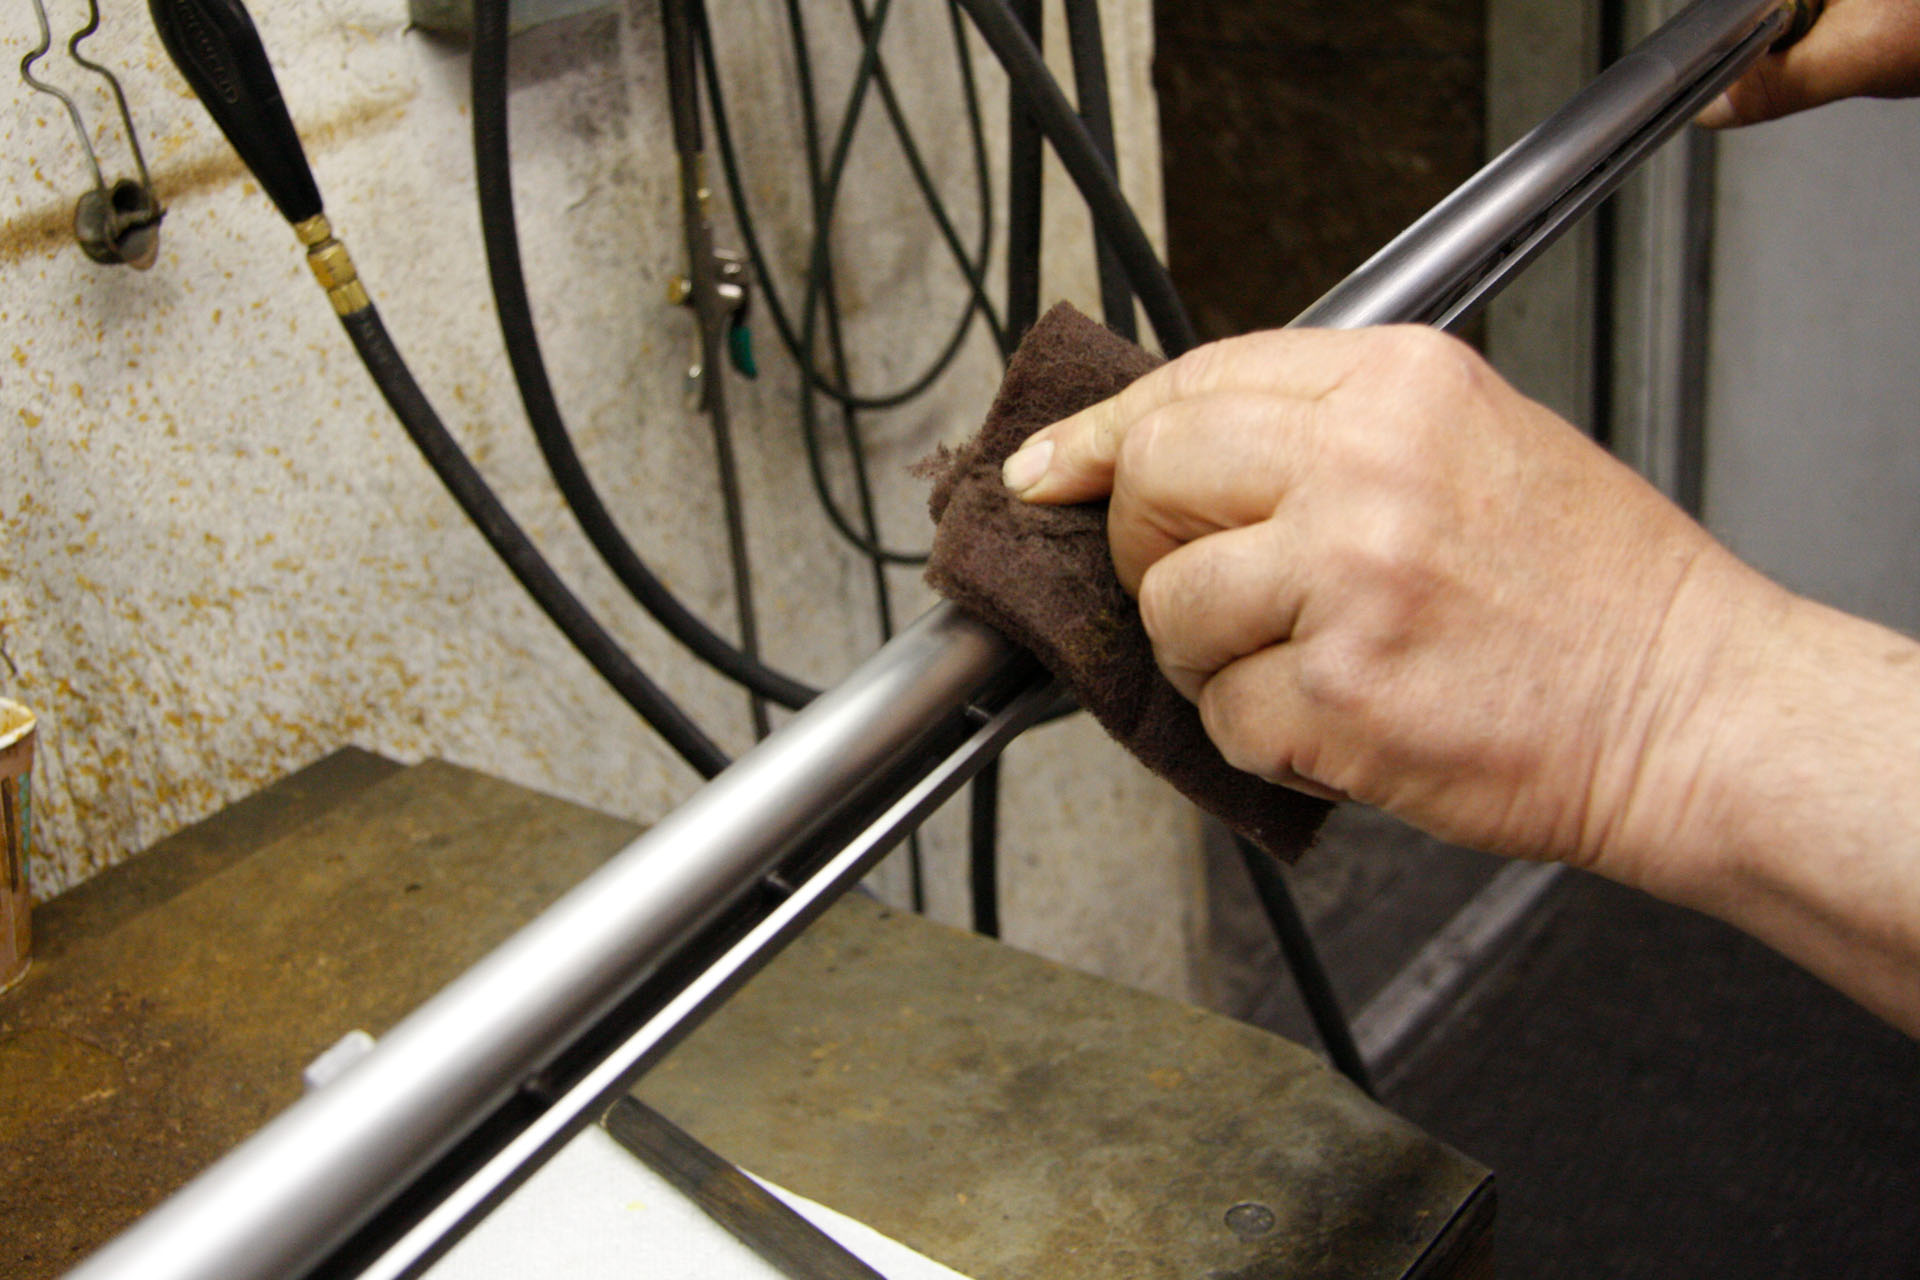
Day 9, Step 5
5) Next, an abrasive pad is used to create a surface for the bluing salts to work on.
Day 9, Step 6
6) Using a brush, the bluing salts are being applied to the barrels.
Day 9, Step 7
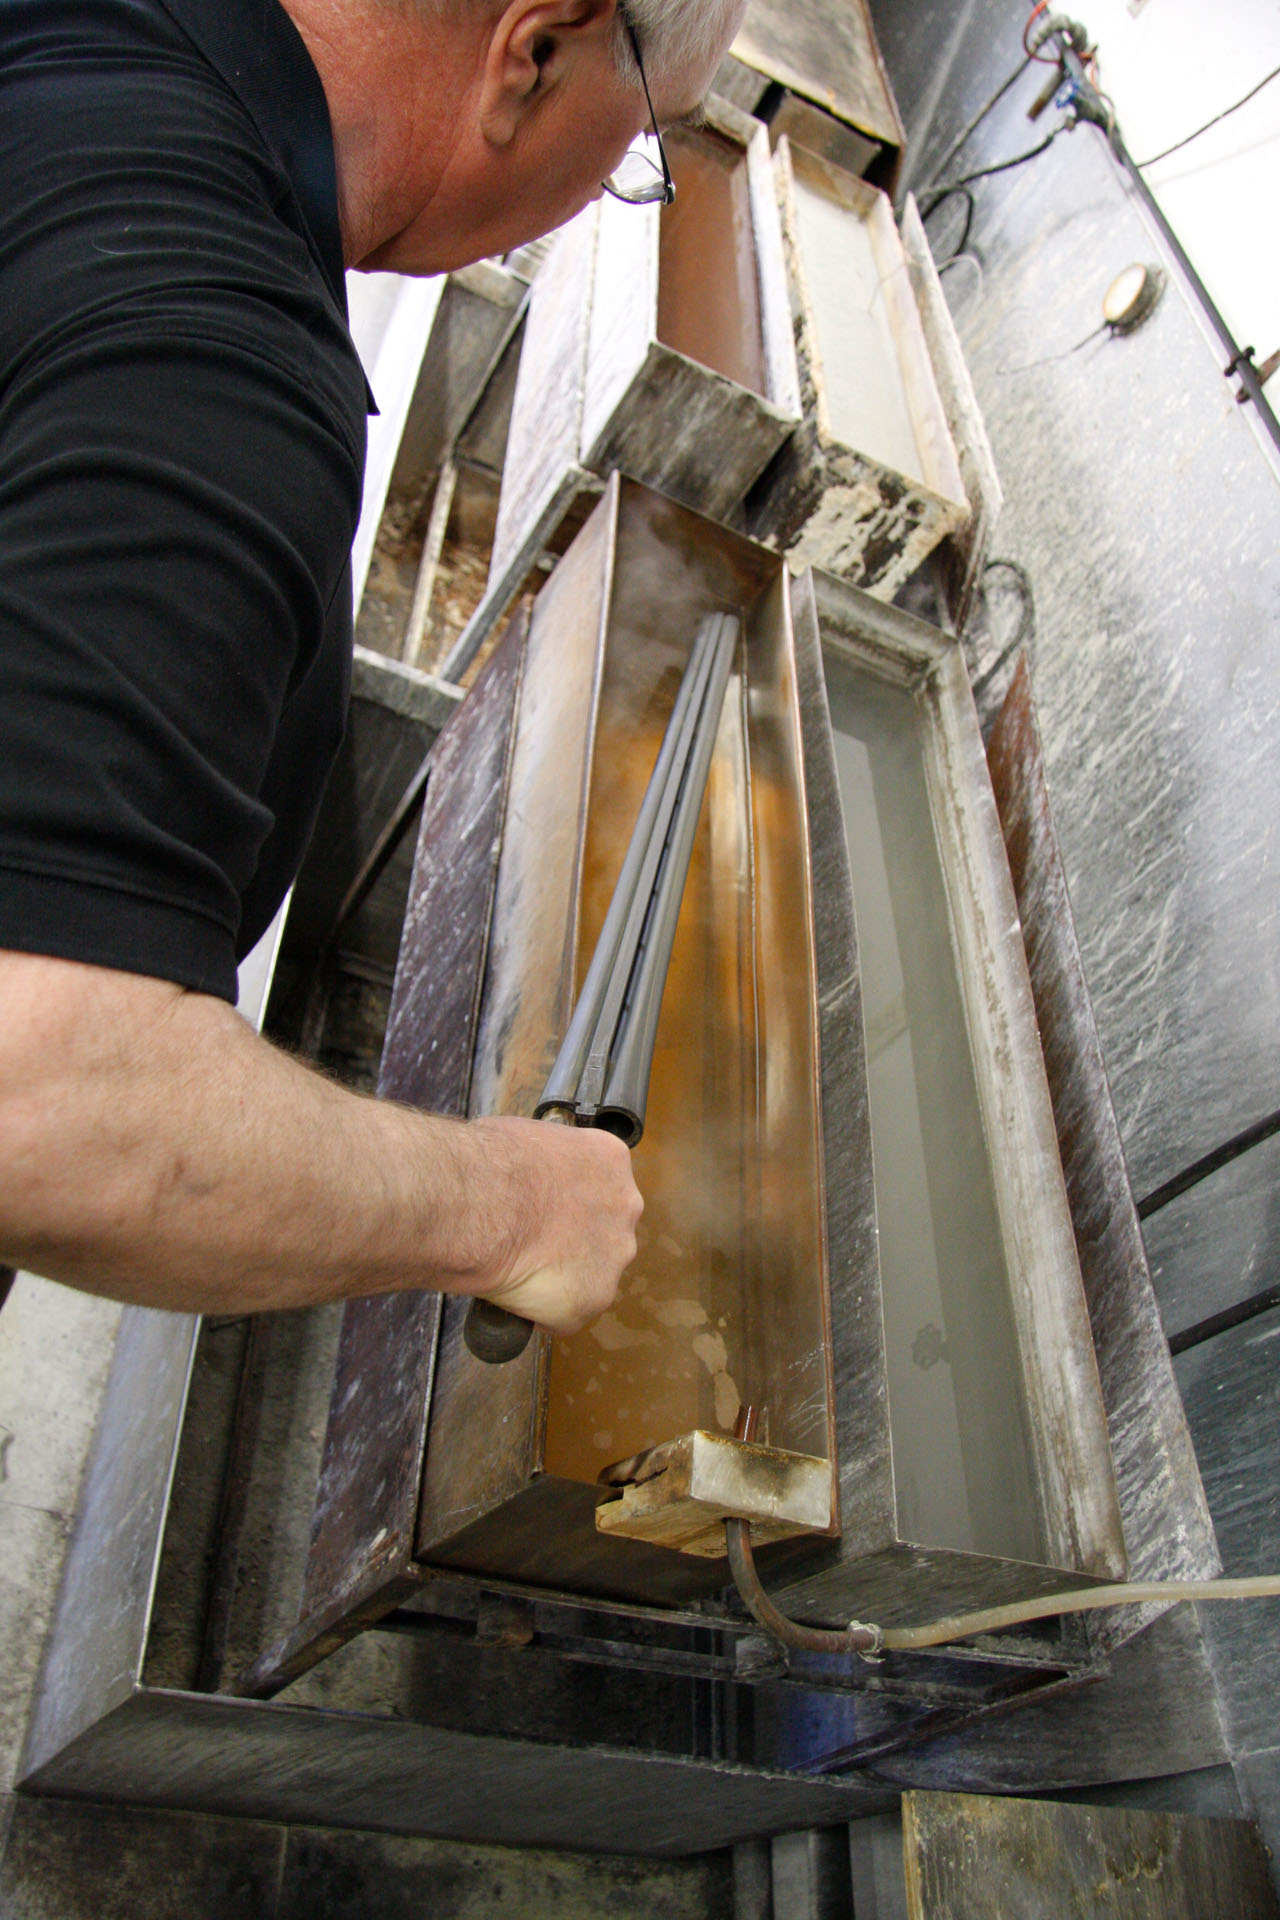
7) The barrels are put into boiling water, which turns the red oxide black.
Day 9, Step 8
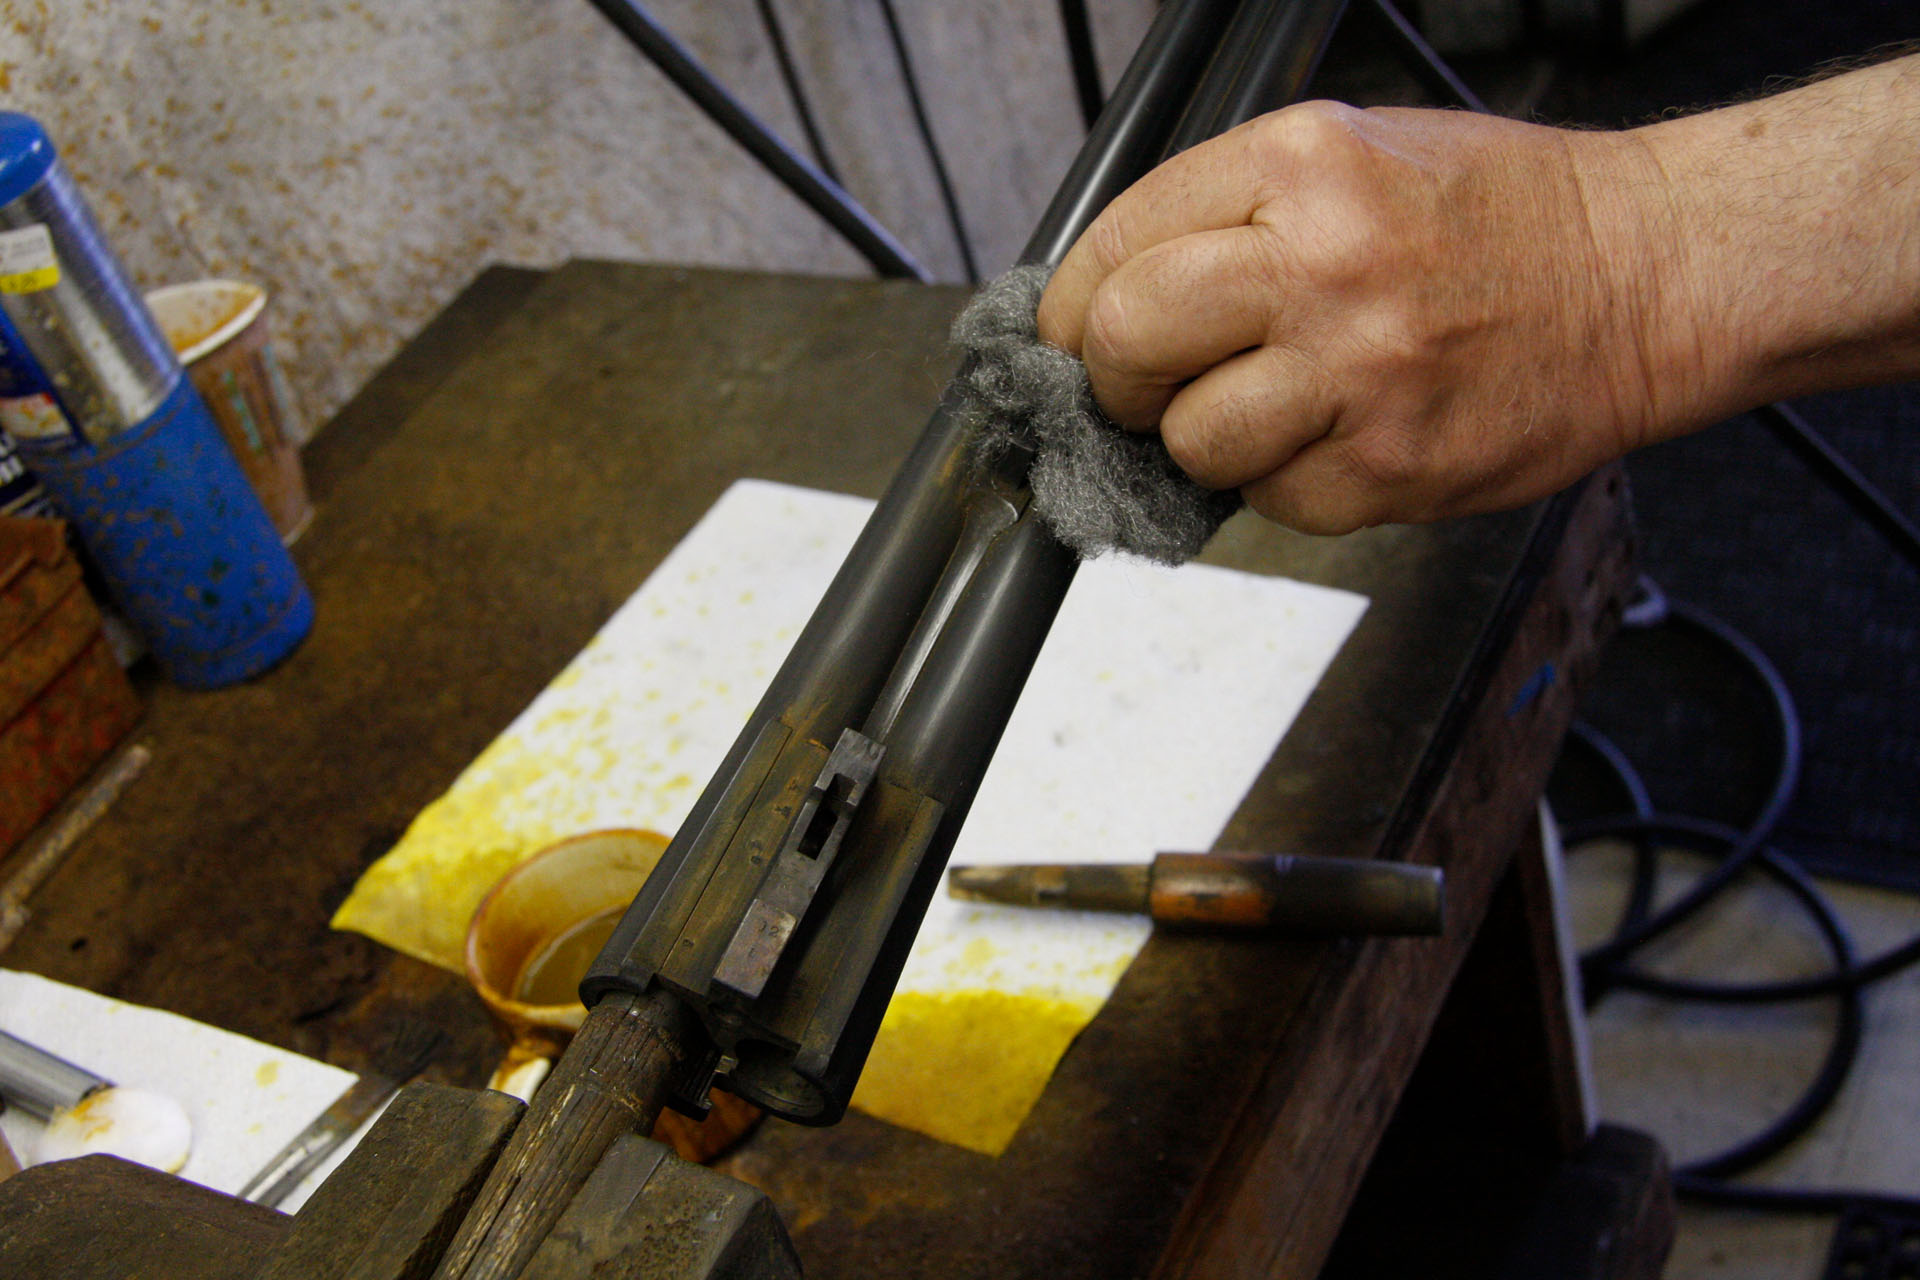
8) After several coats of bluing salts and trips to the water tank, the final coat is taken off with fine steel wool.
Day 9, Step 9
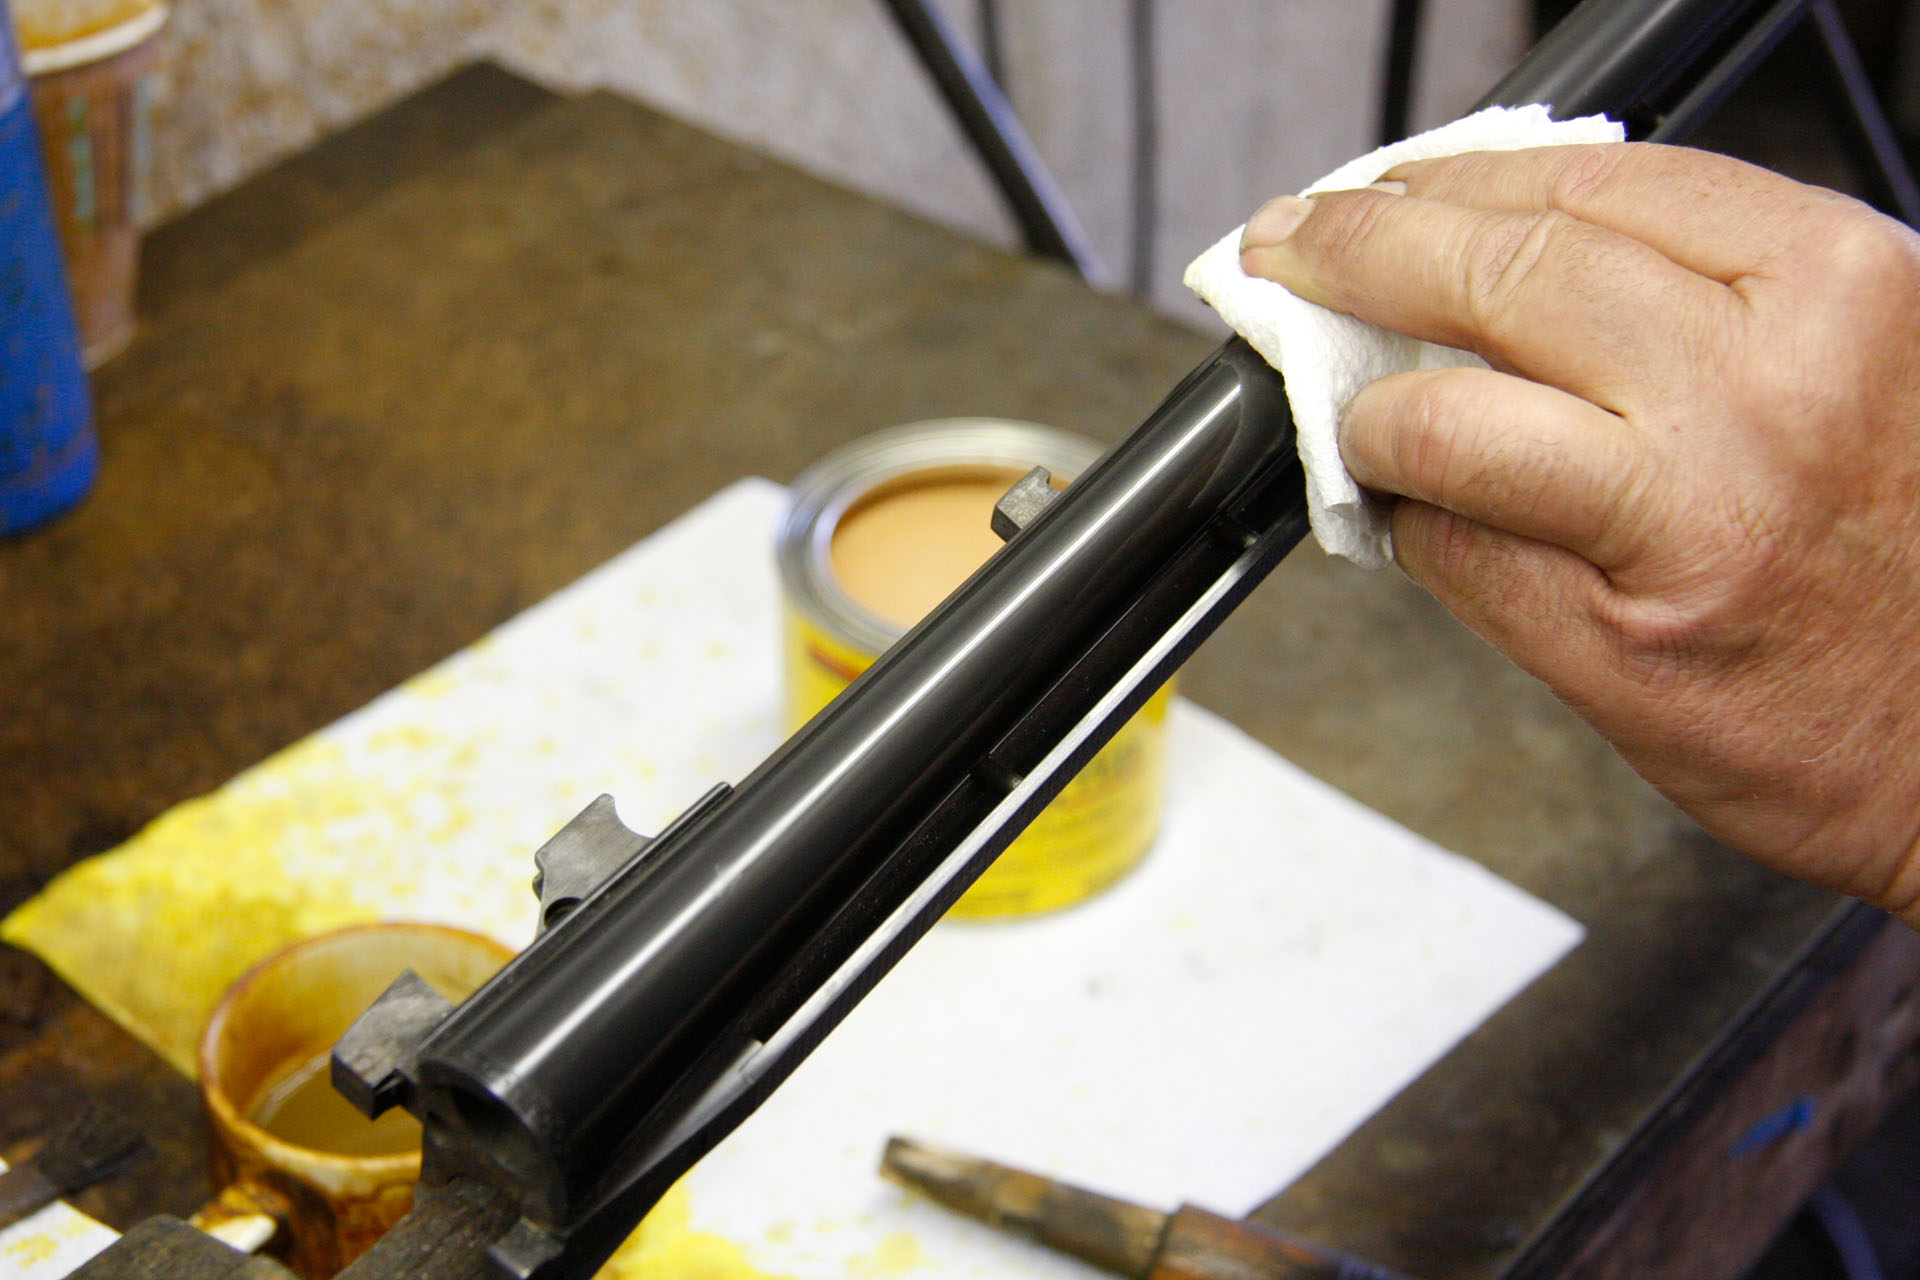
9) Finishing wax is then applied to stop the oxidizing process and to prevent rusting.
Day 9, Step 10
10) Here are the finished shotgun barrels after being wiped down with some G96.
Parker BHE 12 Gauge Restoration: The Full Process
Days 1-3: making a new buttstock, fitting the stock to the receiver, fitting the skeleton buttplate
Days 4-6: last day of inletting, polishing the barrels, inletting the gold shield
Days 7-9: re-cutting the barrel engraving, polishing the action, rust bluing the barrels
Days 10-12: stock refinishing, checkering the buttstock, finishing up the checkering
Want to See More Stories Like These?
This installment of Restoration Resources appears in our Shoot History e-magazine. If you'd like to see more stories like these while learning about classic firearms preservation, head over to Shoot History. Be sure to hit the subscribe button while you're there.
0 Comments